Hardware installation – UVP BioSpectrum Imaging System User Manual
Page 9
BioSpectrum Imaging System
9
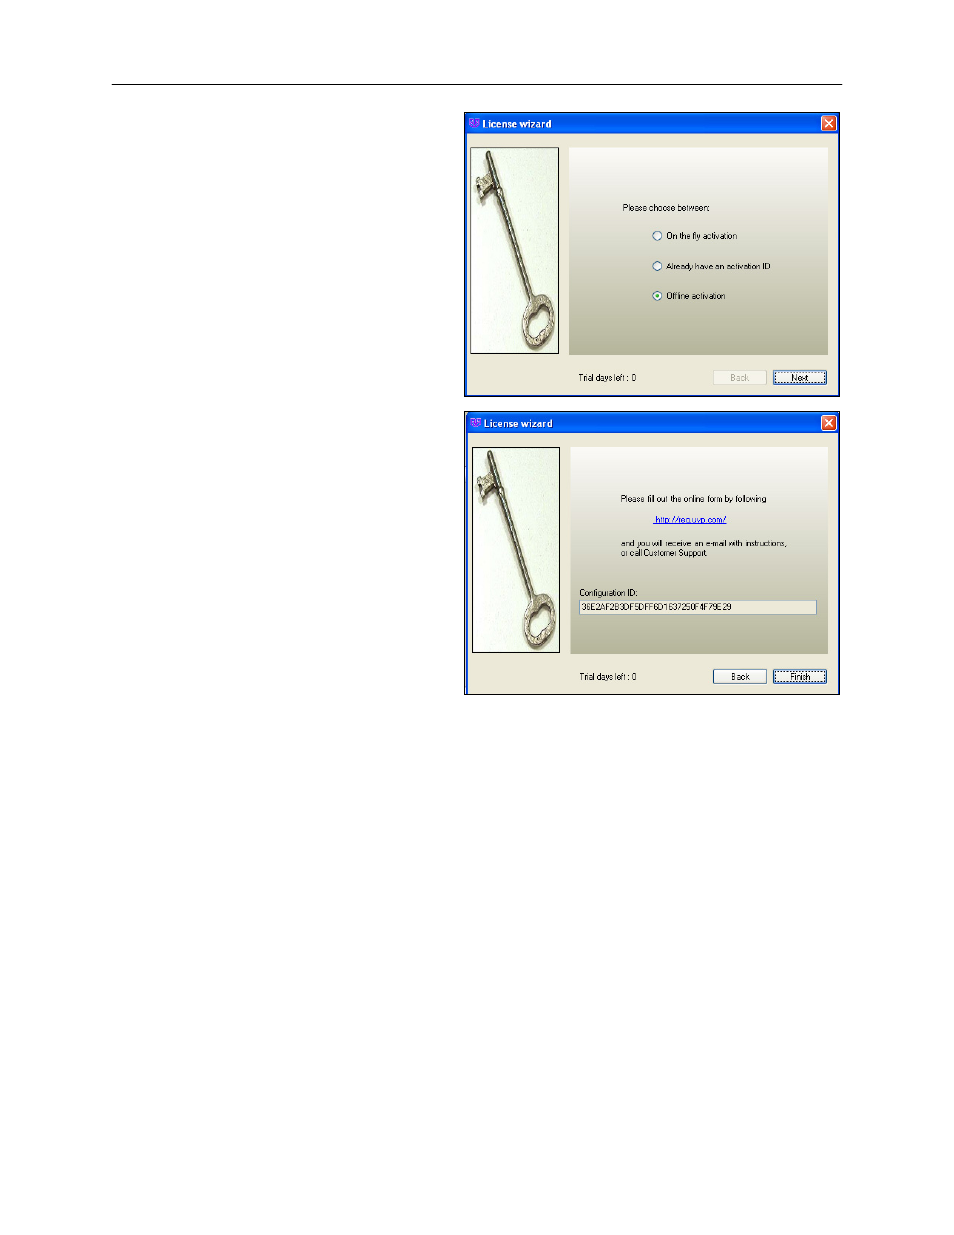
8. If the computer is not connected to
the Internet, click Offline
activation to register the software.
This allows the user to obtain the
activation code and enter it at
another time.
9. Click Next to continue
.
10. Click the link provided and
complete the form to obtain
registration instructions. Click
Finish.
Hardware Installation
Darkroom Setup
1. Remove all the tape on the darkroom (filter wheel, doors and interior cables).
2. Detach the epi light covers from the Velcro strips at the top of the darkroom and place the covers in
a secure location.
3. Place the UV transilluminator on the pull-out tray and connect the power jumper cable to the interior
of the darkroom and to the back of the transilluminator. See “UV Transilluminator Setup” for more
information.
4. Place the chemi tray on top of the UV transilluminator. Remove the tray when not required.
5. Unpack the LED White Light Illuminator and place it on top of the UV transilluminator. Place the
LED White Light Illuminator in the external darkroom side pocket when not in use. See “LED White
Light Illuminator Setup” for more information.
6. Use a level to ensure that the darkroom is flat. If necessary, make adjustments to the four feet of
the darkroom by rotating the system’s rubber feet clockwise or counterclockwise to raise or lower
each corner of the system.