3 operation, 1 unpack and setup, 2 charging – Ultralife CH0007 User Manual
Page 14: Operation, Npack and, Etup, Harging, Igure, Attery, Nsertion
CH0007 Operation Manual
Newark, New York | 315-332-7100 | Fax: 315-331-7800
©2010 Ultralife Corporation • www.ultralifecorp.com • All specific subject to change without notice
The information contained herein is for reference only and does not constitute a warrant of performance •
30 SEP 10 UBI-5166 Rev: A
Page 14 of 25
3 OPERATION
3.1 Unpack and Setup
The charger is fully assembled when shipped from the factory. The only component required for use
is the power cable. Ultralife Batteries, Inc. recommends using only approved power cables (Ultralife
part number: CA0011) with this charger.
The power cable should be connected to a DC power source providing the required voltage for
operation. The power cable is supplied with free terminals on one side for universal connection to
multiple sources. Cable pin connections are detailed in Table 3 [Page Error! Bookmark not
defined.]. Once the cable is connected to the DC power source, plug the cable into the charger
power connector. This connector is keyed and will allow insertion in only one orientation. With the
input power ON and the cable plugged in, open the lid of the charger and switch the main power
button to “ON”. The green power-on LED will illuminate. The charger will boot up, check for internal
errors, and then display all battery positions as empty and charger as ready. The charger is now
ready to use.
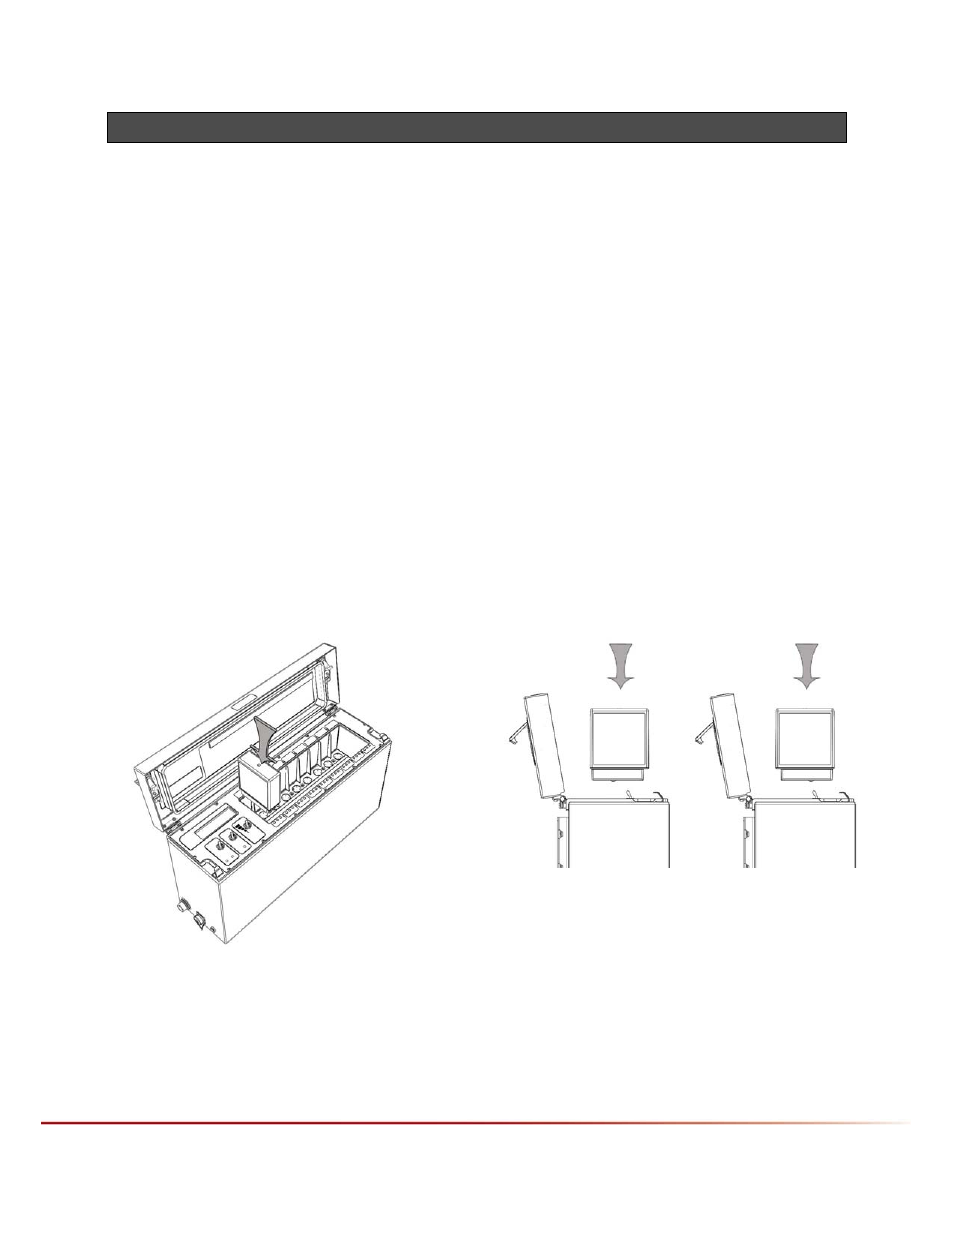
3.2 Charging
To charge a battery, setup and power up the charger. Place a battery with the contacts facing down
into a charge bay. The charger is designed to accept the battery with contacts either towards the
front or towards the rear of the charger.
Figure 6: Battery Insertion
Electrical contacts in
battery facing rear of
charger
Electrical contacts in
battery facing front of
charger