Installation, Locating your outdoor decorative gas appliance, Installation checklist – Regency Plateau PTO60 Outdoor Gas Burner User Manual
Page 8
8
Regency Plateau™ PTO30 Outdoor Gas Fireplace
INSTALLATION
LOCATING YOUR
OUTDOOR DECORATIVE GAS APPLIANCE
1. When selecting a location for your decorative gas appliance, ensure that the clearances are met.
2. This appliance must be installed in an open-air situation with natural ventilation, without stagnant
areas, where gas leakage and products of combustion are rapidly dispersed by wind and natural
convection.
3. Certain materials or items, when placed under or near the appliance, will be subjected to radiant
heat and could become damaged.
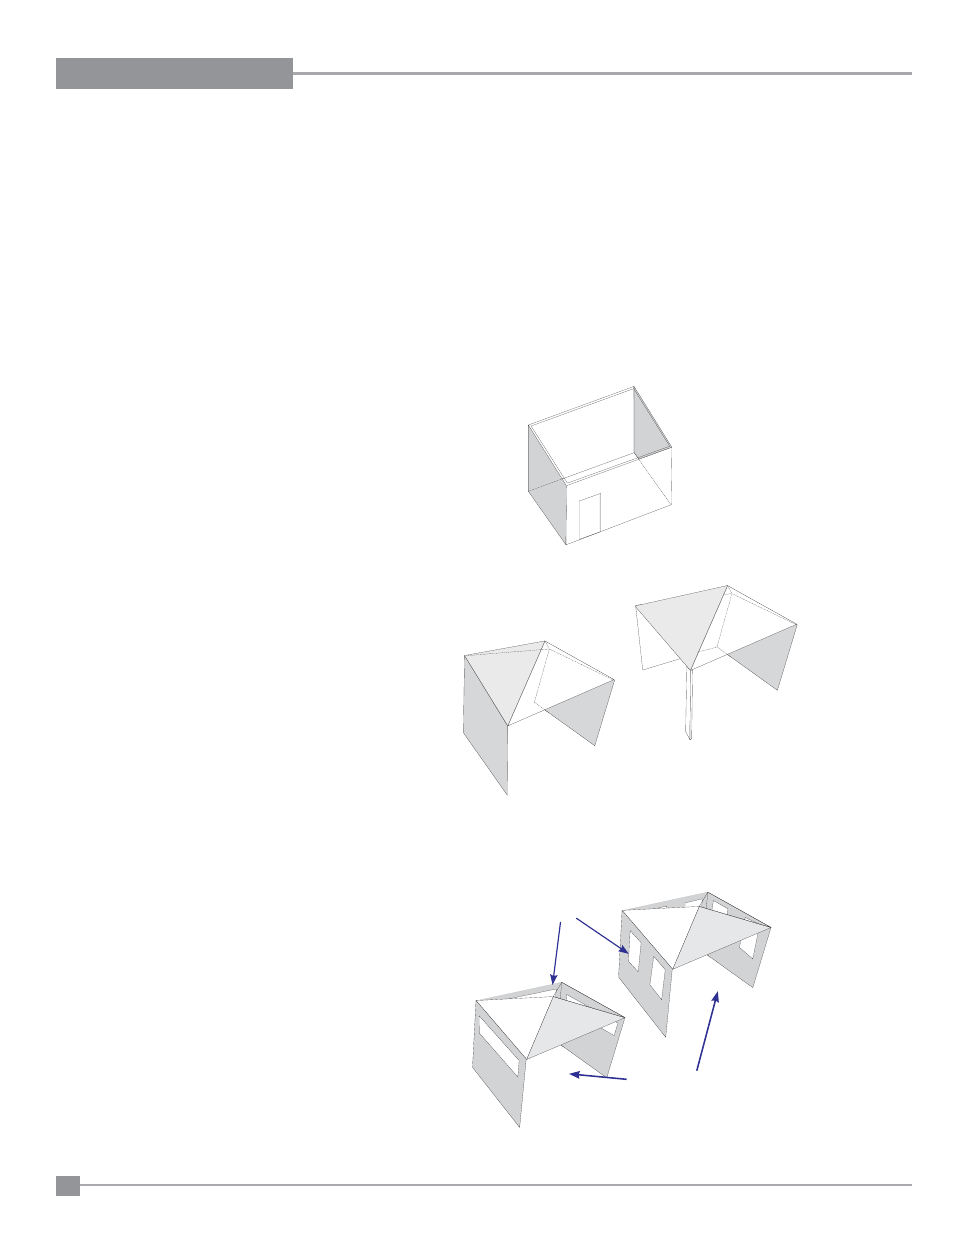
4. Typically an outdoor space is not enclosed but, any enclosure in which the appliance is used shall
comply with one of the following:
An enclosure with walls on all sides, but at least one permanent opening at ground level and no
overhead cover.
Within a partial enclosure that includes an overhead cover and no more that two walls.
Within a partial enclosure that includes an overhead cover and more than two walls, the following
shall apply:
•
At least 25% of the total wall area is completely open, and
•
At least 30% of the remaining wall area is open and unrestricted
INSTALLATION
CHECKLIST
If installing as PT060 (2 x PT030 end to end)
you must repeat steps 2 - 5 for both units.
1. Locate appliance:
a) Refer to "Locating Your Outdoor decorative
gas appliance" section
b) Clearances to Combustibles (Refer to
"Clearances" section)
c) Framing & Finishing Requirements (Refer
to "Framing & Finishing" section)
2. Drain Installation (recommended).
3. Install ON/OFF switch - ensure it is in the OFF
position.
4. Make gas connections - test for leaks.
5. Install 4 "AA" batteries into each battery pack.
This unit will not operate without AA batteries
in place.
6. Install standard and optional features. Refer to
the following sections:
a. Glass
Crystals
b.
Volcanic Stone Installation (optional)
c.
Log Installation (optional)
d.
Glass Surround Installation (optional)
7. Final
check.
This includes:
1. Clocking the appliance to ensure the correct
fi ring rate (rate noted on label), after burning
appliance for 15 minutes.
2. If required, adjusting the primary air to ensure
that the fl ame does not carbon. First allow the
unit to burn for 15-20 min. to stabilize.
CAUTION: Any alteration to the product that
causes sooting or carboning that results in dam-
age is not the responsibility of the manufacturer.
30% or more in total of the remaining wall
area is open and unrestricted.
Open side at least 25% of total wall area
*SEE IMPORTANT INSTALLATION NOTES NEXT PAGE