Intelix AVO-CLIP-F User Manual
Avo cat, Intelix avo-clip mounting clip, Series
Specifications
Specifications subject to change without notice.
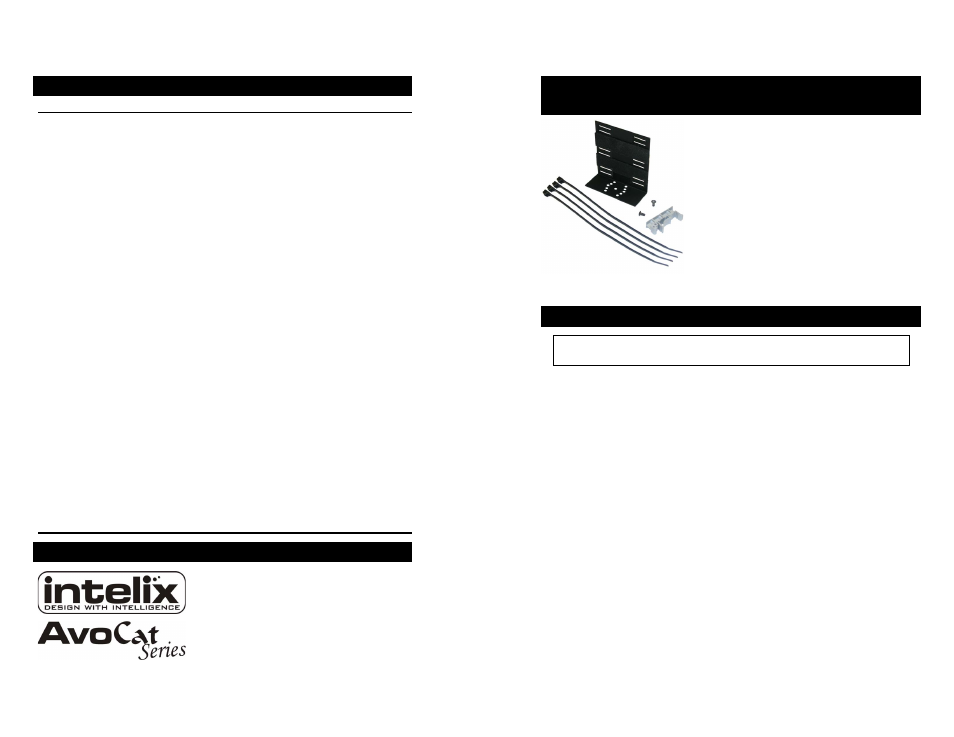
AVO-CLIP Contents
(1) Angle Mounting Bracket
(1) DIN Rail Clip
(2) DIN Rail Clip Mounting Screws
(4) Tie Fasteners
Bracket Dimensions
3.25” x 1.25” x 3.00”
Bracket Material
Black Aluminum
DIN Rail Clip Dimensions
1.75” x 0.75” x 0.40”
DIN Rail Clip Material
Molded Plastic
DIN Rail Compatibility
35 mm DIN rail
Tie Fastener Length
11”
Overall Mounted Height
4” (3 rack units)
Intelix DIN-RACK-KIT
The Intelix DIN-RACK-KIT supports up to
Compatibility
26 AVO-CLIPs
Weight
0.2 lbs
Ordering Information
AVO-CLIP
Warranty
2 years
Intelix Balun
(1) AVO-A2
(1) AVO-A4
(1) V3AD
Compatibiltiy
(1) AVO-SVA2
(2) AVO-V1
(1) V3
(2) AVO-V1-ST
(1) AVO-V1A2
(1) V2A2
(1) AVO-V2A2
(1) AVO-V3
(2) V1-ST
(1) A2
(1) A4
(1) V1-PTZ
(1) SVA2
(2) VB
(2) V1-CV
(2) V1
(1) V1-AR
(1) V1A2
* DVI, HDMI, PS2, VGA-HR, VGA-UHR, and VGA2
are sold in pairs. One AVO-CLIP is required for the
send unit and one AVO-CLIP is required for the recieve
unit.
Contact Information
Intelix
2222 Pleasant View Road
Middleton, WI 53562
Toll-free: 866-4-MATMIX
Phone: 608-831-0880
Fax: 608-831-1833
www.intelix.com
Intelix AVO-CLIP Mounting Clip
Ins
Ins
Ins
Ins
Inst
tt
ttallation Manual
allation Manual
allation Manual
allation Manual
allation Manual
The Intelix AVO-CLIP allows Intelix AvoCat Series
and Classic Series baluns to be mounted on a 19” rack
tray, standard DIN rail, or any other screw-mountable
surface. Each AVO-CLIP contains a universal
mounting bracket, DIN rail converter clip, two
mounting screws, and four fasteners.
The Intelix AvoCat Series of baluns is the ideal
solution for sending audio and video over structured
cabling. When signal quality matters, choose Intelix.
To install an AVO-CLIP balun, perform the following steps:
1. Verify the AVO-CLIP kit contents are complete (see Specifications) and the balun(s)
you wish to mount are compatible.
2. Determine where the AVO-CLIP will be mounted. If mounting to a 35 mm DIN rail
or the Intelix DIN-RACK-KIT, continue to step 3a. If mounting to a flat surface,
skip to step 4a.
3 a. Mount the angle mounting bracket to the DIN rail clip with the two DIN rail clip
screws.
b. Secure the balun(s) to the angle bracket with the included tie fasteners. Two tie
fasteners should be used per balun.
c. Mount the AVO-CLIP and balun to a 35 mm DIN rail or the Intelix DIN-
RACK-KIT.
d. The AVO-CLIP and balun are successfully installed.
4. a. Secure the angle mounting bracket to a flat surface by mounting the appropriate
screws (wood screws for a wooden surface, metal screws for a metal surface)
through the round holes on the base of the bracket.
b. Secure the balun(s) to the angle bracket with the included tie fasteners. Two tie
fasteners should be used per balun.
d. The AVO-CLIP and balun are successfully installed.
Installation
Caution: Do not mount the balun over equipment ventilation openings. Covering the
openings may cause the equipment to overheat.
AvoCat
Series