3 setting length between two marks, 4 setting black mark home position – Dascom DM-220 User Guide User Manual
Page 26
Tally Dascom DM-210/220
14
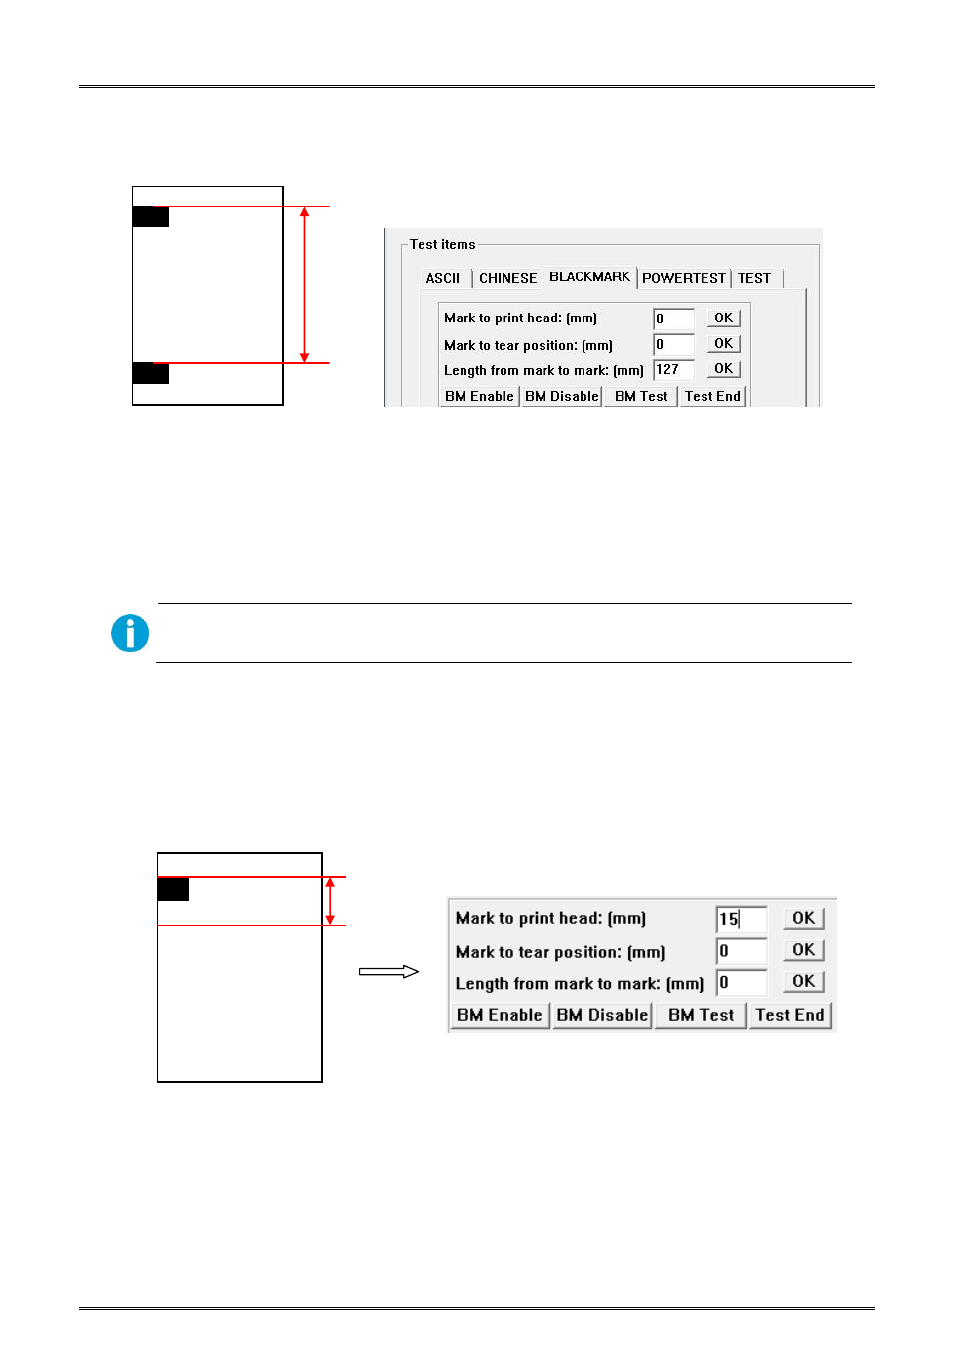
3.1.3 Setting Length between Two Marks
① Click “BM Enable” (Black Mark enable button) in the setting window. The bl
ack mark function will be valid if the
Paper End LED and Error LED flash twice simultaneously.
② Measure the actual distance between two black marks (as shown in the top left picture), input the value in the
corresponding tab.
③ Click “OK” to save the setting. The printer will print out the corresponding message.
The length between two black marks is in the range from 43mm to 269mm. If printing another bill
with different size, you have to re-set this parameter first.
3.1.4 Setting Black Mark Home Position
① Measure the distance between the top of the first line and the top of the black mark, input the value in the
corresponding tab, shown as the below figures.
127mm
Click this button to activate the
black mark function.
①
②
③
If offset is positive, the printing home position will be
below the black mark (shown as the left figure).
HHHHHHHHHHH
HHHH
15m
m