Condux Hand Held Micro Fiber Optic Blower User Manual
Page 12
12
7. Choose the correct Cable Seals and install on cable. Grooved side of
Cable Seal faces the conduit. Place Cable Seals into the Venturi, split
side down
8. Close the handheld blower and secure, Tighten speedball handle
securely, but do not over tighten.
Prepare Micro Fiber Cable
The carriers are designed to attach to the central strength member (CSM) of the
cable. The seals are sized to accommodate the proper ID duct size for
maximization of blowing distances and create and air tight seal in the duct. A
caliper has been included into the, Micro Duct Carrier Kit (not included), for
proper sizing of the correct Push Retainers. A bottle of adhesive is added to
reinforce the attachment of the push retainers.
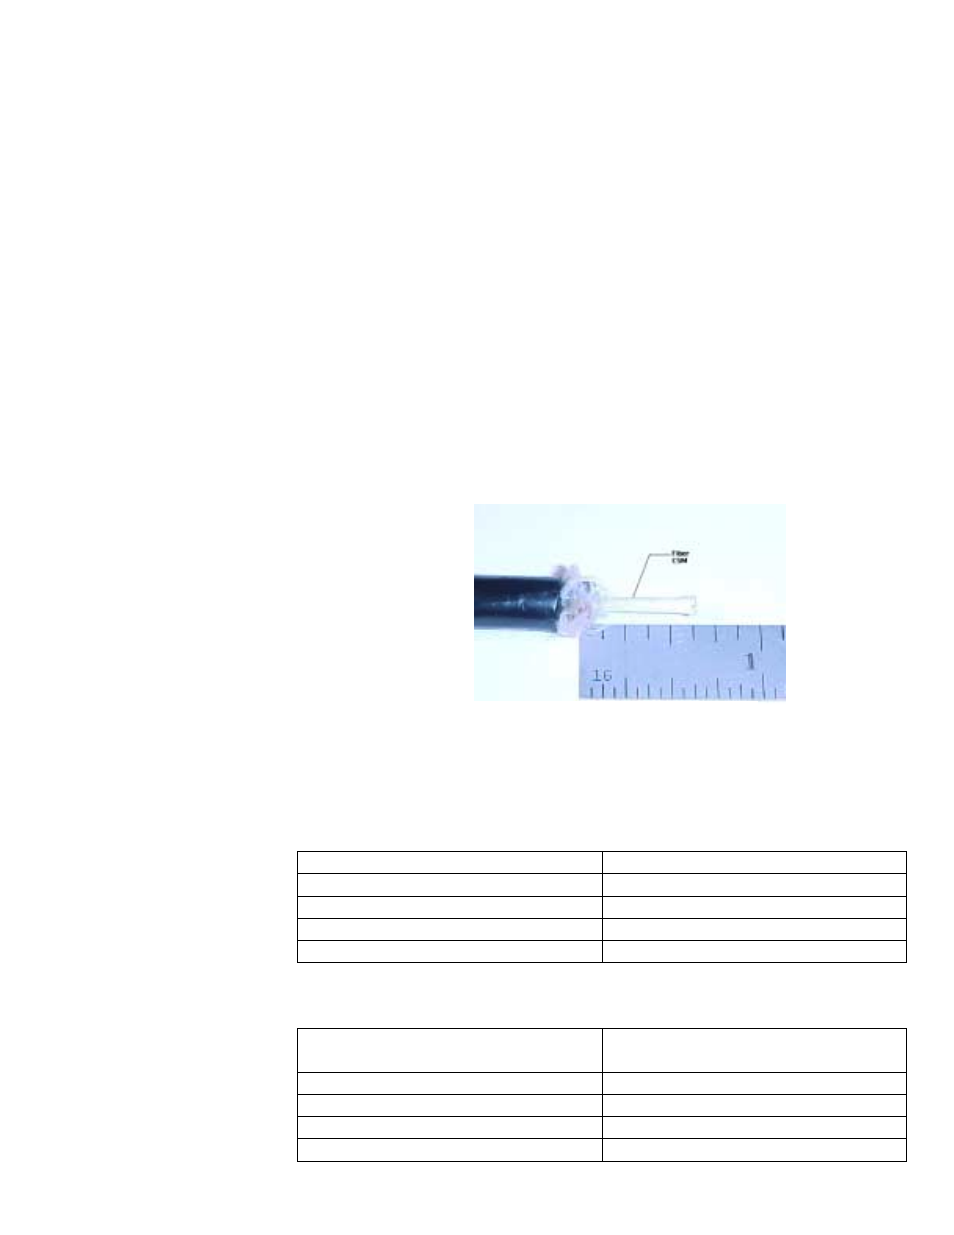
1. Strip the fiber cable down to the CSM, approximately 5/8” (16 mm) form
the end (See Figure 22).
2. Select proper carrier seals for the duct inside diameter (ID) (See Table 1)
Duct ID (mm)
Condux Carrier Seal P/N
8 08764118
10 08764128
12 08764138
14 08764148
3. Select the proper Push Retainers based on the CSM diameter
measurement taken with the included calipers (See Table 2).
Central Strength Member (CSM)
Dia. (mm)
Condux Push Retainer P/N
1.5 02289350
2.0 02289351
2.5 02289352
3.0 02289353
Figure 22: Strip of the CSM to length of
approximately 5/8” (16 mm)