Condux Crimp-On Pulling Eyes User Manual
Page 9
C. MARKING THE CABLE BEFORE INSTALLATION
Measure the inside depth of the pulling eye. Mark this length on the squared end of the
cable. At this time, remove the centering tool from the end of the cable. There should
remain a well in the end of the cable.
D. DRIVING THE PULLING EYE INTO THE CABLE
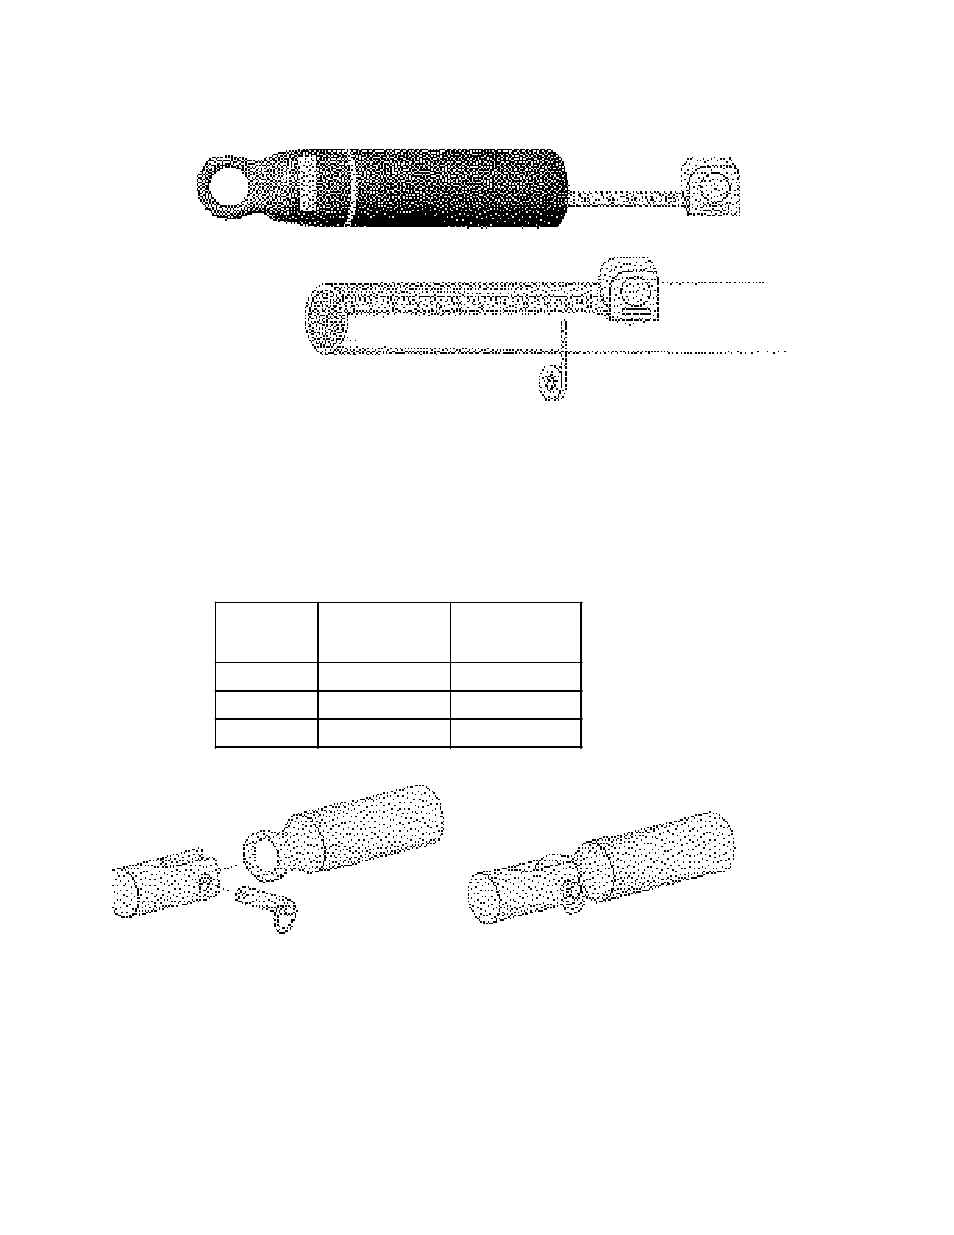
Choose the proper driving tool from the following chart:
Remove the pin from the driving tool, slip the driving tool over the eye portion of the
pulling eye, and put the pin back into place. Place the pulling eye-driving tool combination
onto the cable. By hand, push the pulling eye onto the cable as far as possible. With a
sledge hammer, drive the pulling eye onto the cable the remainder of the way. Make sure
you drive the eye up to the line that you marked on the cable. This ensures that you have
the pulling eye completely on the cable.
Driving Tool
Size
Pulling Eye
Inside Diameter
Driving Tool
Part Number
1 ½ " D i a .
0 . 9 5 0 - 1 . 2 7 7
0 8 9 4 0 0 0 0
2 ¼ D i a .
1 . 4 0 2 - 2 . 5 2 7
0 8 9 4 0 0 0 1
3 " D i a .
2 . 6 5 2 - 3 . 6 2 0
0 8 9 4 0 0 0 2
9