Running the gel, After the run, Opening the cassette & preparing gel for staining – C.B.S. Scientific TTGE-2401 User Manual
Page 4
ClearPAGE Precast Gel Running Instructions 7-1-14
4
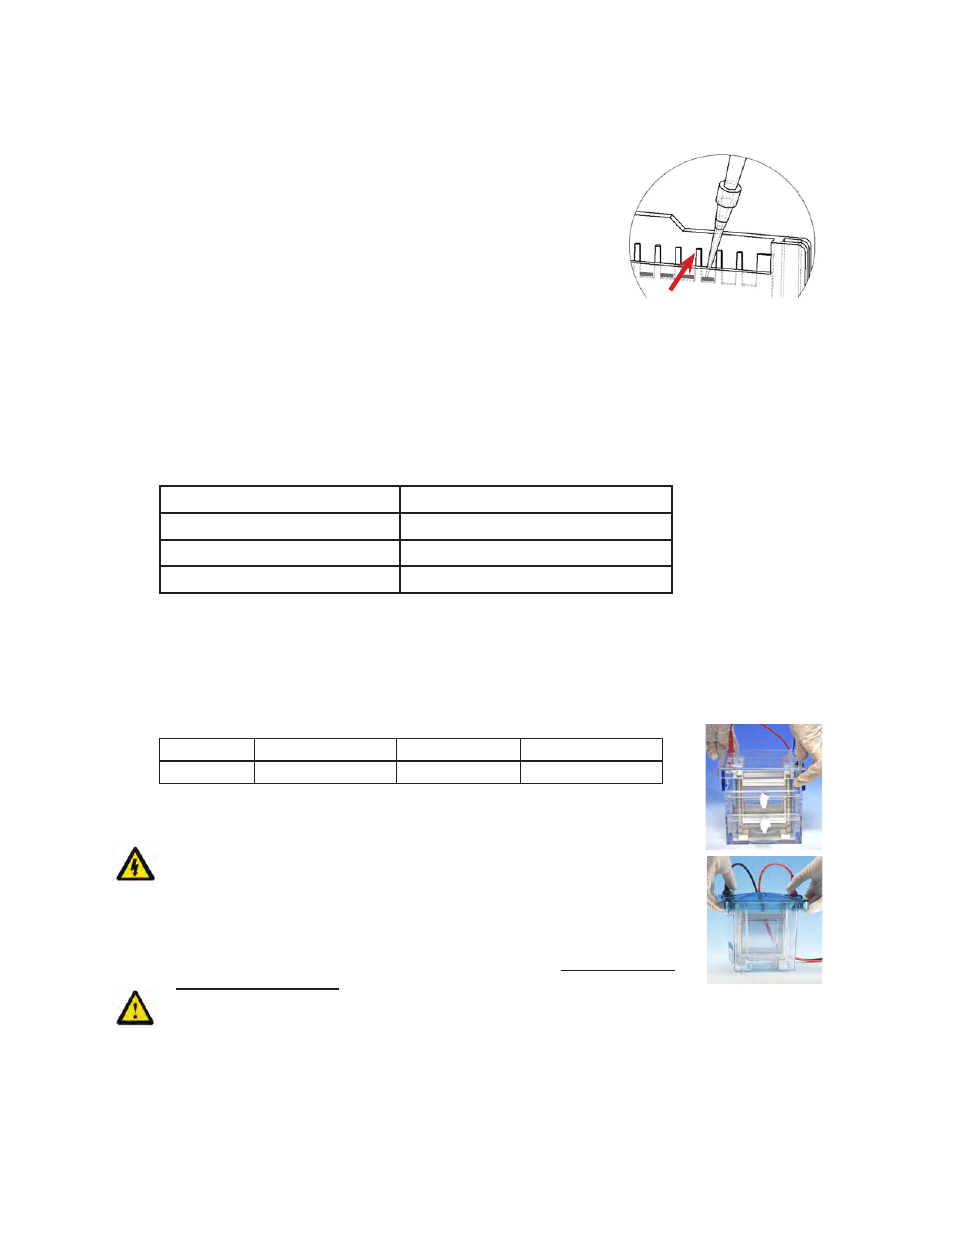
with ≈ 200mls of buffer. Acrylamide gel well fingers are red (SDS
Protein) or green (DNA/Native) and extend above cassette for ease in
loading and the wells are numbered. Using thin pipette tips underlay
the samples near the bottom of the well as shown at right. Red arrow
indicates how acrylamide gel well fingers extend above cassette for
ease in loading. Maximum sample capacity is 35μl for 12-well gels
and 17μl for 17-well gels.
Note: Gel samples may also be loaded on the bench-top and then
transferred to the DCX-700. With gels clamped into DCX/Quadra
core, fill the wells with running buffer and underlay sample with thin
pipette tips prior to transferring to your DCX-700.
RUNNING THE GEL
1) After filling the upper core reservoir with fresh running buffer and loading the
samples, add a minimum of 400ml running buffer to the DCX-700 lower reservoir.
See chart below if using freezer blocks. To the Quadra Systems add a minimum of
550mls to the lower reservoir.
# of freezer blocks used
DCX-700 lower buffer volume
0
810 mls (max)
1
685 mls (max)
2
560 mls (max)
2) The red or green dye in the loading area of the gel will run just behind the
bromphenol blue. Run the gel(s) until the blue dye front nears the bottom of the
cassette as follows:
For DNA/Native Gels, run the gel(s) at 180VDC constant until the blue dye nears
the bottom of the cassette (40-80 minutes depending on gel percentage).
For SDS Gels, run the gel(s) until the blue dye front nears the bottom of the
cassette as follows:
Run Voltage Starting Current
Ending Current Approx. Run Time
180VDC
90mA/gel
40mA/gel
30-75 minutes
AFTER THE RUN
1) Turn off the power supply and disconnect the leads from the power supply.
2) Remove the safety cover from the unit by placing thumbs on the white posts next
to the red and black connectors, then pushing down while pulling up with fingers
under lid as shown in figure at right. Do not remove safety cover by pulling up
on leads wires!
3) Leave core in place and pull up on core latches and open gel door. Remove gel
cassette(s). Allow upper buffer to mix with lower buffer and save for reuse as
anodal side of next run.
4)
Completely immerse core and all DCX-700 or Quadra components with deionized or
UP water and soak for at least a few minutes.
OPENING THE CASSETTE & PREPARING GEL FOR STAINING
1) Using wedge plate separator, dime, comb or gel knife, gently lever apart all four
corners of the cassette, first on one side, then the other. Not much force is required
to open these cassettes.