BernzOmatic GHA-120 User Manual
5' & 10' propane hose
GHA-060 & GHA-120
5' & 10' Propane Hose
DANGER
Failure to comply with these Warnings and
Instructions may result in an explosion or fire that
may cause property damage, serious personal injury
or death.
DO NOT DISCARD THESE WARNINGS AND INSTRUCTIONS
WARNING
For LP-Gas Only.
•
Read all instructions prior to installation and use.
•
Disconnection of old hose assembly or installation of
•
new hose assembly shall take place outdoors in a well-
ventilated area.
DO nOt
•
make modifications to this hose assembly.
If
the hose assembly
does not fit, return to the original
place of purchase and obtain the correct hose assembly
for your gas appliance.
Examine the new hose assembly for damage. Do not
•
use hose assembly
if damaged. If damaged return to
the original place of purchase.
Movement of the gas appliance, removal of old hose
•
assembly and installation of new hose assembly shall
only be done when appliance is cool.
DO nOt
•
use appliance until leak testing is complete and
any leaks are corrected.
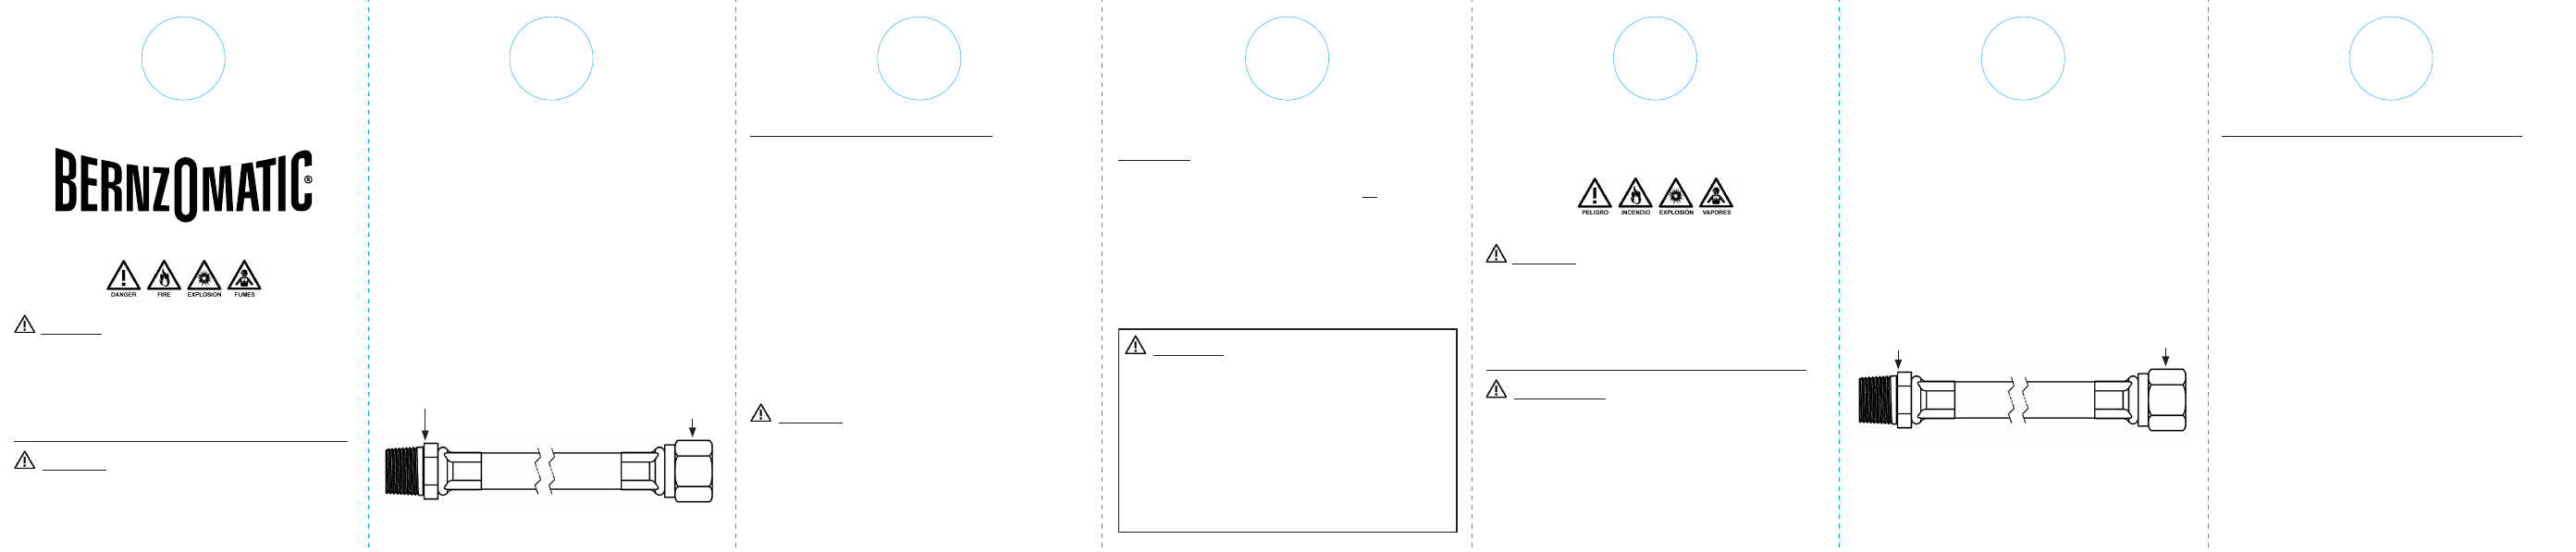
3/8" Flare
Fitting
3/8" NPT
Installation Guidelines for Hose Assembly
turn burner control knob on portable LP-Gas appliance
1.)
to “off” position. turn LP-Gas “off” at cylinder by
turning the cylinder valve handle fully clockwise.
Route the hose through any required openings being
2.)
sure to avoid any areas that may cause wear or cut the
hose. Also avoid contact with any potential hot surfaces
on the appliance. Be sure that the hose does not create
a trip hazard.
Clean the male threads on the hose fitting. Apply teflon
3.)
®
tape to the male thread of the hose that will attach to
the regulator. Install to regulator using proper size
wrenches.
Connect the 3/8" flare fitting to the appliance by rotating
4.)
the fitting clockwise. tighten using the proper size
wrenches.
WARNING
When leak testing the connections:
Conduct leak test outdoors in a well ventilated area.
•
Do not smoke.
•
Do not use or permit sources of ignition in the area
•
while conducting a leak test.
Do not use matches, lighters or flame to check for leaks.
•
Do not use the appliance until any leaks are corrected.
•
Leak Testing
Before lighting your appliance, check for leaks by
1.)
applying a mild soapy water solution to all connections.
Slowly open the cylinder valve and check for leaks. the
appearance of bubbles indicates a leak.
Repair any leaks prior to lighting your appliance. If
2.)
you cannot stop a leak by additional tightening of the
connection, shut off the LP-Gas supply at the cylinder
valve and have an LP-Gas service person make the
needed repairs
WARNING
Materials used in the construction of this device
•
may contain brass (which may contain lead),
a chemical known to the State of California
to cause cancer, birth defects, or other
reproductive harm.
Combustion byproducts produced when using
•
this device contain chemicals known to the
State of California to cause cancer, birth defects
or other reproductive harm.
compra original y obtenga el conjunto de manguera
correcto para su artefacto a gas.
Examine el nuevo conjunto de manguera para verificar
•
que no esté dañado. no use el conjunto de manguera
si está dañado. Si estuviera dañado, devuélvalo al lugar
original de compra.
Sólo debe moverse el artefacto a gas, quitarse el
•
conjunto de manguera viejo e instalar un nuevo
conjunto de manguera cuando el artefacto esté frío.
nO use el artefacto hasta que se finalice la prueba de
•
fugas y se corrija cualquier fuga presente.
Adaptador de llama
3/8 de pulg. (9.5 mm)
3/8 de pulg.
(9.5 mm) NPT
Manguera de 5 pies (1.5 m) y
10 pies (3 m) para propano
PELIGRO
Si no se cumplen estas advertencias e instrucciones,
se pueden producir una explosión o un incendio
que pueden causar daños materiales, lesiones
personales graves o la muerte.
NO DESECHE ESTAS ADVERTENCIAS E INSTRUCCIONES
ADVERTENCIA
Para gas LP (propano líquido) únicamente.
•
Lea todas las instrucciones antes de instalar y usar.
•
La desconexión de un conjunto de manguera viejo o la
•
instalación de un nuevo conjunto de manguera deben
realizarse al aire libre en un área bien ventilada.
nO
•
modifique este conjunto de manguera. Si el
conjunto de manguera no calza, devuélvalo al lugar de
Pautas de instalación para el conjunto de manguera
Gire la perilla del control del quemador del artefacto
1.)
portátil de gas LP a la posición “off” (cerrado). Cierre el
paso de gas LP en el cilindro haciendo girar la manija de
la válvula del cilindro totalmente hacia la derecha.
Pase la manguera sobre cualquier abertura según sea
2.)
necesario, asegurándose de evitar cualquier área que
cause desgaste o cortes en la manguera. también evite
el contacto con cualquier superficie del artefacto que
pueda estar caliente. Asegúrese de que la manguera no
cree un peligro de tropiezo.
Limpie las roscas macho del adaptador de la
3.)
manguera. Aplique cinta de teflon
®
a la rosca macho
de la manguera que se conectará al regulador. Instale
en los reguladores usando llaves de los tamaños
correspondientes.
Conecte el adaptador de llama de 3/8 pulg. (9.5 mm) al
4.)
artefacto rotando el adaptador hacia la derecha. Ajuste
con una llave del tamaño correcto.