Removing the master distribution pcb assembly – Allen&Heath ML5000 SERVICE MANUAL User Manual
Page 32
ML5000 Service Manual
31
Removing the Master Distribution PCB assembly
To access the Group and Auxiliary PCB assemblies it may be necessary to remove the Master
Distribution PCB.
Before beginning any service work, remove all power to the unit and disconnect any signal cables
where necessary. Ensure adequate lighting and use the correct tools.
1) Before
removing
the
Master Distribution PCB assembly, the console base must first be
removed.
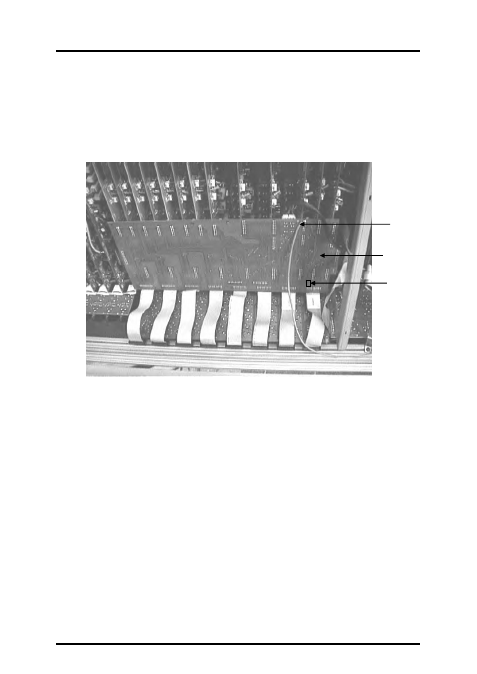
2) Locate
the
Master Distribution PCB assembly positioned near the centre of the console (see
fig.7).
3)
Unplug all attaching IDC wireforms from the
Master Distribution PCB assembly.
4)
Desolder the Earth wire from the PCB then carefully remove the
Master Distribution PCB by
pulling it away from the console.
5)
To refit the
Master Distribution PCB assembly, follow the above procedure in reverse order.
Use an inspection mirror to check that each connector and IDC harness is correctly aligned
and plugged on.
Note: If a switch is fitted to the rear of the Master Distribution PCB rather
than solder links then make sure that it is set correctly. Test for correct operation.
fig.7
Master
Distribution
PCB
Earth wire
LCR Option
links or
switch