Operation, Warning – Echo 7812086 Owners Manual v.2 User Manual
Page 14
Bear Cat Owners Manual
10
Section
#
As with any other piece of outdoor power equipment, getting
the feel for how your machine operates and getting to know the
best techniques for particular jobs are important to overall good
performance.
CHIPPING OPERATION
The chipping operation takes place on the rear of the machine,
where hardened steel chipper blades are mounted on a rotating
rotor assembly. Material fed into the chipper chute is sliced into
small chips and propelled out through a discharge tube.
4.1 STARTING DIESEL MODELS
Move the machine to a clear, level area outdoors before starting.
Do not operate in the vicinity of bystanders. Make sure the cutting
chamber is empty before starting.
Check engine oil level before starting.
Fill fuel the tank with fresh, clean diesel fuel. See the engine
owners manual for instructions on bleeding the fuel system
on initial start up or if fuel runs out.
Disengage the engagement handle.
Move the key switch to the PREHEAT position. Wait until
the glow lamp lights up to indicate that the glow plug has
completed pre-heating.
For chippers with a reset button on the control panel activate
the key switch to start the engine. Release the key switch
immediately when the engine starts. Do not crank engine
for more than 10 seconds.
For chippers with a Murphy switch, push in and hold the
Murphy switch until the oil pressure appears on the gauge.
Activate the key switch to start the engine. Release the key
switch immediately when the engine starts. Do not crank en-
gine for more than 10 seconds. Continue to hold the Murphy
switch until the engine has enough oil pressure to run.
With the engine at 1100 RPM, carefully engage the rotor by
slowly pushing the engagement handle up.
Allow the machine to reach full RPM (2600 RPM) before
starting to chip material.
1.
2.
3.
4.
5.
6.
7.
WARNING
Before operating your machine, be sure you read and
understand all safety, controls and operating instructions in
this Owner/Operators manual and on your machine. Failure
to follow these instructions can result in serious injury or
property damage.
Operation
WARNING
Allow the machine to come to complete stop before
inspection or servicing. The rotor is heavy and has inertia
built up that will allow the rotor to turn for some time after the
clutch has been disengaged. You can tell when the rotor has
come to a complete stop when there is no noise or machine
vibration present. You can reengage the clutch to slow the
rotor to a stop.
4.2 STOPPING THE CHIPPER
Lower the throttle to 1500 RPM by pushing down on the
throttle toggle switch located on the control panel and let the
rotor and engine slow down before releasing the belt.
Disengage the engagement handle to release belt.
Let machine idle for a few seconds.
Turn the key switch to the OFF position.
Allow machine to come to a complete stop.
1.
2.
3.
4.
5.
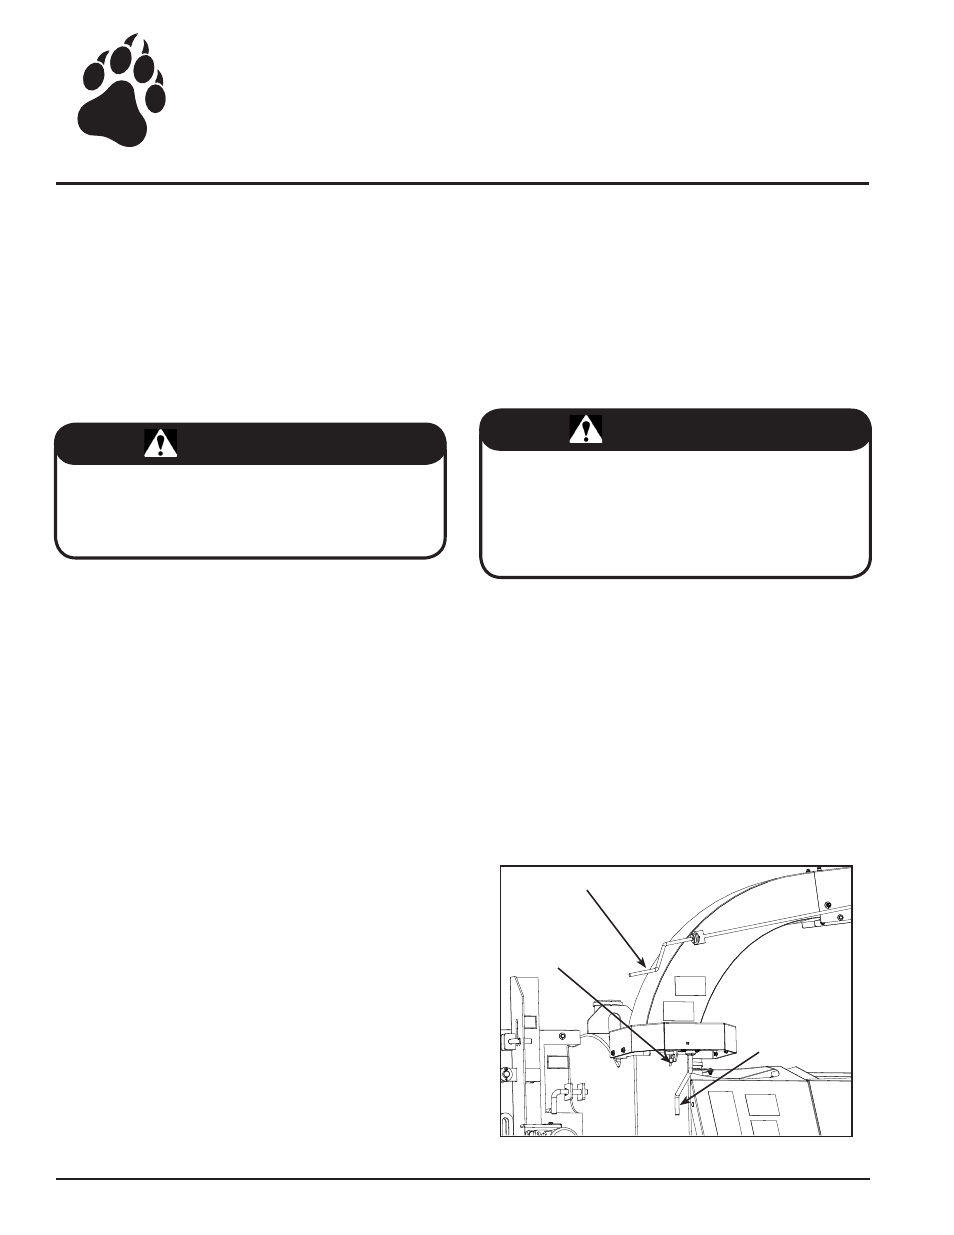
4.3 DIRECTING THE DISCHARGE CHUTE
The discharge chute can rotate 360° and lock into different
positions using the chute rotator. The discharge cap directs how
high and how far the chipped material blows.
To adjust the discharge chute, lift up the rotator lock. Turn the
discharge chute until the chute faces the desired position; let go
of the rotator lock and fine tune the position of the chute until the
lock snaps in place (Figure 4.1).
Adjust the discharge cap by turning the discharge cap crank.
Turning the handle clockwise will raise the position of the
discharge cap. Turning the handle counterclockwise will lower
the position of the discharge cap.
Figure 4.1 - Directing the Discharge Chute
Discharge Cap Crank
Discharge Chute
Crank
Rotator Lock
4