Chapter 2 install, configure, crawl, and search, Installing the gsa – Google Search Appliance Getting Started Guide User Manual
Page 6
6
passwords
secret
Chapter 2 Install, Configure, Crawl, and Search
This chapter covers installing and configuring your GSA to get search up and running quickly.
Installing the GSA
This section provides a brief overview of how to install the GSA. For all the details of installing your GSA,
s
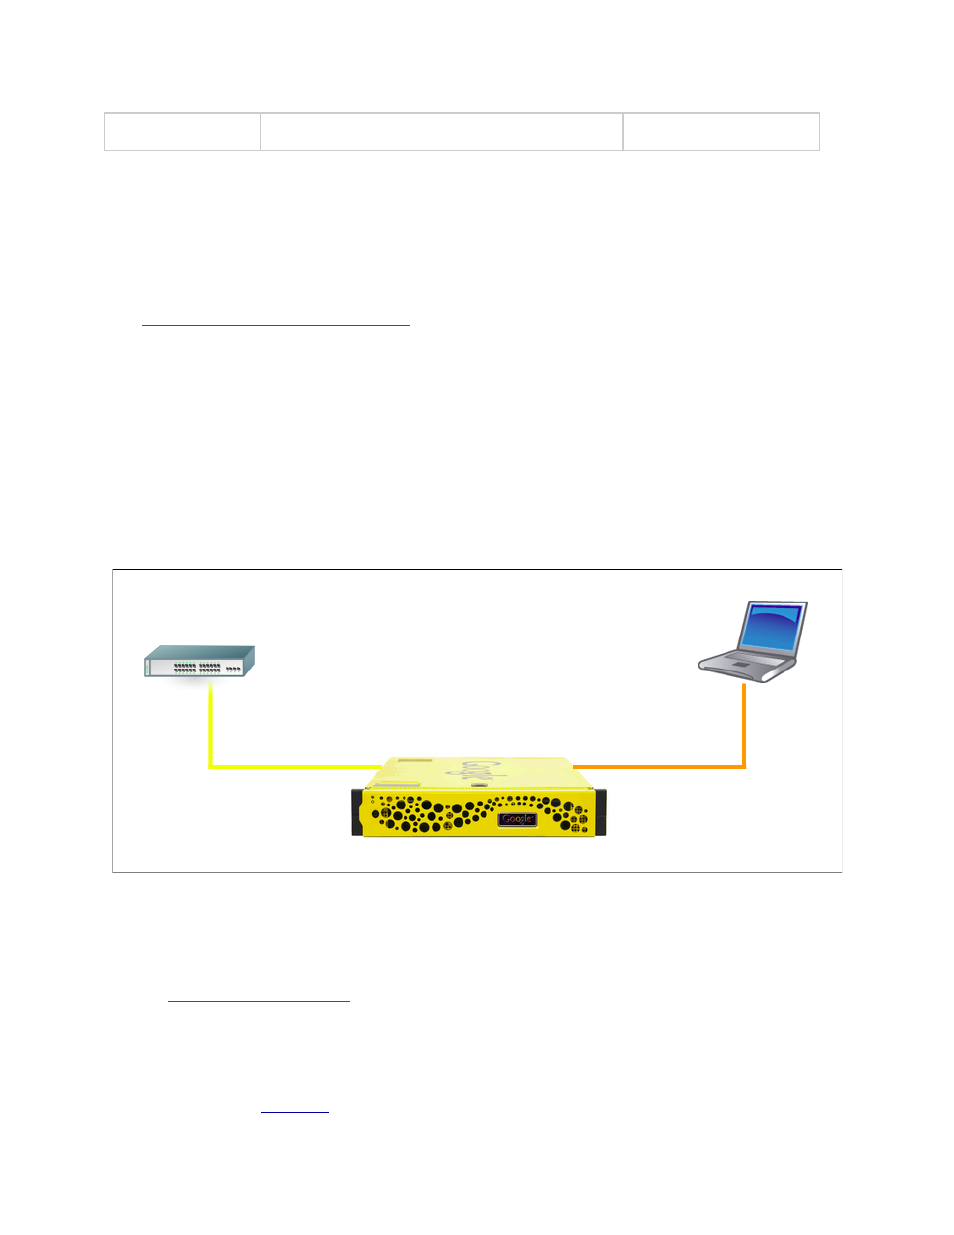
Connecting the GSA to the network
The first step is to connect your GSA to the network and a notebook computer. Make sure your notebook
computer is using DHCP and does not have a proxy configured before powering on the GSA. Connect
your GSA to the network as shown in the following figure:
●
Use the yellow cable to connect the yellow port on your search appliance to the network.
●
Use the orange cable to connect the orange port on your search appliance to your notebook
computer.
Configuring the network and system
Once the GSA has started, you can start configuring the GSA by performing the following steps:
1.
Using your notebook computer, start a web browser and go to the following URL:
The Network and System Settings wizard runs.
2.
Accept the End User License Agreement.
3.
Enter the configuration information that you gathered into the wizard, from the worksheet you
completed in