Google Remarketing in AdWords Seven-Minute Setup Guide User Manual
Page 4
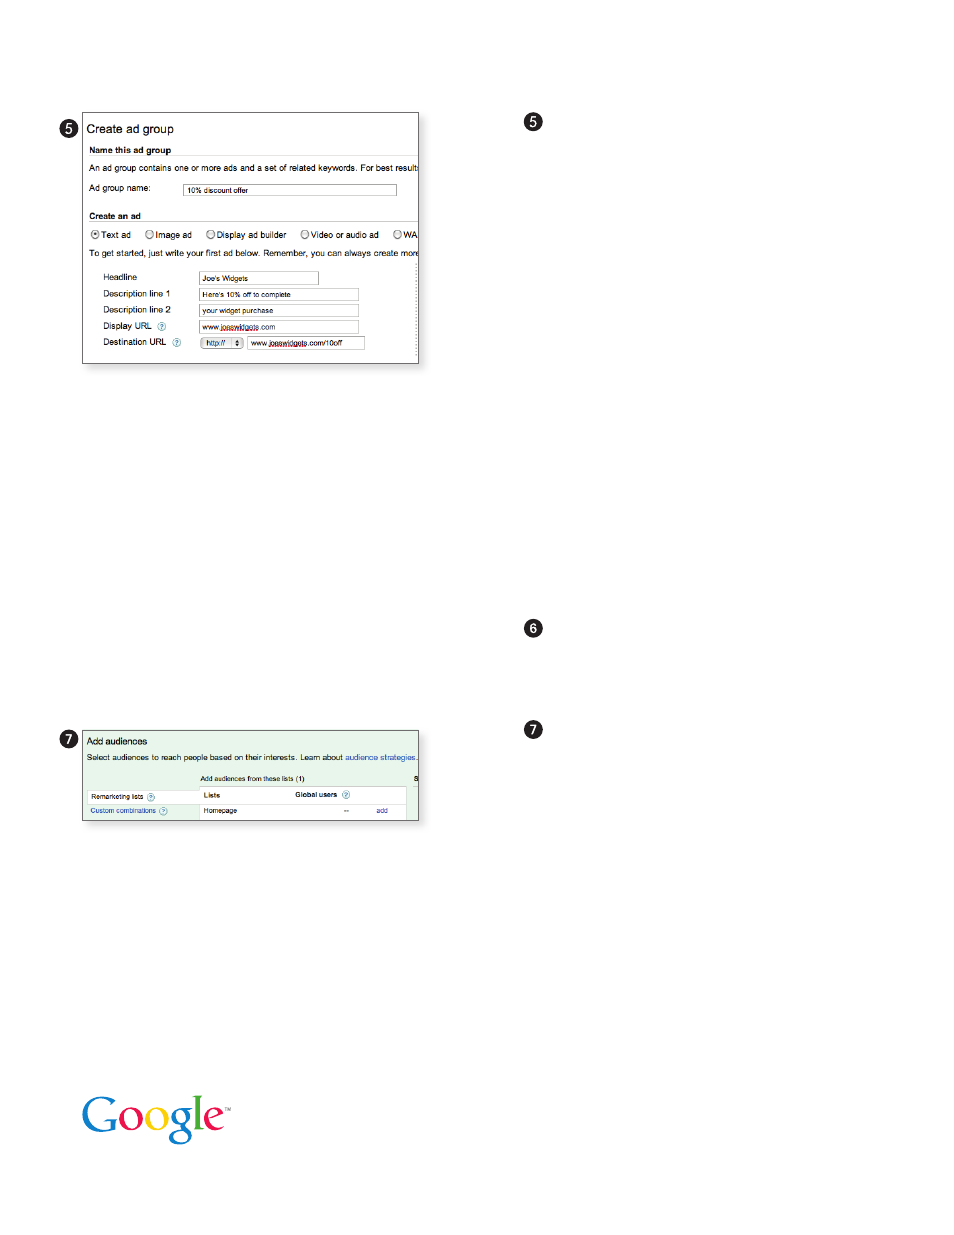
Create a New Ad Group
After you’ve saved your campaign settings,
you’ll be prompted to create a new ad
group, just as you would for a Display
Network campaign.
You can use both text and display ads with
remarketing, and it’s a good practice to have
both types of ads to ensure that you reach
a larger number of users. Remember that
with remarketing, you’re reaching people
who have showed an interest in your product
or service, so you might want to include a
special offer in your ad to encourage return
visits. Later, if you choose to tag individual
pages on your site, you can create customized
messages based on the pages your visitors
viewed. For example, if someone browsed
your page displaying your underwater camera
models, you can show them an ad specific
to underwater cameras. And don’t forget
that you can create free custom display ads
quickly and easily using Display Ad Builder.
Save Ad Group
Leave the Keywords and Placement sections
blank, then hit
Save ad group
.
Add Remarketing List
Almost there. The last step is to add your
remarketing list to this ad group. Click the
Audiences
tab, then
Add audiences
. Select
Remarketing lists
, then pick the remarketing
list you just created (in our example,
“homepage visitors”). Click
Save
.
And you’re done! Your ads are now eligible to be shown to users who have previously
visited your site.
For more help and tips on how to optimize your campaign, check out the Interest-Based
Advertising section of our AdWords Help Center at
http://goo.gl/T8ROR
.
© Copyright 2011. Google is a trademark of Google Inc.
All other company and product names may be trademarks of the respective companies with which they are associated.