Arranging regions in the timeline – Apple GarageBand Tutorial: Lesson 1 User Manual
Page 7
Lesson 1: Building a Basic Arrangement
7
Adding Loops to the Timeline
When you find a loop you want to use in your song, you add the loop to the timeline.
To add a loop to the timeline:
m
Drag the loop from the loop browser to an empty part of the timeline where there is no track. A
new track of the appropriate type is created, and the loop is added to the new track.
You can also create a new track, then drag a loop of the same type (Real or Software Instrument)
to the track. To learn about creating tracks, see Lesson 2 and Lesson 3.
There are two types of Apple Loops: Real Instrument loops or Software Instrument loops. In the
loop browser, the loop’s icon shows which type each loop is. Real Instrument loops can be
dragged only to a Real Instrument track, and Software Instrument loops can be dragged only to a
Software Instrument track. Either type can be dragged to an empty part of the timeline to create
a new track.
When you add a loop to a song, a region is created from the loop in the timeline. The edits you
make to the region do not change the original loop, so you can always return to the original
sound of the loop or use it in another song.
Now try adding some of the drum and bass loops you found earlier to the timeline.
Arranging Regions in the Timeline
Once you’ve added several loops to the timeline, you can make changes to their regions in the
timeline to start building the arrangement of the song.
There are several ways you can arrange regions in the timeline. You can:
•
Cut, copy, and paste them
•
Loop them
•
Lengthen or shorten them
•
Move them to another part of the timeline or to another track
•
Transpose them to a different key
Note:
To select regions and perform other actions such as looping and resizing, you may need to
zoom in on the region so that it is large enough to select.
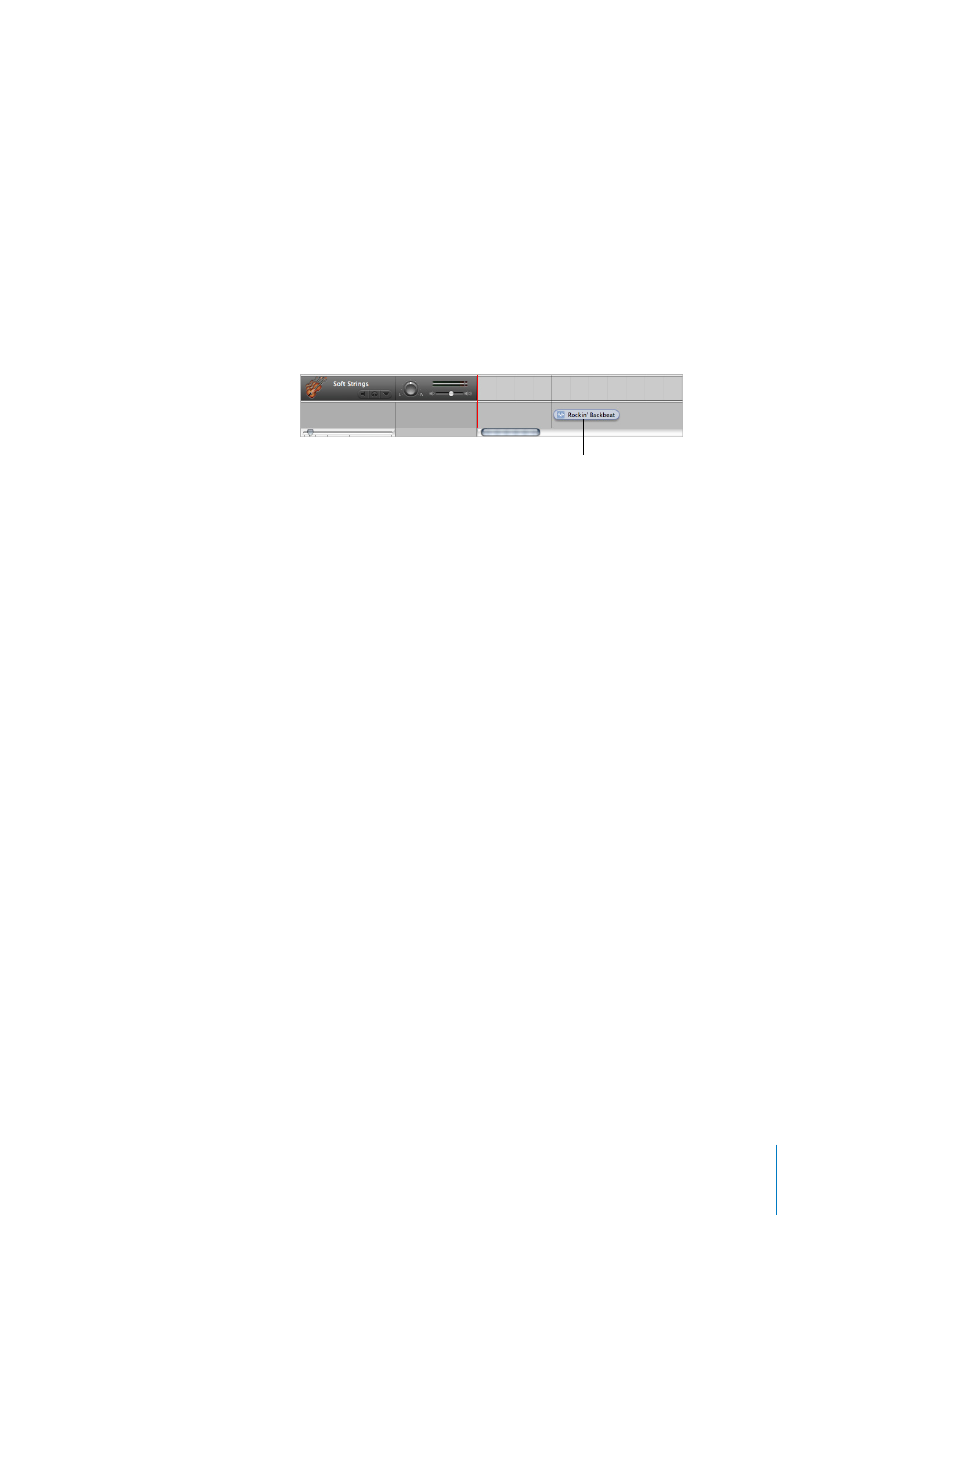
Drag a loop to an empty part of the
timeline to create a new track for the loop.