Changing software instrument settings – Apple GarageBand 2.0 User Manual
Page 51
Chapter 7
Working with Software Instruments
51
4
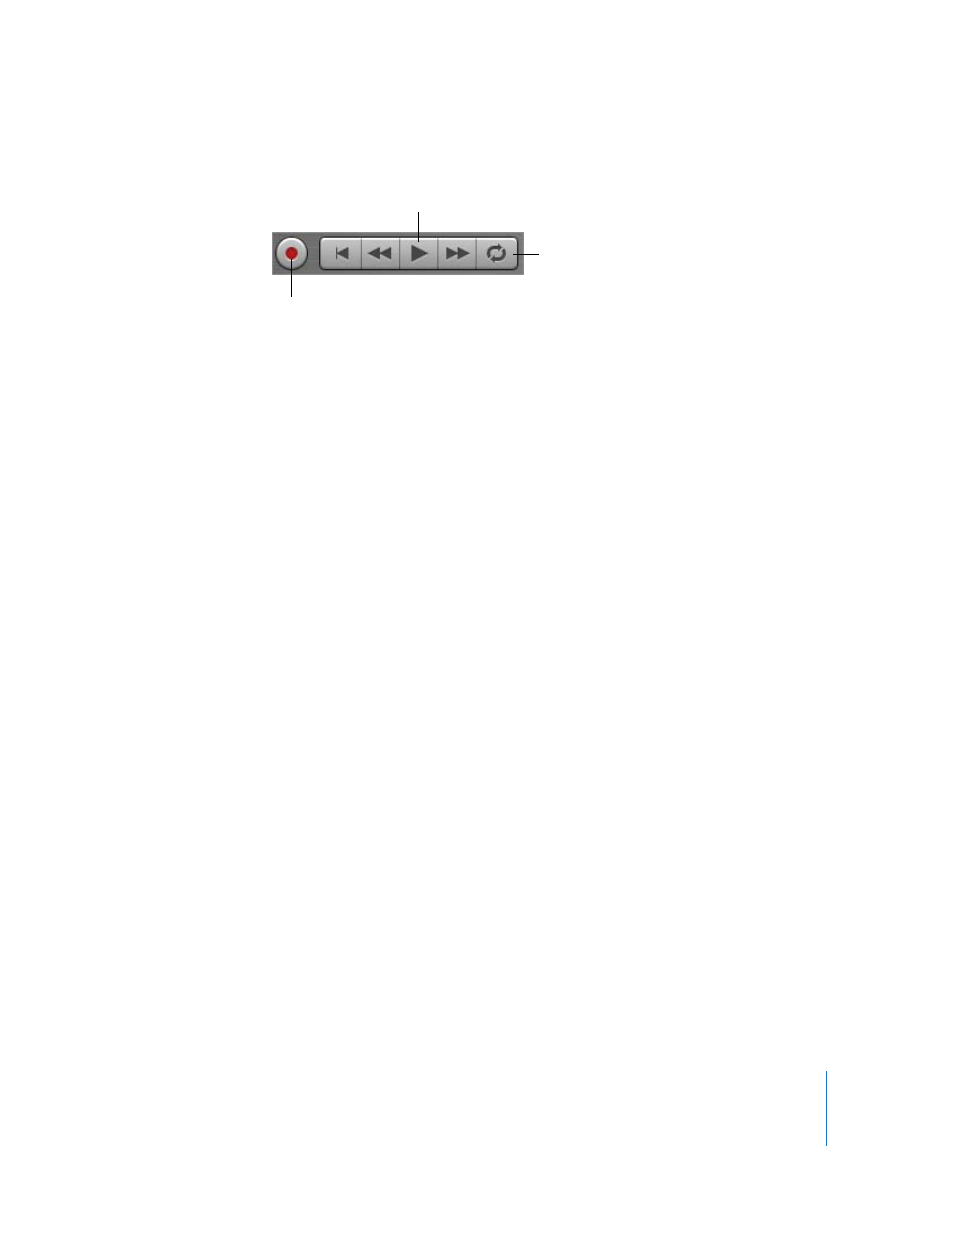
Click the Record button to start recording.
5
Start playing your music keyboard, or clicking notes on the onscreen music keyboard.
As you record, a new region appears in the selected Software Instrument track.
6
When you are finished, click the Record button again to stop recording. Click the Play
button to stop the song playing.
After you record, you can listen to your new recorded part to see how you like it.
To hear the new recording:
1
Move the playhead to the point in the timeline where the new region starts (align it
with the left edge of the region). You can also move the playhead to an earlier point in
the song, or to the beginning of the song, to hear the new recording in the context of
the song.
2
Click the Play button, or press the Space bar.
Recording a Software Instrument With the Cycle Region
You can record a Software Instrument using a cycle region, similar to how you would
with a Real Instrument. When you record a Software Instrument with a cycle region,
you can keep recording for as many times as the cycle region repeats. Each new cycle is
merged with the region created the first time through the cycle region. For information
on recording using a cycle region, see “Recording a Real Instrument With the Cycle
Region” on page 43.
Changing Software Instrument Settings
When you create a Software Instrument track, you select an instrument for the track in
the New Track dialog. You can change the instrument in the Track Info window.
To change the instrument for a Software Instrument track:
1
Select the track, then click the Track Info button to open the Track Info window.
2
Select an instrument category from the list on the left, then select a track instrument
from the list on the right.
Record button
Play button
Cycle button