Apple PowerBook G3 User Manual
Page 31
Using Your PowerBook and Connecting to a Network
31
Removing an Expansion Bay Module
Before removing an expansion bay module from your PowerBook, you need to make sure
that it is not in use and that it does not contain a floppy disk, CD, or other media. To remove
an expansion bay module from your Macintosh PowerBook, follow these steps:
1
Place your PowerBook on a hard flat surface.
2
Click the Expansion Bay icon in the Control Strip to determine whether the expansion bay
module is ready to be removed.
If the Control Strip indicates that the expansion bay module is not removable, quit any
application programs or files that may be using it. Then do one of the following:
m Drag the icon of the floppy disk, CD, or other media that is inserted in the module to the
Trash.
m Click the icon of the floppy disk, CD, or other media that is inserted in the module and
choose Put Away from the File menu or choose Eject from the Special menu.
m Click the Expansion Bay icon in the Control Strip and choose Make Right Module
Removable from the menu that appears.
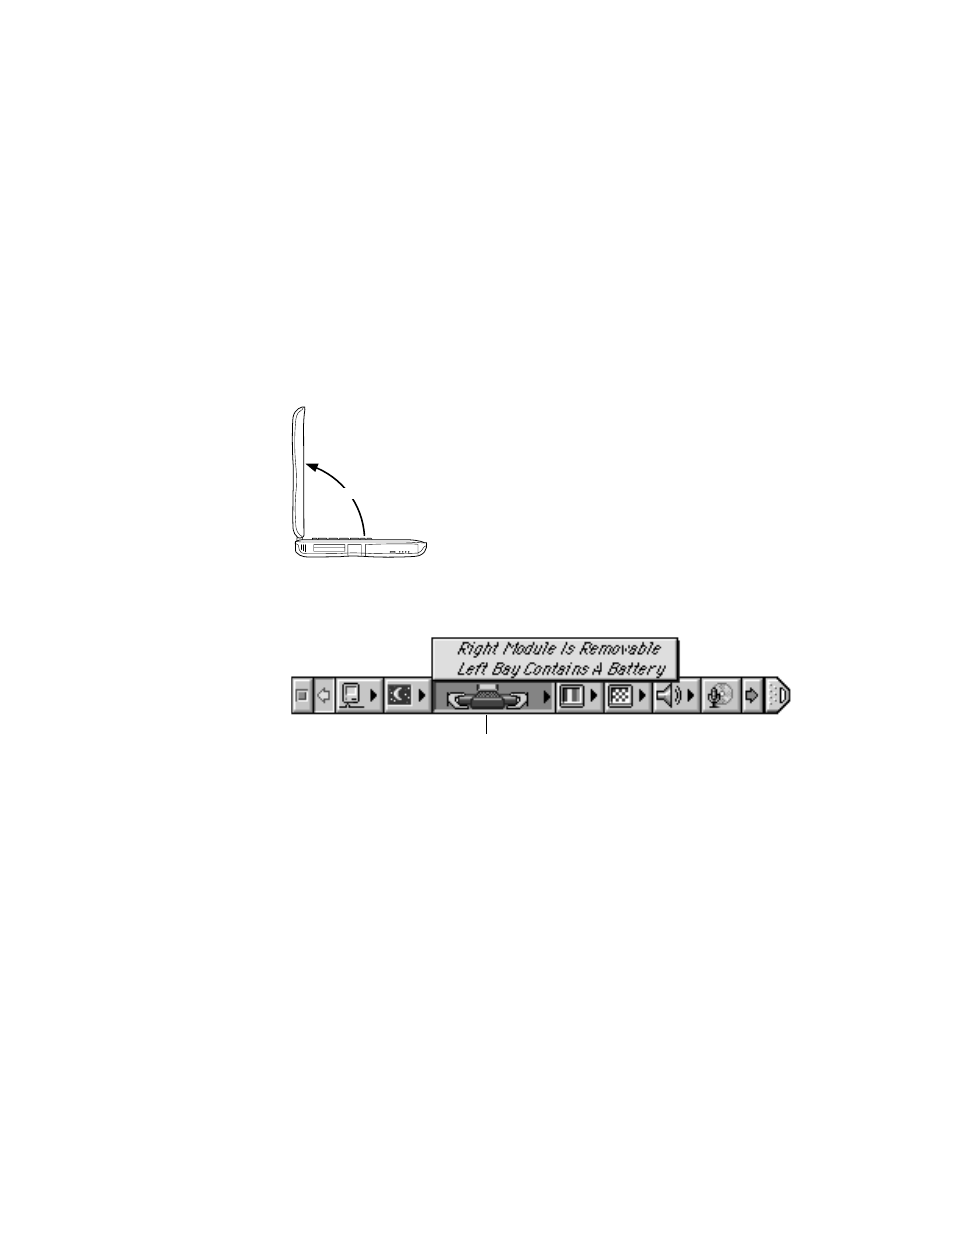
Important
If you are going to remove both expansion bay modules at the same time,
adjust your PowerBook display so that it is at a 90-degree angle to the computer. If the
display is adjusted too far back, your PowerBook may tip backward when both expansion
bays are empty.
90
o
Expansion Bay icon
Important
Do not remove an expansion bay module that is in use, or you may lose data. If
you try to remove the module when it is in use, you’ll see a message telling you to
reinsert it.