How to record from the internal deck, Recording a single track – Philips CDR700BK User Manual
Page 20
20
English
Recording a single track
These recording modes are ideal for recording tracks from
several CD’s. If you are making a compilation CD you can
do it either at high speed (
RECORD FAST
) or while
listening to the tracks (
RECORD LISTEN
). Finalization is
not executed automatically.
Preparing
1
Place an unfinalized CDR(W), absolutely free of scratches
and dust particles in the left CDR tray.
Place the disc from which you want to record in the right
CD tray.
2
With the CD recorder stopped, press TYPE one time to
select RECORD FAST or two times to select RECORD
LISTEN.
➜ The display first shows
RECORD FAST
or
RECORD
LISTEN
.
The
RECORD
label starts blinking. After 3 seconds
the display shows the remaining CDR(W) recording
time on the left and total time of source on the right.
(every 2 seconds
PRESS RECORD
is displayed.)
3
Program the track(s) for recording.
Press PROG to select one or more tracks for recording
(see programming):
-
rotate the EASY JOG/ENTER button to the required track
number, then press the button (or ENTER on the remote
control)
or
-
directly select the track number via the 10-keypad on the
remote control, then press the ENTER button to confirm
your selection and go to the next step.
4
Press STOP
9 or PROG to end programming.
➜
PROG
lights continuously.
Recording
5
Press RECORD to start recording the program.
➜
WAIT
lights up.The display shows the total remaining
time for the selected recording. High speed recording
starts.
RECORD
lights continuously.
0
For recording from the internal deck (RECORD FAST, REC
LISTEN or MAKE CD) we advise you to leave the
recording level at its factory setting (0 dB).
Note: It is possible to equalise the recording level of tracks
recorded from different CD’s. See the next paragraph.
0
To check the track number and track time, press DISPLAY.
This can be done during recording.
0
Recording will stop automatically.
Note: Copy prohibited tracks will be copied analog.
ANALOG
REC
is displayed.
6
To stop recording manually, press STOP
9.
➜
UPDATE
lights up,
RECORD
goes out and
recording stops. (Minimal track length must be 4 seconds
otherwise silence will be added to the track.)
7
Press STOP
9 one more time to remove the program of
tracks, if any.
8
Insert a new disc from which you want to record and
resume at step
1
.
0
If STOP
9 was pressed within 3 seconds after RECORD, no
recording will take place.
0
After recording, the display shows
UPDATE
for several
seconds.The Total time indications can differ slightly.
However, no music information is lost.
Note: In this Recording mode, the Pause function is not
operative.
Finalizing
If you want to play the recorded CD(RW) on a normal
CD player, you must first finalize the disc. Please note that
you cannot add anymore tracks on a finalized CDR.
See Finalizing CDR and CDRW discs. When all tracks are
recorded you can finalize the CDR(W) disc:
9
With the recorder stopped press FINALIZE.
➜ The display shows
FINALIZE CD
and
PRESS
RECORD
.
10
Press RECORD.
➜
XX XX FINAL
and the approximate finalization time
appear on the display.
0
The display counts down through the finalization. On
completion, the total number of tracks and the total time
recorded appears on the display.
0
For CDR(W),
changes to
on display.
Notes:
Finalizing will take at least 2 - 4 minutes.
During finalization, the CD recorder accepts no operating
commands.
When a CDR is finalized no more recordings can be added.
RW
CDR
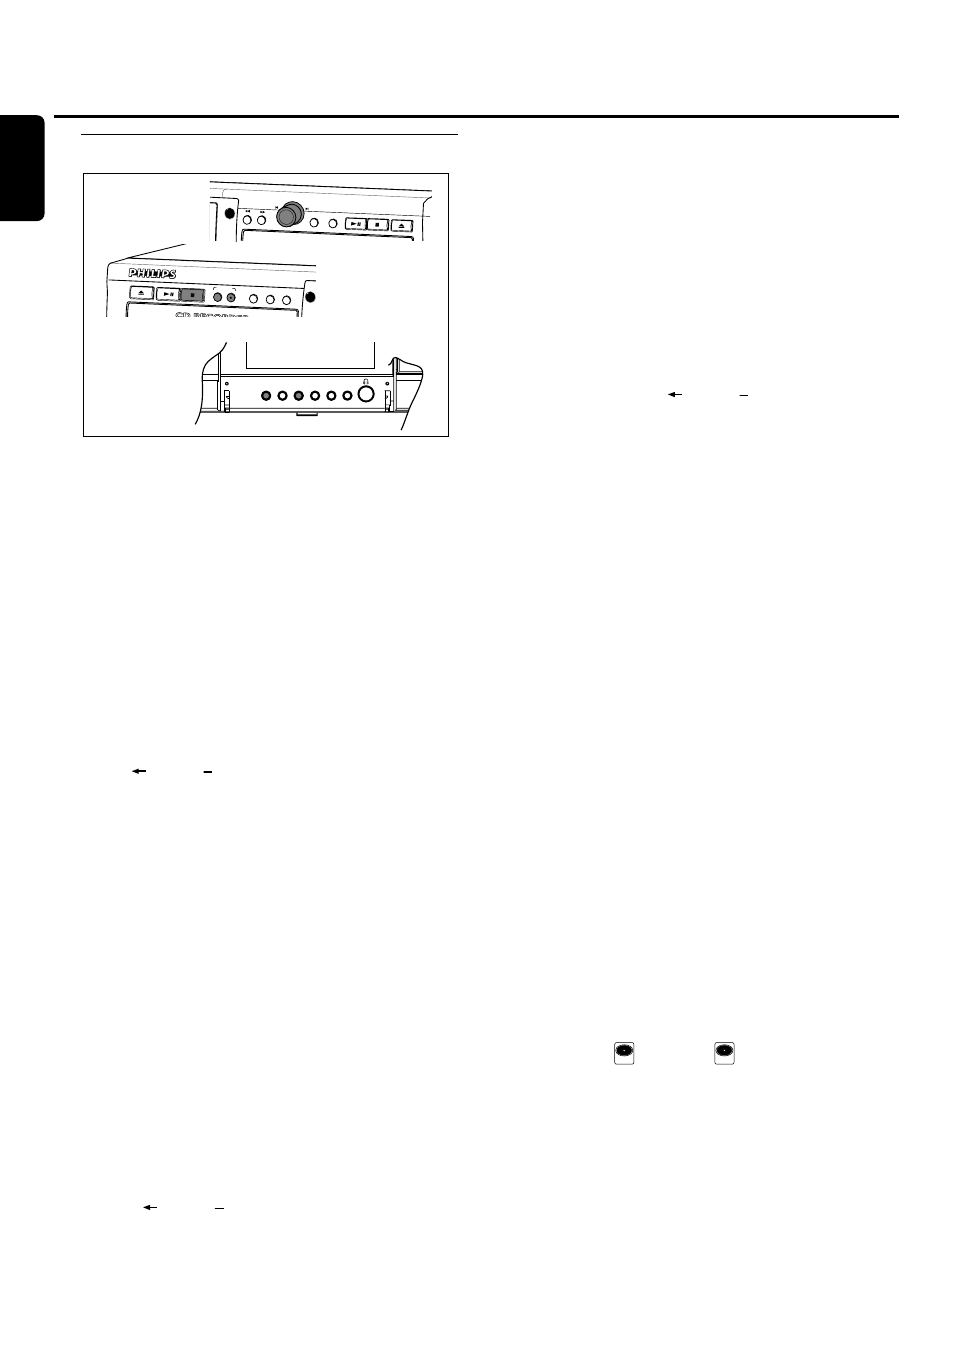
AUDIO CD PLAYBACK
ERASE
EXT SOURCE
TYPE
RECORDING
RECORD
OPEN/CLOSE
PLAY/PAUSE
STOP
FINALIZE
DJ MODE
REPEAT
SCROLL
DISPLAY
SHUFFLE
PROG
EASY JOG
CD
AUDIO CD PLAYBACK
ENTER
STORE/MENU CANCEL/DELETE
PLAY/PAUSE
STOP
OPEN/CLOSE
How to record from the internal deck