Editing a grid, Creating an evenly spaced grid – Philips TSU600099 User Manual
Page 33
ProntoProEdit 3.0 - User Manual
Basic CCF Actions
Philips
Page 33 of 76
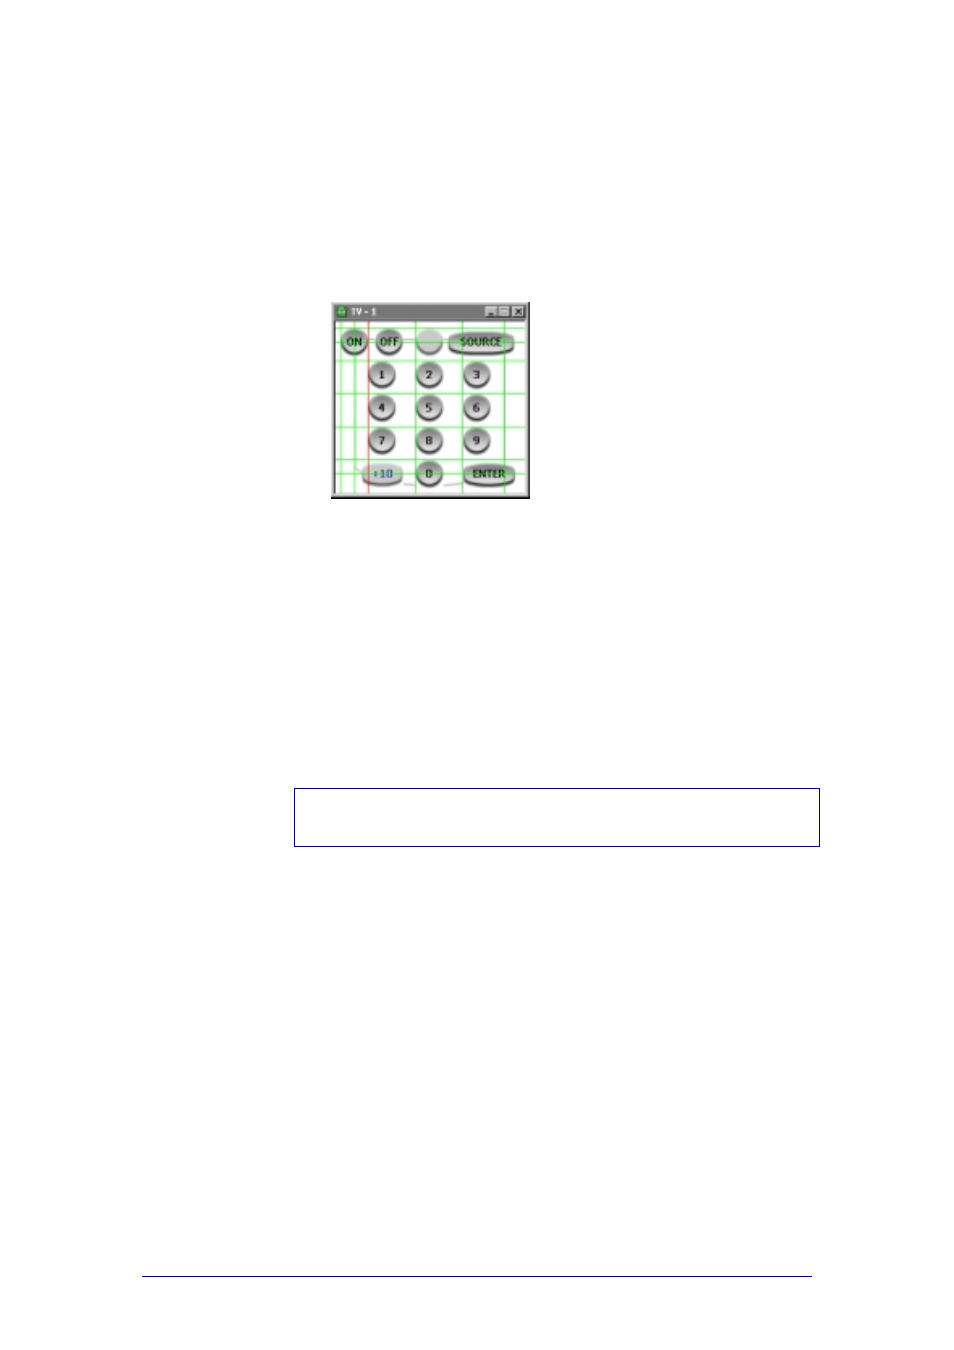
Editing a grid
1
Open the panel and display the grid of the panel as described in
“
The option Edit Grid is only enabled if the grid is displayed.
2
Right-click in the panel and select Grid > Edit Grid from the context
menu.
The blue grid lines change into green grid lines.
3
Select the grid line you want to edit.
The selected grid line turns red.
4
Edit the grid:
Drag the selected grid line and move it to the position you want.
Press CTRL while dragging to add a grid line.
Press CTRL while pressing the arrow keys to add a grid line at the
same distance of two other grid lines.
Press DELETE to remove a grid line.
Every grid must contain at least one horizontal and one vertical grid
line. Therefore, the last remaining horizontal and vertical grid line
cannot be deleted.
Press SHIFT and use the mouse or the arrow keys to move an
entire grid.
When you put a grid line on top of another grid line and deselect the
grid line, the two grid lines are merged.
Note
Positioning frames and buttons is not possible in Edit Grid mode. You have to
disable this mode and work in Display Grid mode.
Creating an evenly spaced grid
1
Open the panel and display the grid of the panel as described in
“
The option Auto Grid is only enabled if the grid is displayed.
2
Right-click in the panel, select Grid > Auto Grid from the context menu.
The ‘Auto Grid Settings’ window appears.
3
Select the number of pixels from the Horizontal Spacing and Vertical
Spacing drop-down list.
The distance between the grid lines is defined.
4
Click OK.
The grid lines you defined are displayed.