Philips BDS4621-27 User Manual
Page 11
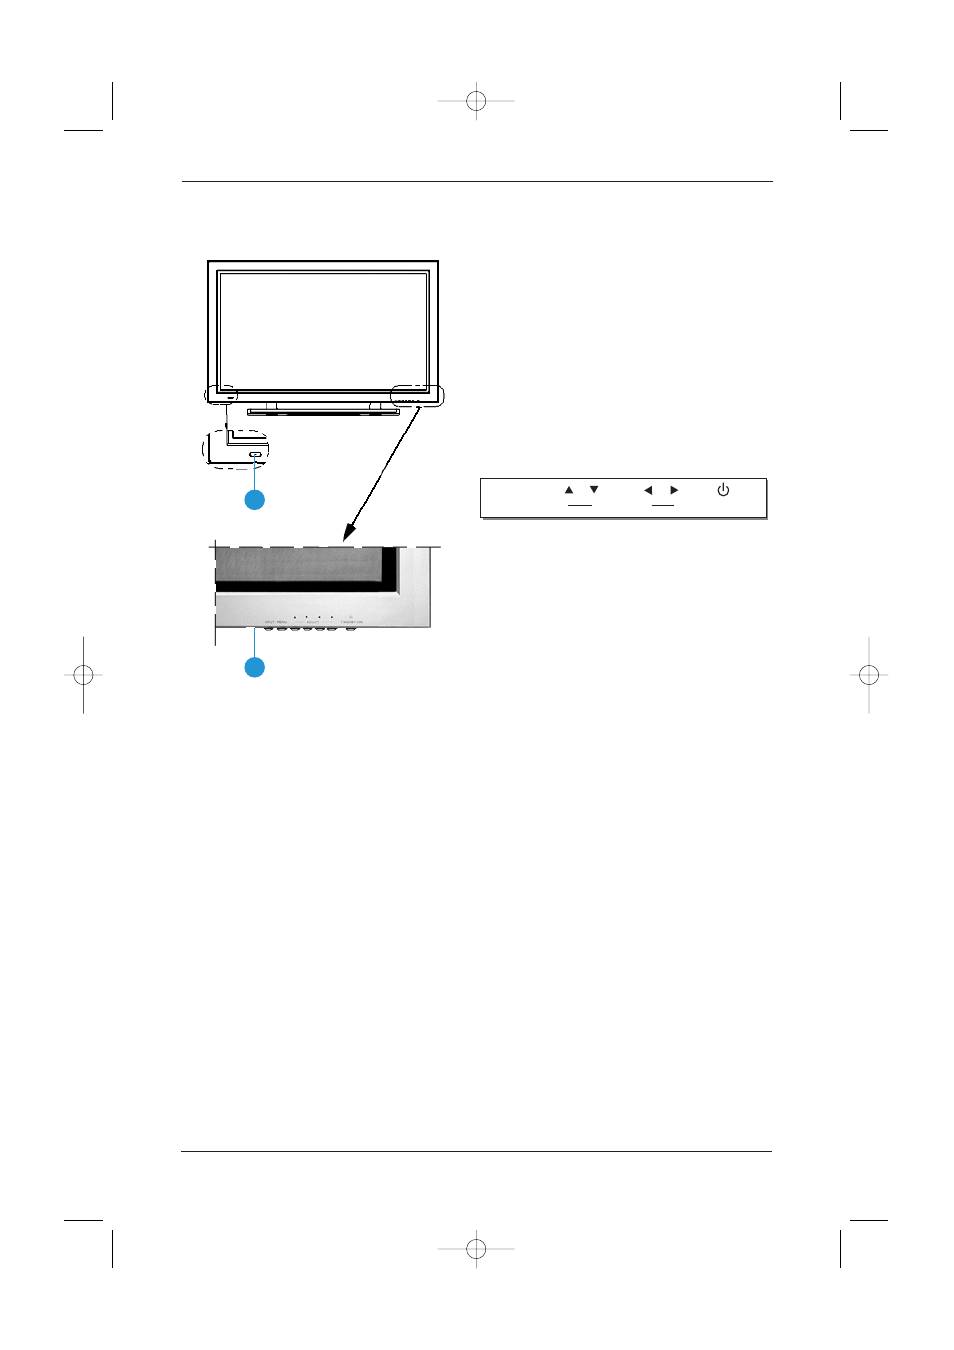
5.2 Front View
1
Remote control window
The window includes the power indicator
and the IR remote control sensor. LEDs are
used to indicate the power status.
• Indicator ON (red) means: ‘Standby’ mode.
• Indicator ON (green) means: ‘Power ON’
mode.
• Indicator flashing (red/green) alternately
means: ‘Power Saving’ mode or switching
from Standby to Power On.
2
Buttons: The functions of the buttons
are described as follows:
INPUT
Select appropriate signal source directly.
(Depending on the module, the available signal
source options may vary).
A. PC Module: RGB 1 → RGB 2 (Circular dis-
play).
B. PC Module + Video Module:
RGB 1 → RGB 2 → AV1 → S-Video → Y
Cb/Pb Cr/Pr (circular display).
Note: When pressing this button to display
‘OSD Menu’, the signal sources can be
selected by using the ▲ ▼ arrow
buttons.
MENU
Enter ‘OSD Menu’ and select ‘OSD Menu’ page,
the pages appear in the following sequence:
Display → Image (for PC input) or AV System
(for Video input) → Audio → Language and
Screen Saver → Misc. → Status (circular display).
▲ ▼
UP/Down buttons
A. They are used as Up/Down buttons in the
‘OSD Menu’ screens.
B. They are used for quick adjustment when
the ‘OSD Menu’ is not displayed on the
screen.The screen displays in the following
sequence: Balance→Bass→Treble→Volume→
PIP Source*→Contrast* →Brightness*
(circular display).The adjustment is made in
conjunction with the
p π
arrow buttons.
Note: ‘PIP Source’ is only for PC input.
‘Contrast’ and ‘Brightness’ is only for
Video input.
11
User Manual BDS4621
1
2
INPUT MENU
STANDBY/ON
ADJUST
BDS4621_EN.qxd 13-12-2004 10:38 Pagina 11