Color management, Activating the blue filter, Color management activating the blue filter – BenQ W500 User Manual
Page 32: English color management
32
Using the projector
English
Color management
In most installation situations, color management will not be necessary, such as in classroom, meeting room, or
lounge room situations where lights remain on, or where building external windows allow daylight into the
room.
Only in permanent installations with controlled lighting levels such as boardrooms, lecture theaters, or home
theaters, should color management be considered. Color management provides fine color control adjustment to
allow for more accurate color reproduction, should you require it.
Proper color management can only be achieved under controlled and reproducible viewing conditions. You will
need to use a colorimeter (color light meter), and provide a set of suitable source images to measure color
reproduction. These tools are not provided with the projector, however, your projector supplier should be able to
provide you with suitable guidance, or even an experienced professional installer.
The Color Management provides six sets (RGBCMY) of colors to be adjusted. When you select each color, you
can independently adjust its range and saturation according to your preference.
If you have purchased a test disc which contains various color test patterns and can be used to test the color
presentation on monitors, TVs, projectors, etc. You can project any image from the disc on the screen and enter
the Color Management menu to make adjustments.
To adjust the settings:
1. Go to the Picture--Advanced menu and highlight Color Management.
2. Press ENTER and the Color Management page displays.
3. Highlight Primary Color and press eLeft orfRight to select a color from among Red, Yellow, Green, Cyan,
Blue, or Magenta.
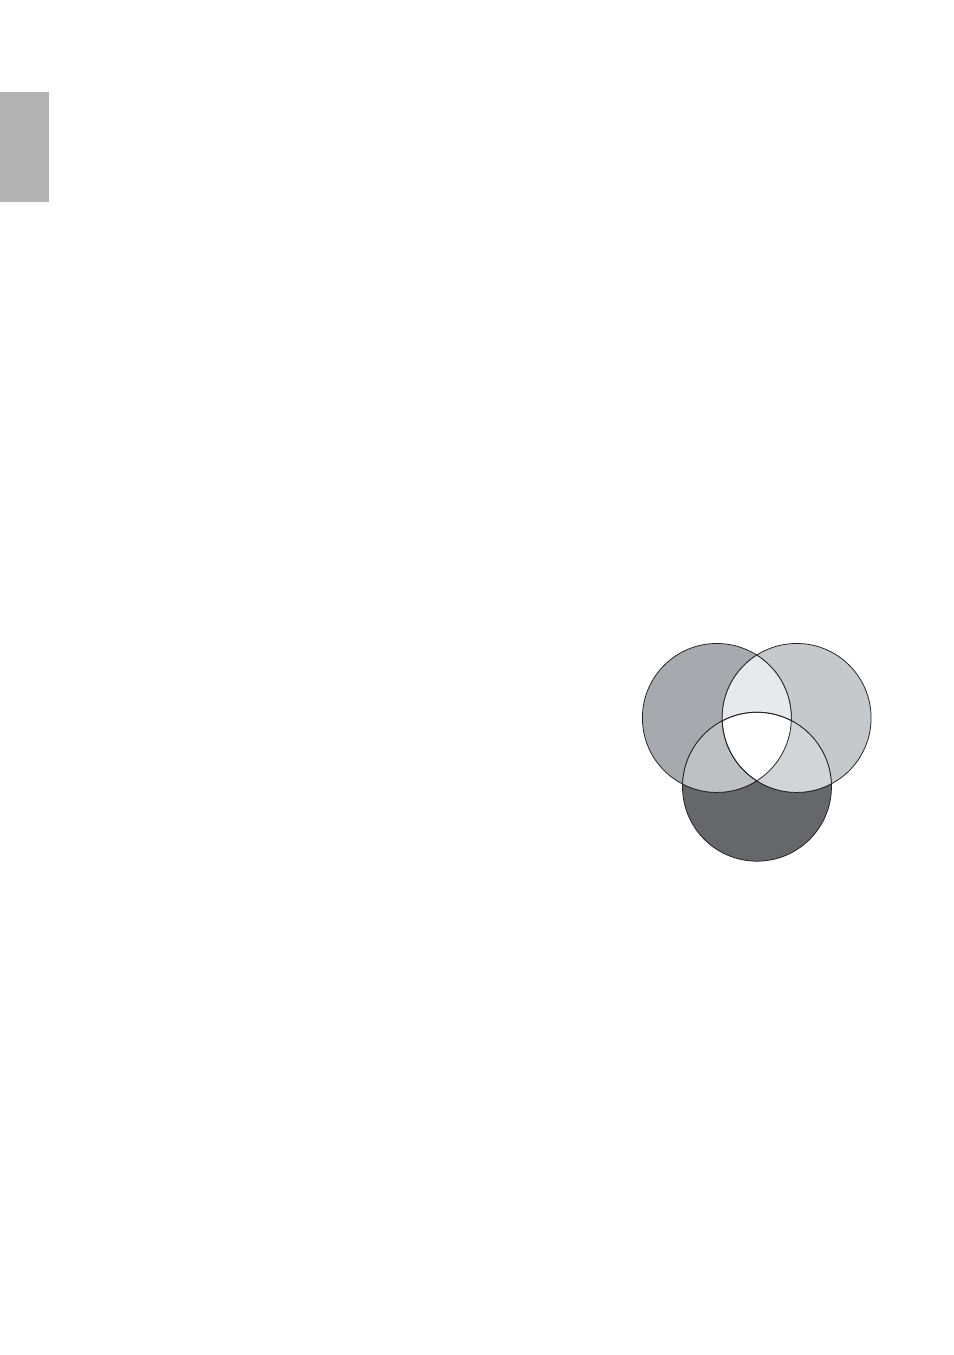
4. Press d to highlight Range and press eLeft orfRight to select its range. Increase in the range will include
colors consisted of more proportions of its two adjacent colors.
Please refer to the illustration to the right for how the colors relate to
each other.
For example, if you select Red and set its range at 0, only pure red in the
projected picture will be selected. Increasing its range will include red
close to yellow and red close to magenta.
5. Press d to highlight Saturation and adjust its values to your preference
by pressing eLeft orfRight. Every adjustment made will reflect to the
image immediately.
For example, if you select Red and set its value at 0, only the saturation
of pure red will be affected.
6. Repeat steps 3, 4 and 5 for other color adjustments.
7. Make sure you have made all of the desired adjustments. If you are not satisfied with the result, you may go to
the Picture--Basic > Reset Picture Settings menu, enter it for returning to the factory preset values.
8. Press EXIT/MENU to exit and save the settings.
Activating the blue filter
After making color adjustments, you can project the color bar test image from the test disc to test the level of
color saturation by activating the blue filter instead of looking through color filters. Turning on the blue filter will
disable all Red and Green channel output, allowing only the Blue color to be displayed on the screen. Please refer
to the instructions on the test disc for how to check the accuracy of different colors.
To activate the blue filter:
1. Go to the Picture--Advanced menu and highlight Blue Filter.
2. Press eLeft orfRight to toggle the blue filter on and off. The setting will take effect immediately.
RED
BLUE
GREEN
Yellow
Cyan
Magenta