Playback settings, The initial setup menu 13 – Pioneer DVR-5100H-S User Manual
Page 105
The Initial Setup menu
13
105
En
English
• Optimized Recording only compensates for the first
(earliest starting) timer program if more than one has
been set.
• Optimized recording works only with DVD
recordings.
• Optimized recording can’t be used together with
VPS/PDC.
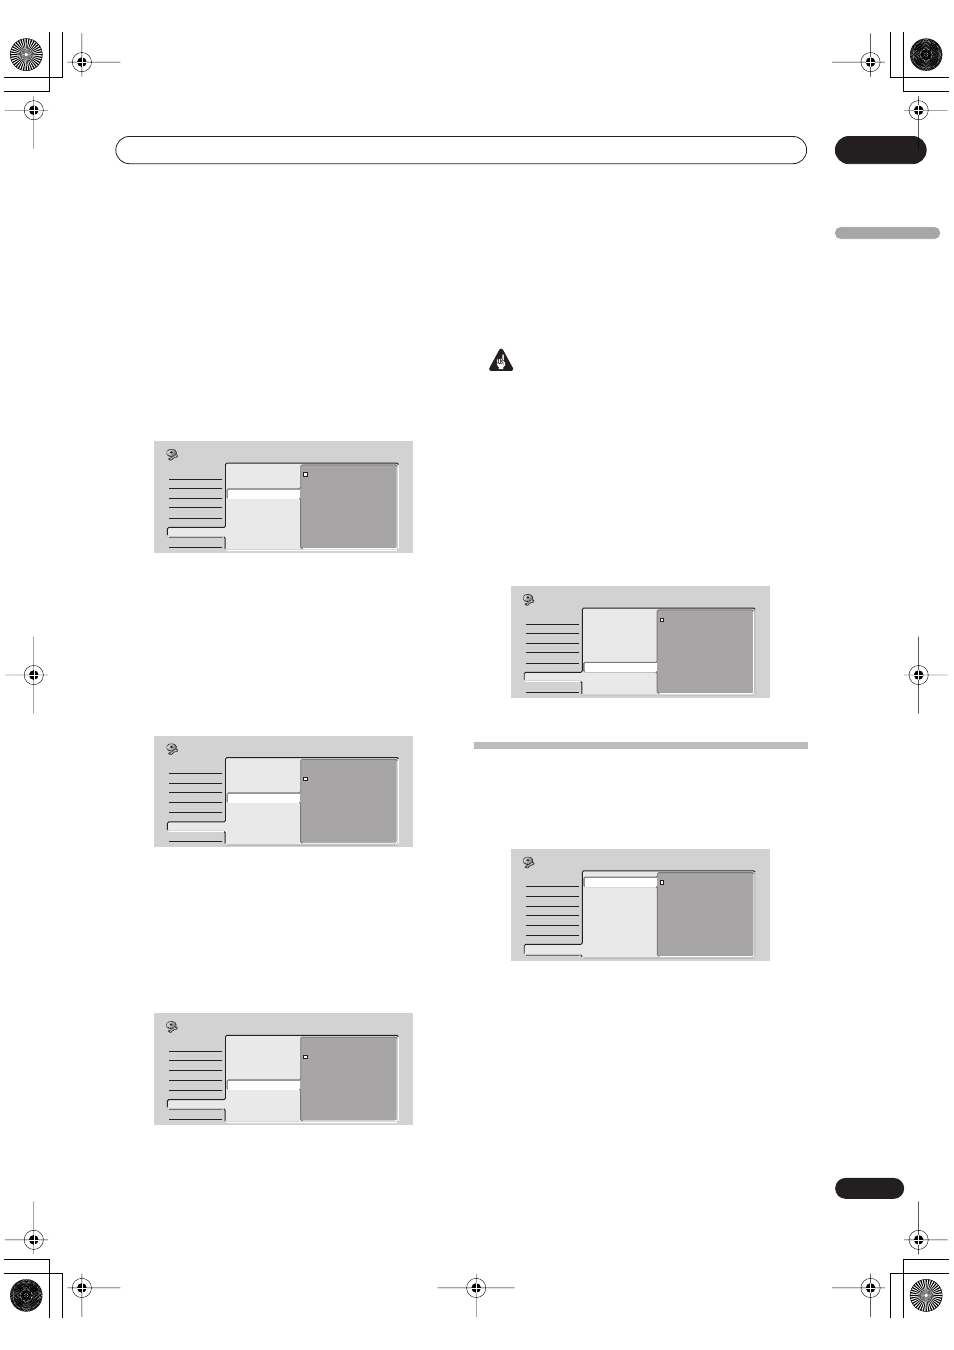
Navi Mark
• Default setting:
0 seconds
In the Disc Navigator, each title is shown with a still
frame picture to remind you what it is. This setting lets
you decide the default still frame. The default setting of
0
seconds
takes the first frame of the title, but you can also
set it to
30 seconds
or
3 minutes
into the title (if the title
is shorter than the setting, then the first frame is used).
Auto Chapter (Video)
• Default setting:
10 minutes
When recording in Video mode, a new chapter is started
every 10 minutes on the default setting. You can change
this interval to
15 minutes
, or switch off automatic
chapter marking altogether with the
No Separation
setting.
Frame Accurate
• Default setting:
Off
When Frame Accurate setting is
Off
, exact frame
accuracy is traded for high-speed copying when
recording a Copy List. Switch Frame Accurate
On
to
preserve the accuracy of the Copy List. However, copying
some edited Video mode titles will be done in real time.
Important
• When you change this setting the Copy List is erased.
Make sure it is set how you want it before you start
putting together a Copy List.
• The Frame Accurate setting has no effect on the
actual video content stored on the HDD.
DVD-RW Auto Init.
• Default setting:
VR Mode
When you load a new, blank DVD-RW disc the recorder
automatically initializes it for recording. You can set it to
initialize the disc for
VR mode
or
Video mode
recording.
Playback settings
TV Screen Size
• Default setting:
4:3 (Letter Box)
If you have a widescreen TV, select the
16:9
setting—
widescreen DVD software is then shown using the full
screen area. When playing software recorded in
conventional (4:3) format, the settings on your TV will
determine how the material is presented—see the
manual that came with your TV for details on what
options are available.
If you have a conventional TV, choose either
4:3 (Letter
Box)
or
4:3 (Pan & Scan)
. In Letter Box mode,
widescreen software is shown with black bars at the top
and bottom of the screen. Pan & Scan chops the sides off
Basic
Tuner
Video In/Out
Audio In
Audio Out
Language
Recording
Playback
0 seconds
30 seconds
3 minutes
Manual Recording
Optimized Rec
Navi Mark
Auto Chapter (Video)
Frame Accurate
DVD-RW Auto Init.
Initial Setup
Basic
Tuner
Video In/Out
Audio In
Audio Out
Language
Recording
Playback
No Separation
10 minutes
15 minutes
Manual Recording
Optimized Rec
Navi Mark
Auto Chapter (Video)
Frame Accurate
DVD-RW Auto Init.
Initial Setup
Basic
Tuner
Video In/Out
Audio In
Audio Out
Language
Recording
Playback
On
Off
Manual Recording
Optimized Rec
Navi Mark
Auto Chapter (Video)
Frame Accurate
DVD-RW Auto Init.
Initial Setup
Basic
Tuner
Video In/Out
Audio In
Audio Out
Language
Recording
Playback
VR Mode
Video Mode
Manual Recording
Optimized Rec
Navi Mark
Auto Chapter (Video)
Frame Accurate
DVD-RW Auto Init.
Initial Setup
Basic
Tuner
Video In/Out
Audio In
Audio Out
Language
Recording
Playback
TV Screen Size
Still Picture
Frame Search
Seamless Playback
Parental Lock
Angle Indicator
4:3 (Letter Box)
4:3 (Pan & Scan)
16:9
Initial Setup
DVR-03_HDD_EU.book 105 ページ 2003年9月16日 火曜日 午後12時23分