Editing safety camera information – Pioneer AVIC-F910BT User Manual
Page 40
5
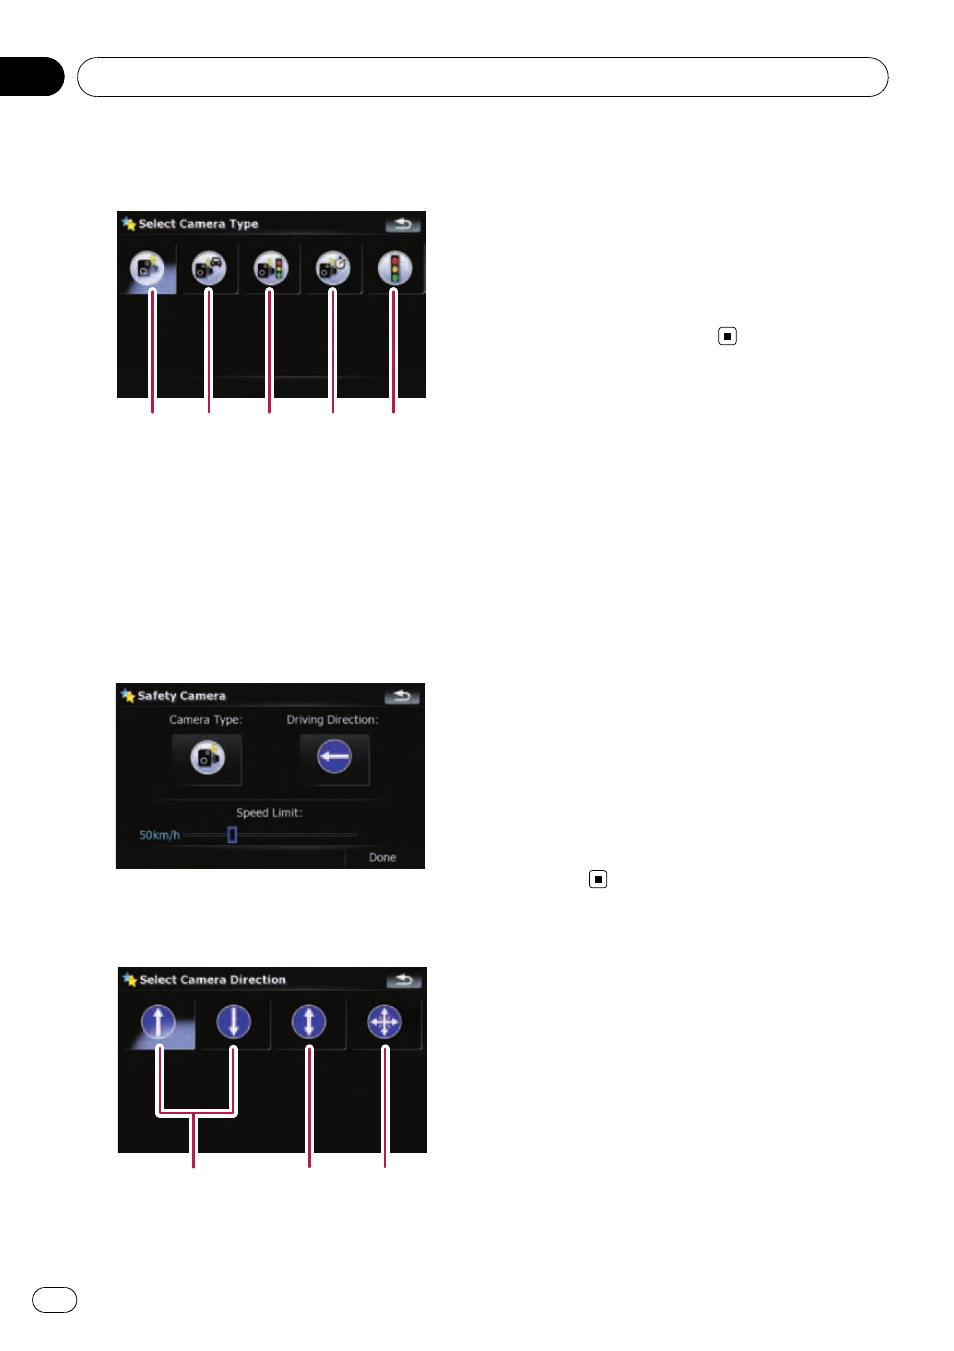
Touch the desired camera type to as-
sign a type category.
1
2
3
4
5
Available options;
1 Fixed cameras
2 Mobile cameras
3 Built-in cameras
4 Section control cameras
5 Red light cameras
6
Touch the key under
“Driving Direc-
tion:
” to display the selection screen.
7
Touch the desired direction to assign a
directional property.
1
2
3
Available options;
1 Uni-directional type
2 Bi-directional type
3 Omni-directional type
8
Touch anywhere on the bar or drag the
slider under
“Speed Limit:” to set the
speed limit.
If you try to pass through the camera location
area in excess of the speed limit, the naviga-
tion system will warn you.
Editing safety camera
information
When the cursor overlaps a safety camera po-
sition that you have added, you can edit the
details or delete the stored camera data.
1
Locate the cursor at the camera icon
and display the
“Map Confirmation Screen”.
2
Touch [Save as...] on the
“Map Confirmation Screen”.
3
Touch [Edit Cam].
4
Edit the details.
= For details concerning operations, refer to
Storing the position as a safety camera loca-
tion on the previous page.
p Touch [Delete] to delete the stored camera
data.
After the location is decided (Map Confirmation Screen)
Engb
40
Chapter
04