47 en, Protecting images [ protecting images [ r r – Olympus SZ-31MR iHS User Manual
Page 47
47
EN
For information on using the menus, see “Setup menu” (p. 8).
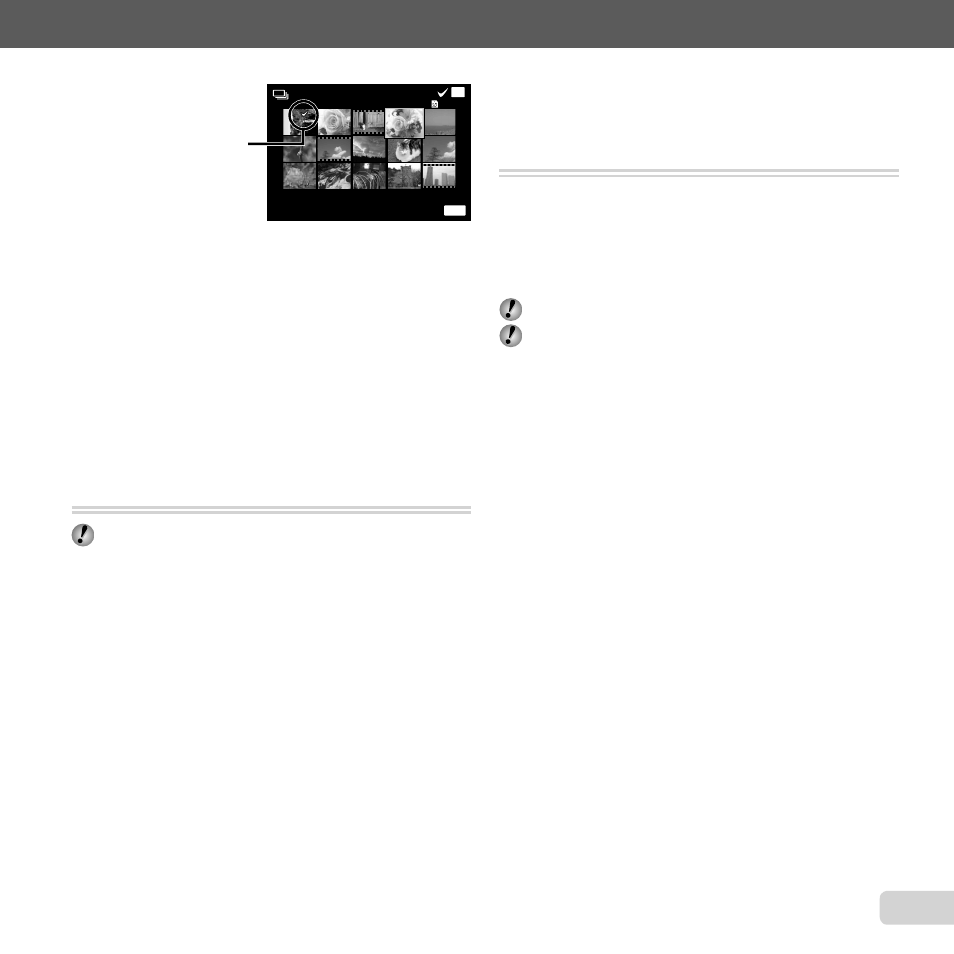
Sel. Image (1)
Erase/Cancel
OK
MENU
4/30
4/30
R mark
3
Repeat Step 2 to select the images to be erased,
and then press the
m button to erase the selected
images.
4
Use
FG to select [Yes], and press the
A button.
●
The images with a R mark are erased.
To erase all images [All Erase]
To erase all images [All Erase]
1
Use
FG to select [All Erase], and press the
A button.
2
Use
FG to select [Yes], and press the
A button.
Protecting images [
Protecting images [R
R]]
q (Playback Menu) X R
Protected images cannot be erased by [Erase] (p. 21,
46), [Sel. Image] (p. 46), [Erase Group] (p. 46) or [All
Erase] (p. 47), but all images are erased by [Memory
Format]/[Format] (p. 48).
1
Use
HI to select an image.
2
Press the
A button.
●
Press the
A button again to cancel the settings.
3
If necessary, repeat Steps 1 and 2 to protect other
images, and press the
m button.
Select images for upload to the Internet
Select images for upload to the Internet
using the supplied OLYMPUS Viewer 2
using the supplied OLYMPUS Viewer 2
software. [Upload Order]
software. [Upload Order]
q (Playback Menu) X Edit X Upload Order
1
Use
HI to select an image.
2
Press the
A button.
●
Press the
A button again to cancel the settings.
3
Repeat Steps 1 and 2 as required.
4
Press the
m button.
Only JPEG fi les can be selected for upload.
See on-line help for upload instructions.