Replacing the system fan assembly, Replacing, System – Lenovo ThinkCentre A61e User Manual
Page 31: Assembly, Removing
9.
Go
to
Replacing
the
system
fan
assembly
Attention
Do
not
open
your
computer
or
attempt
any
repair
before
reading
the
“Important
safety
information”
in
the
Safety
and
Warranty
Guide
that
was
included
with
your
computer.
To
obtain
a
copy
of
the
Safety
and
Warranty
Guide,
go
to
the
Support
Web
site
at
http://www.lenovo.com/support.
This
section
provides
instructions
on
how
to
replace
the
system
fan
assembly.
Note:
When
you
receive
your
new
system
fan
assembly,
you
will
receive
new
rubber
mounts.
1.
Remove
the
computer
cover.
See
2.
Locate
the
system
fan
connector.
See
3.
Disconnect
the
system
fan
assembly
cable
from
the
system
board.
See
4.
You
might
have
to
remove
the
hard
disk
drive
to
gain
access
to
the
system
fan.
See
5.
Remove
the
two
rubber
mounts
from
the
system
fan
assembly
that
connect
to
the
chassis
by
breaking
them
or
cutting
them
with
a
pair
of
scissors.
Once
this
has
been
done,
remove
the
rubber
mounts
from
the
rear
of
the
chassis.
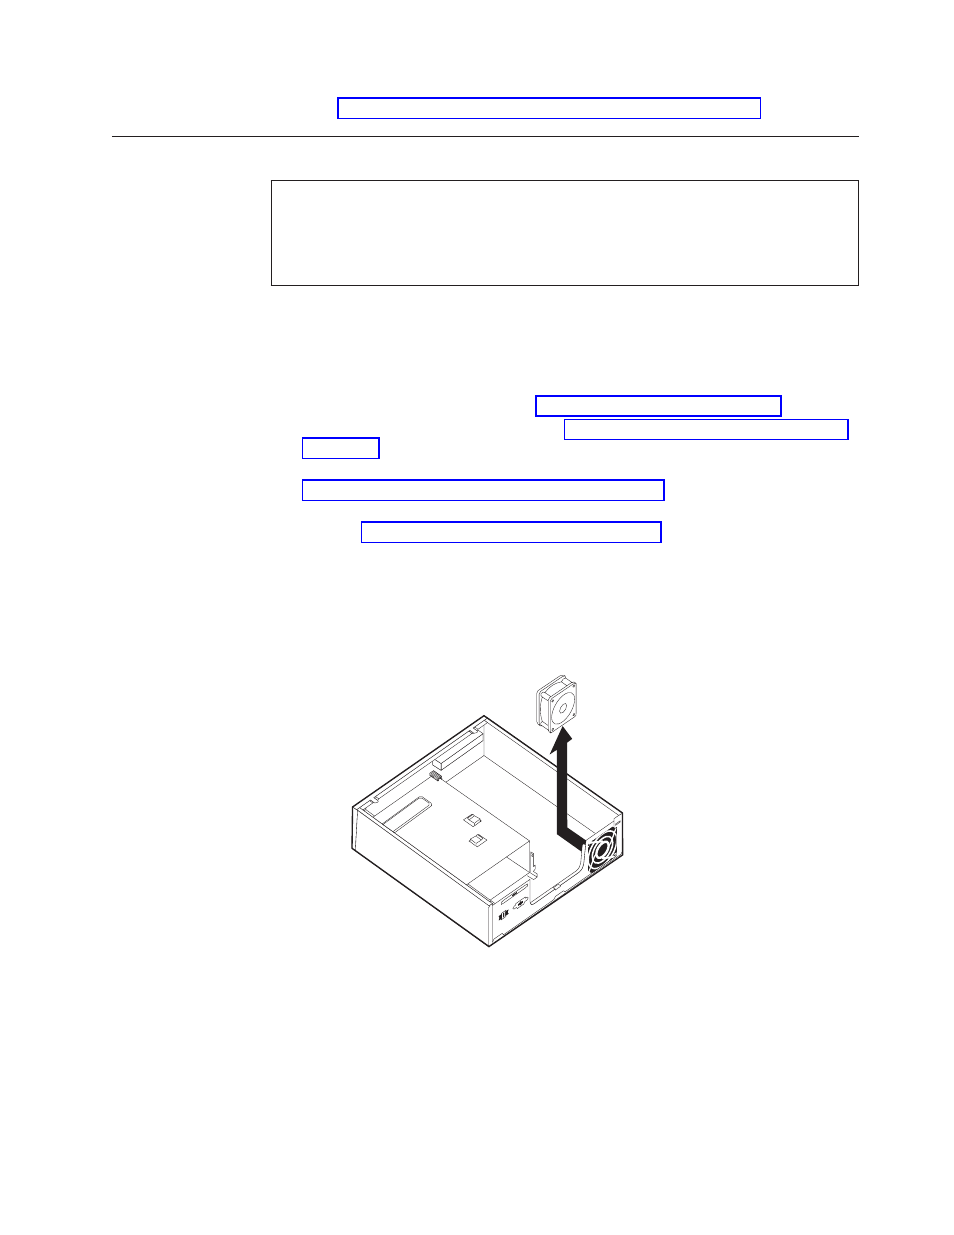
6.
Pull
the
system
fan
assembly
outward
from
the
chassis.
Then
lift
the
system
fan
assembly
out
of
the
chassis.
Figure
18.
Removing
the
system
fan
assembly
Chapter
3.
Installing
options
and
replacing
hardware
23