Replacing the optical drive – Lenovo S310 All-in-One User Manual
Page 97
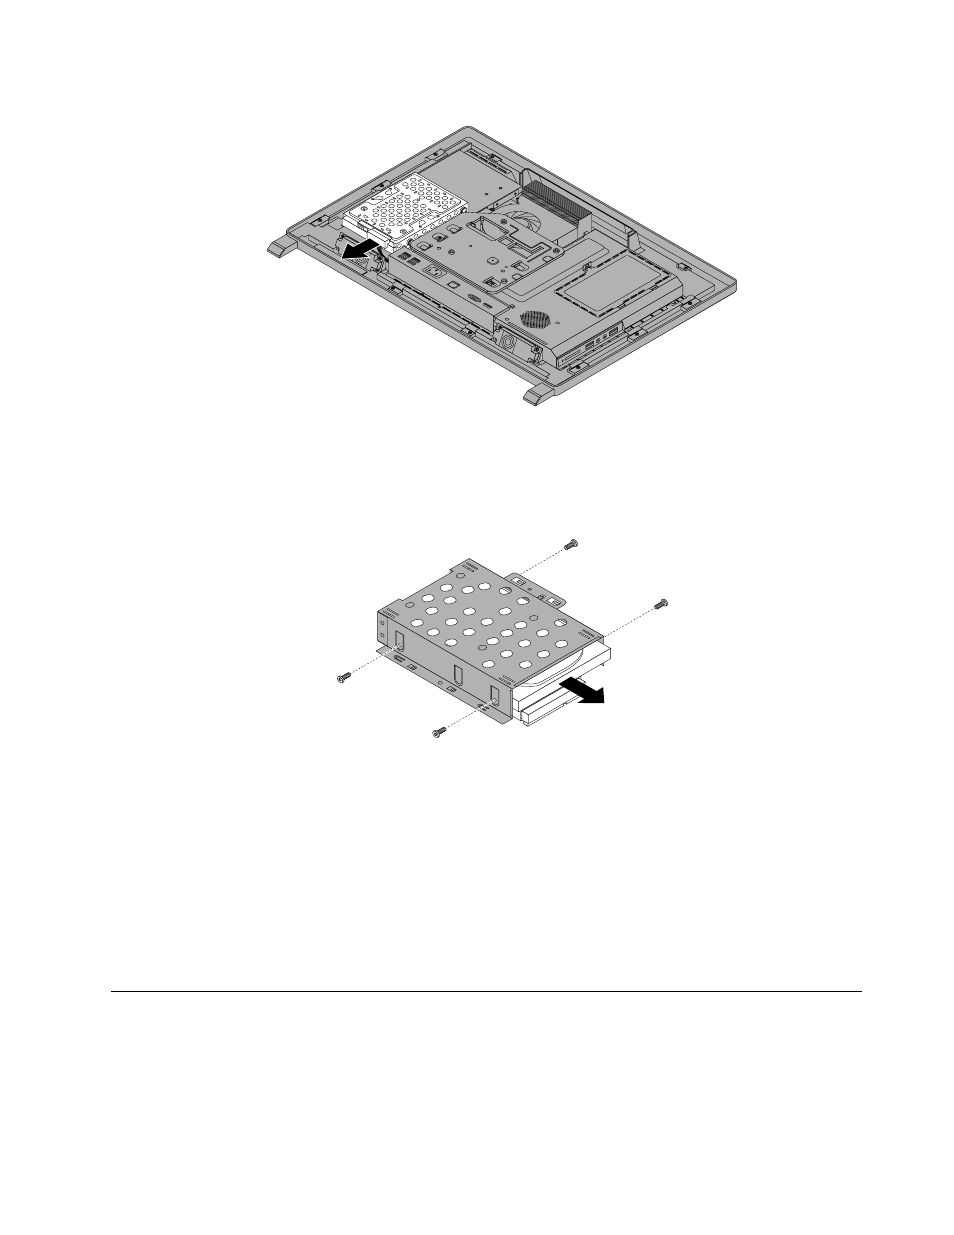
Figure 16. Removing the hard disk drive
6. Remove the four screws on the hard disk drive bracket, then remove the hard disk drive out of the
bracket. Do not touch the circuit board on the bottom of the hard disk drive.
Figure 17. Removing the hard disk drive out of the bracket
7. To install the new hard disk drive into the bracket, position the hard disk drive so that the four screw
holes align with those in the bracket.
8. Install the four screws that secure the hard disk drive to the hard disk drive bracket.
9. Connect the hard disk drive cable.
10. Slide the new hard disk drive with the bracket into the hard disk drive bay. Align the screw hole in the
hard disk drive with that in the chassis.
11. Install the screw to secure the hard disk drive bracket to the chassis.
12. Go to “Completing the parts replacement” on page 121.
Replacing the optical drive
Attention
Do not open your computer or attempt any repair before reading and understanding the “Important safety
information” in the Safety, Warranty, and Setup Guide that came with your computer. To obtain a copy of the
Chapter 8
.
Replacing FRUs
91