Fixing the installation plate, Connecting the assembly cable, Cable specification connecting the cable – Sunlight Supply Samsung Linesets for Mini Split Systems User Manual
Page 28
28
Fixing the installation plate
Wall
<0.79inch
(20mm)
Plastic
Anchor
2. Fix the indoor unit.
If you fix the indoor unit on a wall
(1) Fix the installation plate to the wall giving attention to the weight of the indoor unit.
If you fix the indoor unit on a window frame
(1) Determine the positions of the wooden uprights to be
attached to the window frame.
(2) Attach the wooden uprights to the window frame giving
attention to the weight of the indoor unit.
(3) Attach the installation plate to the wooden upright using
tapping screws.
If you fix the indoor unit on a gypsum board
(1) Use stud finder to find out locations of the studs.
(2) Fix the plate hanger on two studs.
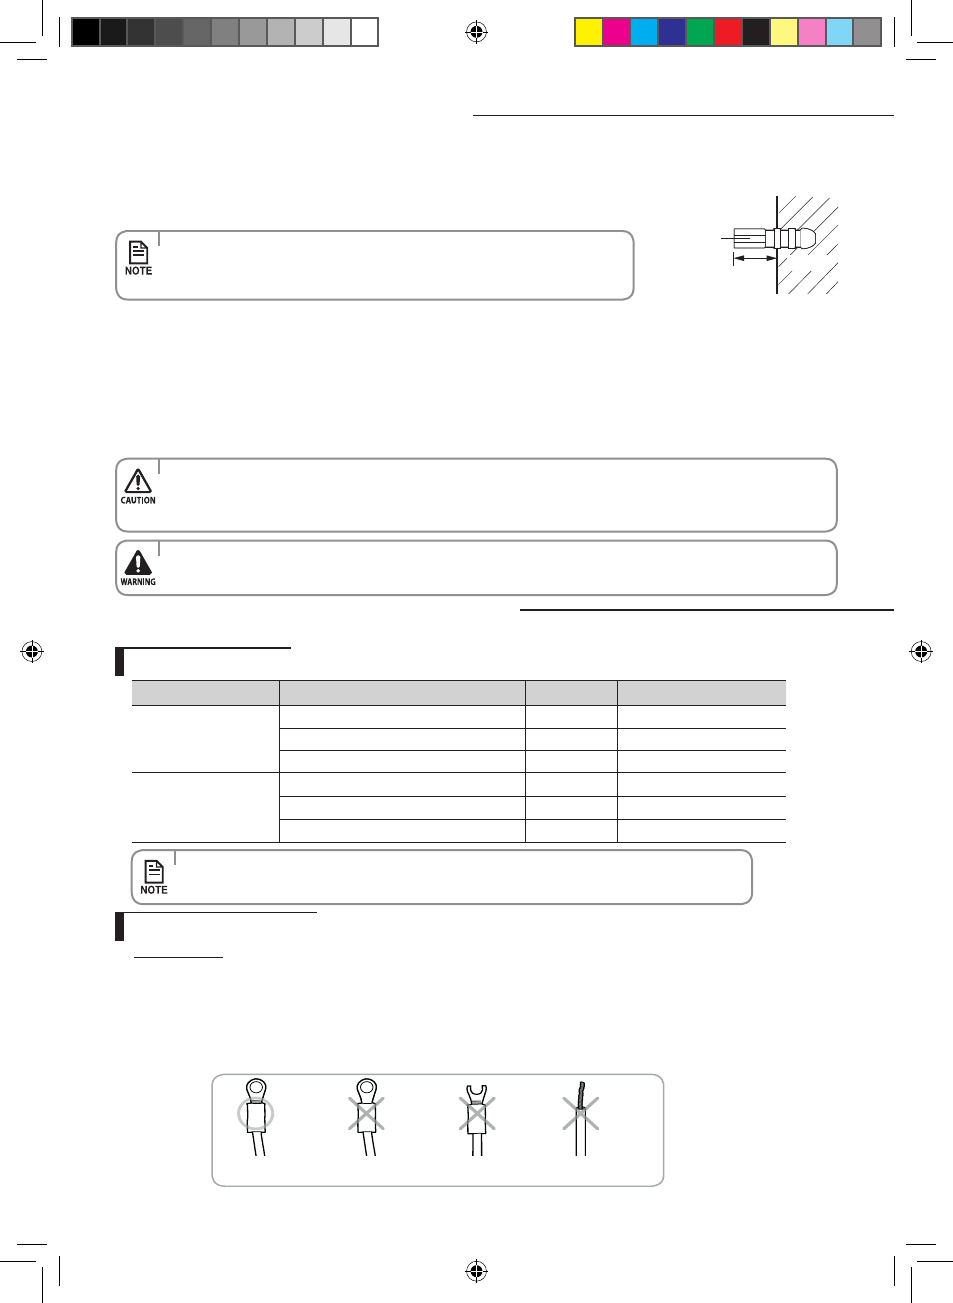
• If you mount the plate to a concrete wall using plastic anchors, make sure that
gaps between the wall and the plate, created by projected anchor, is less than
0.79inch(20mm).
• Search for other spots if there are less than two studs, or the distance between the studs are different from the
plate hanger.
• Fix the installation plate without inclining to one side.
• Make sure that a wall can withstand the weight of the product. If you install the product in a place where it is not
strong enough to withstand the product weight, the unit could fall and cause injury.
Connecting the assembly cable
• Connect the power cable to the auxiliary circuit breaker. If every pole fails to connect to the
power supply, it must be incorporated in a wire with a contact opening of ≥0.118inch(3mm).
Cable specification
Connecting the cable
Electrical work
(1) For electrical and earth works, comply with the ‘technical standards of electrical installations’ and the the ‘wiring
regulations’ of the Electricity Enterprises Act.
(2) Tighten the terminal block screw to under 0.87ft
•
lb(12kgf
•
cm).
(3) Precautions when connecting terminal blocks of the indoor unit
Before connecting, make sure the connecting part of the terminal socket is facing upwards.
Upside down
The terminal
socketis damaged.
There is no ring
terminalto cover the wire.
Model
Use
AWG
Cross sectional area (mm
2
)
09/12/18/24
Main power supply 3-wire Power cable
13 or fewer
2.5 or more
Indoor power supply 3-wire power cable
15 or fewer
1.5 or more
2-wire assembly cable
15 or fewer
1.5 or more
36
Main power supply 3-wire Power cable
10 or fewer
4 or more
Indoor power supply 3-wire power cable
15 or fewer
1.5 or more
2-wire assembly cable
15 or fewer
1.5 or more
Vivaldi MAX_AQN09VFU@@ IB&IM_32163A_E.indd 28
2012-6-20 13:28:57