Attaching adapters to fasnseal flex liner – DuraVent FasNSeal Single-Wall User Manual
Page 13
clamps, ensuring that they are fastened
tightly around the vent. Each support clamp
beyond the first must be rotated. To calculate
the angle of rotation, divide 180 by the total
number of support clamps required.
4. Once the vent stack has been lowered into
the chimney, install a steel support plate over
the top of the chimney. Run the tension wires
through the anchors as shown in Figure 10.
5. Install a FasNSeal storm collar on top
of the steel support plate. Use silicone to
seal around the base of the collar as well as
the around the diameter of the vent. The
breaching through which the horizontal vent
passes can be covered and sealed with a
FasNSeal firestop.
6. Install a FasNSeal rain cap to terminate the
venting system.
WHEN USINg FASNSEAL FLEx
FOLLOW THE
INSTRUCTION BELOW.
Figure 11
13
ATTACHINg ADAPTERS TO
FASNSEAL FLEx LINER
1. The adapter with the blue gasket is the
Female Flex Adapter and designed for the
top of the flex liner. The Adapter without the
blue gasket is the Male Flex Adapter and is
designed for the bottom of the flex liner. If
field cutting the liner make sure the cut
is square.
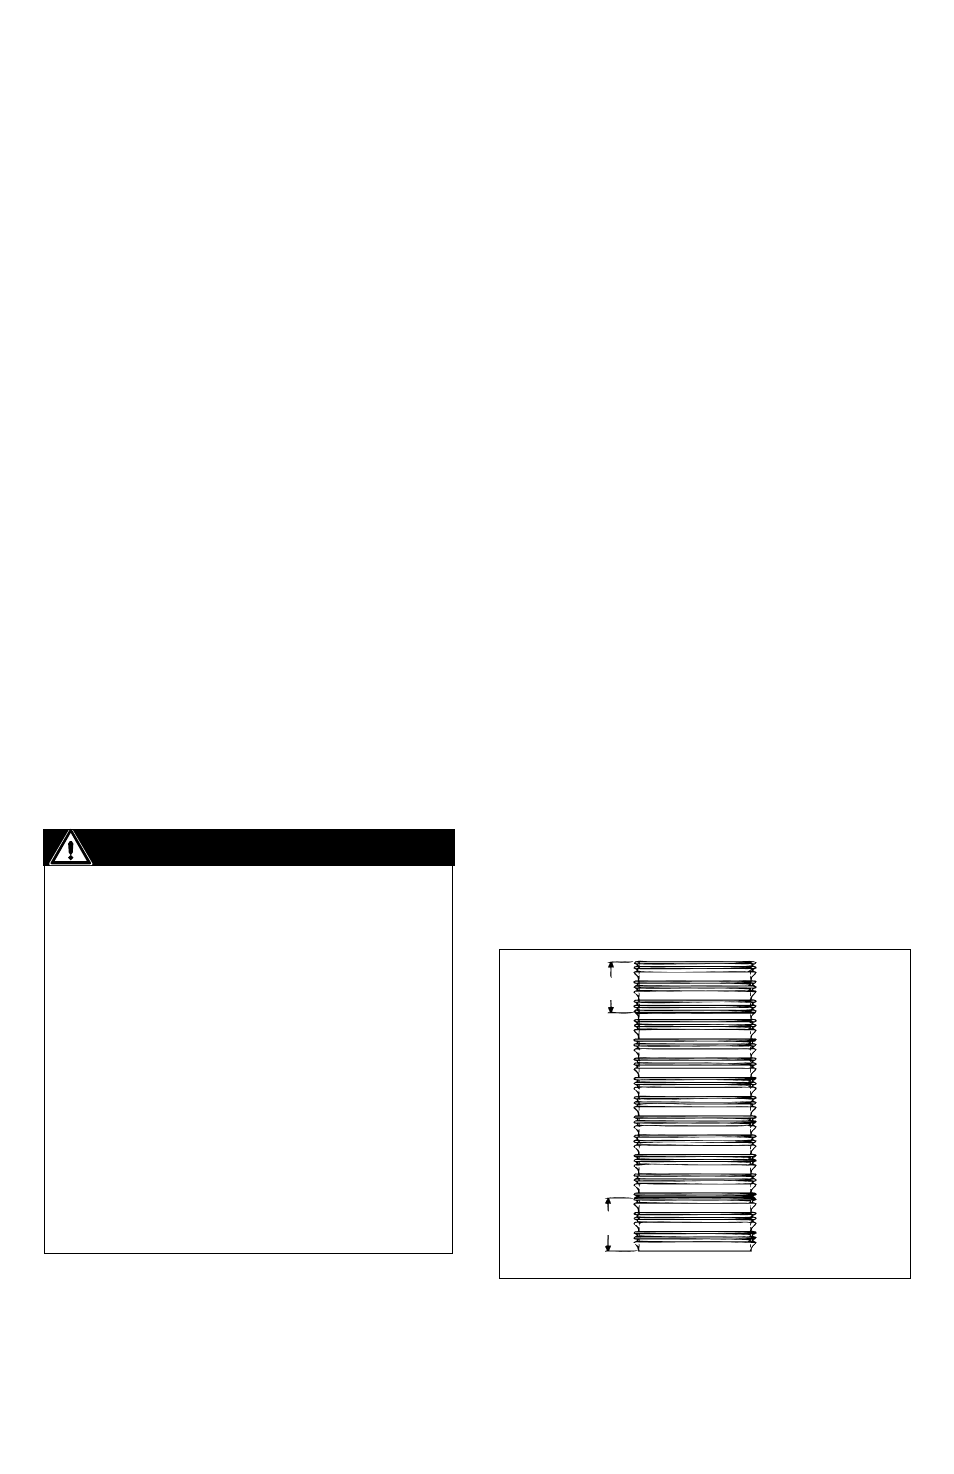
2. Make 4 marks on both ends of liner 90°
apart 1 ½” from each end as shown in Figure
11. These marks will act as the reference
point for when the adapters are fully seated
onto the flex liner.
3. Do a dry fit by pushing the liner into the
adapters until it bottoms out.
4. Apply RTV 500 silicone in the channel of
the Male Flex Adapter adapter (between the
inner and outer tubes) as seen in Figure 12.
5. Place adapter on liner (the inner tube fits
inside the liner and the outer tube fits outside
the line). The adapter when properly seated
will cover marks made on liner in step 1
(Figure 13).
6. Tighten clamp
1.5"
1.5"
IMPORTANT
When installing FasNSeal Flex the
direction of exhaust flow is away
from the appliance. There is an arrow
printed on each section of liner and
components that will point in the
direction of the
exhaust gas. If the liner is installed
correctly the proper direction can be
determined by running your fingernails
up the inside wall of the liner. If the
direction is correct your nails will catch
at the seams of the inner wall. If it is
incorrect your nails will slide smoothly
across the inner surface.