4 connecting a pc or controller to the rs-485 port, 1 setting the vp-8x4ak, Connecting a pc or controller to the rs 485 port – Kramer Electronics VP-8x4AK User Manual
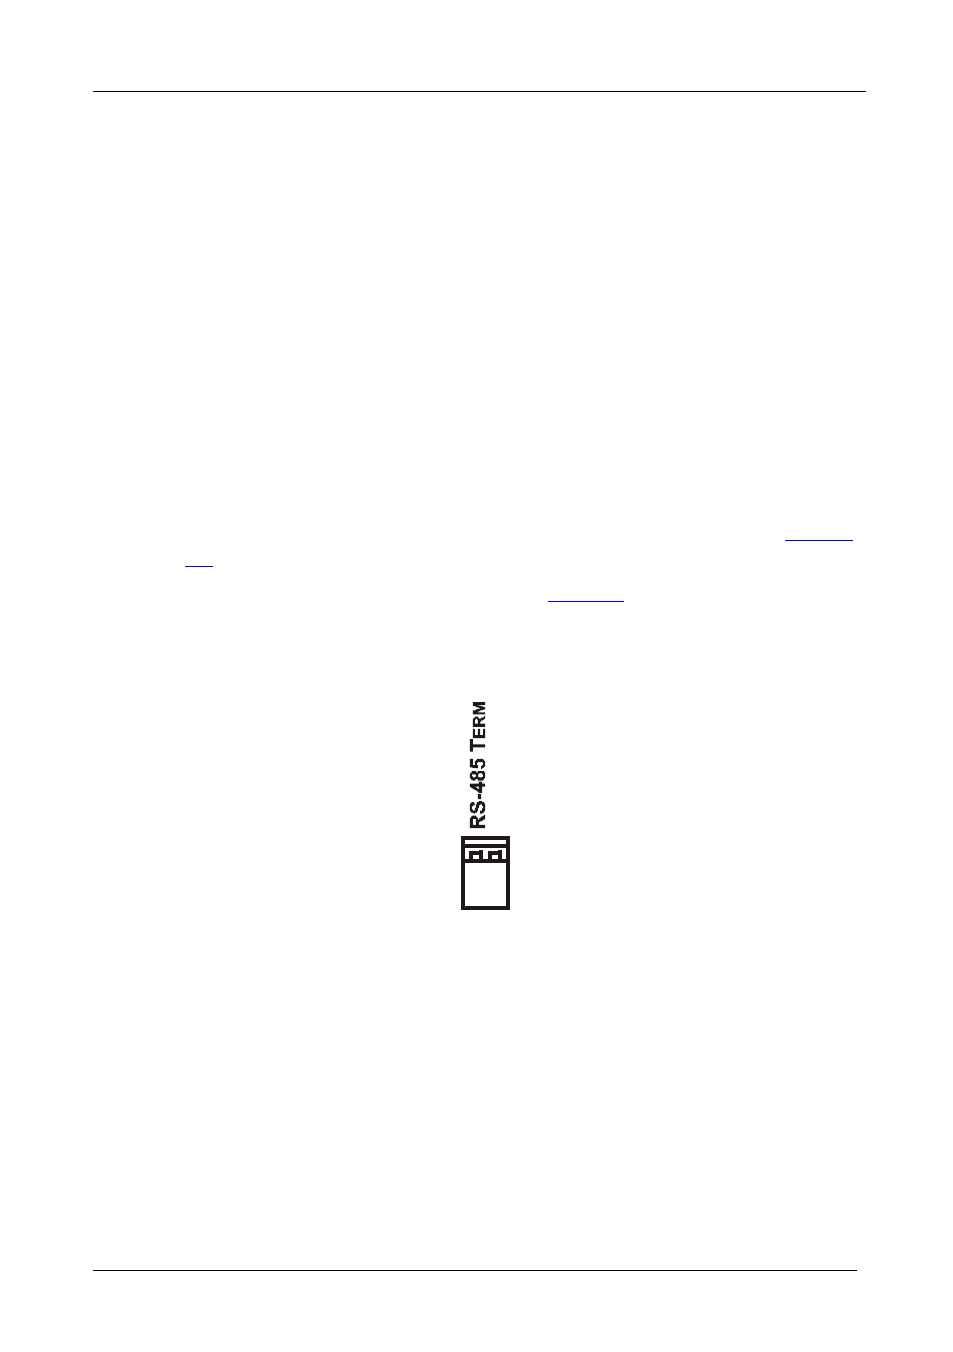
Page 18: Setting the vp-8x4ak, Figure 6: the rs-485 term dip-switch
KRAMER: SIMPLE CREATIVE TECHNOLOGY
Using the VP-8x4AK
14
6.4
Connecting a PC or Controller to the RS 485 Port
You can operate the VP-8x4AK via the RS-485 port from a distance of up to
1200m (3900ft) using any device equipped with an RS-485 port (for example,
a PC). For successful communication, you must set the RS-485 machine
number and bus termination.
To connect a device with a RS-485 port to the VP-8x4AK:
• Connect the A (+) pin on the RS-485 port of the PC to the A (+) pin on
the RS-485 port on the rear panel of the VP-8x4AK
• Connect the B (–) pin on the RS-485 port of the PC to the B (–) pin on the
RS-485 port on the rear panel of the VP-8x4AK
• Connect the G pin on the RS-485 port of the PC to the G pin on the
RS-485 port on the rear panel of the VP-8x4AK
6.4.1 Setting the VP-8x4AK
1. Set the VP-8x4AK unit to a Machine # other than 1, according to
Section
2. Set the RS-485 TERM DIP-switch (see
Termination with 120
Ω) if it is the only machine being controlled via this
RS-485 line (if multiple machines are being controlled, then only the last
one on the RS-485 line should be set to ON).
Figure 6: The RS-485 TERM DIP-switch