Voicebox 4 i/op user manual, 5 – general controls, 1 – stereo linking – Attero Tech Box 4 I/OP User Manual
Page 19: 2 – store new power-up default, 4 – metering
VoiceBox 4 I/OP
User Manual
Attero Tech LLC 2010
Page 15
614-00008-02
3.5 – General Controls
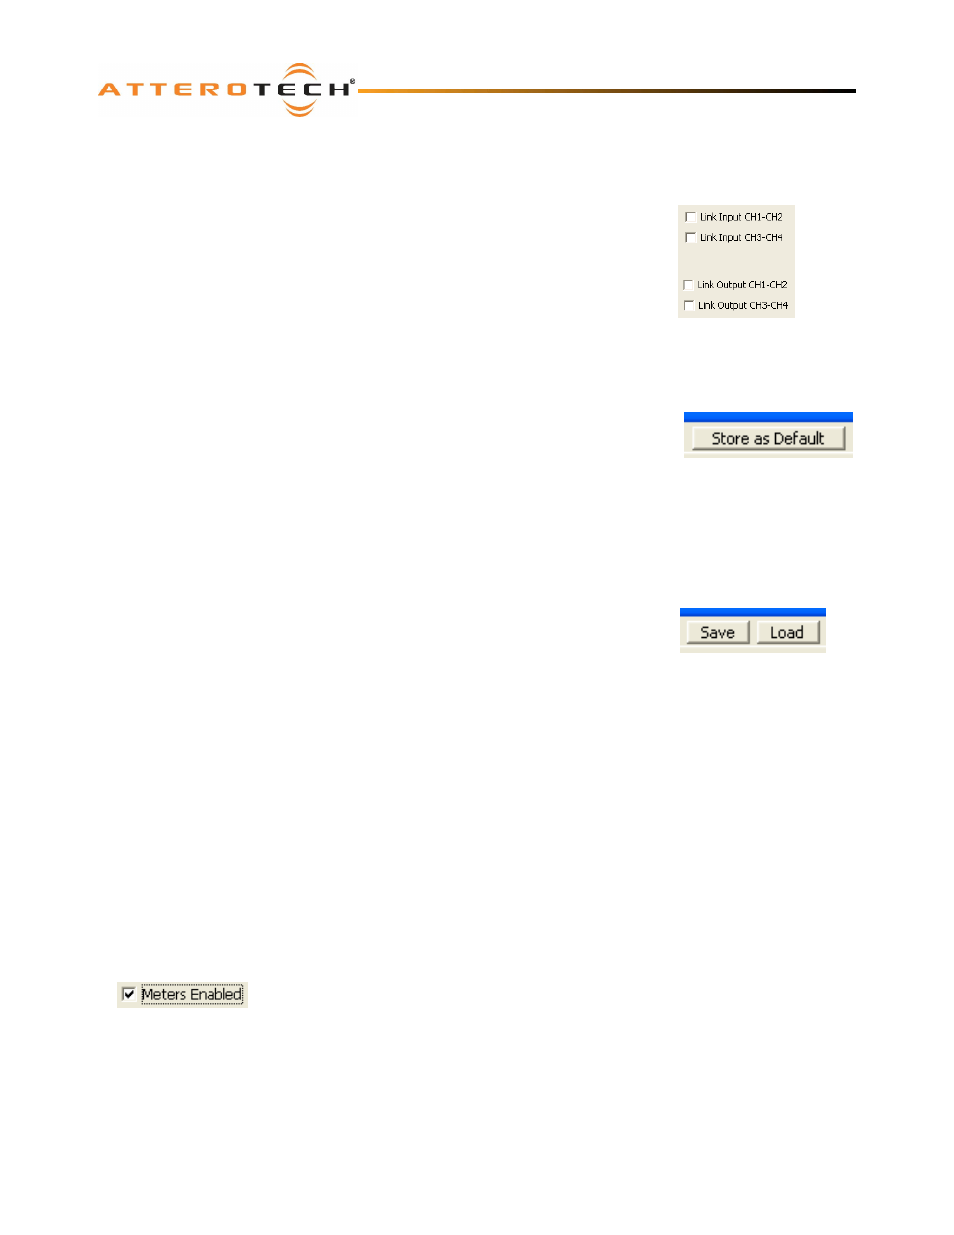
3.5.1 – Stereo Linking
The local input channel controls have the option to be linked together to form stereo
pairs. This same feature, called stereo linking, is also available for the local output
channels also. Channels 1 & 2, may be linked and channels 3 & 4 may be linked. Both
links may be active at one time. There is no provision for the settings in channels 3
and 4 to be linked in any way to inputs 1 & 2 and vice versa.
Linking the channels in this way will mean that any changes to one channel will be
reflected in the other. When linking takes place, depending on which channels are
linked, the parameters for channel 2 will change to match those set for channel 1 or
the parameters for channel 4 will change to match those set for channel 3. This
happens as soon as the link is enabled. From then on, all changes to one channel will
update the other channel and vice versa.
3.5.2 – Store New Power-up Default
Although the settings of the controls are applied immediately to the controlled device, the
values are not permanent and will be lost if the device is powered down. In order to ensure
that the changes are retained, they must be committed to non-volatile memory. Clicking on
the Store as Default button on the device setup form commits the current settings in the
device to memory.
Note: This operation takes a few seconds to complete and no other actions can be done
until it is complete. The status bar will show the progress of operation and also a message once the operation is complete.
3.5.3 – Saving / Loading VoiceBox Configuration Presets
Once all the parameters have been set correctly, the complete configuration can be saved
to a file so the settings may be easily transferred to another VoiceBox. Click the Save
button at the top of the form (as shown in Figure 25) to initiate this. The Configuration
Save dialog will appear allowing you to select a folder and a file name. Clicking on OK
will save the configuration using the chosen filename in the chosen location. The
filename will, by default, use a .DCF extension.
Once the save is complete, the application will ask if the current device should have its
configuration “saved as default” to ensure that it will power up with the parameters just saved. Click “Yes” to confirm the
save or “No” to skip it. A final message will then appear to confirm the save is complete.
To load a previously saved configuration, click the Load button. The Load Configuration dialog will appear so the desired
configuration file can be located. Locate and select the file to be loaded and click OK. A confirmation message will then be
shown as a reminder that the current device configuration will be overwritten. Click “Yes” to continue.
Once correctly loaded, the application will ask if the new configuration just loaded to the device should be saved as the
default. Click “Yes” to store the loaded parameters as the new defaults for power up. Click “No” to skip.
Note: The saved configuration is device specific so only VoiceBox configuration files can be loaded into a VoiceBox. The
revision of VoiceBox firmware is also taken into account. A warning will be shown and the file will not be loaded if either the
device type or the firmware revision does not match the device being set up.
3.5.4 – Metering
The VoiceBox interface can constantly monitor audio levels while the interface is open. Meters
on the input tabs and on the Matrix Mixer tab show various audio levels whilst numerous
clipping LEDs advise if the digital signal gets too large.
The metering function polls the VoiceBox numerous times a second to get constant updates
for the meters and clip LEDs, but doing so creates an increased amount of network traffic. If
this additional traffic becomes a problem or the metering is not required, it can be turned off.
Click the Meters Enabled check box to toggle the metering on or off.
Note: The meter and clip LED monitoring is only active whilst the VoiceBox interface is open. Metering starts every time the
VoiceBox interface is opened and any active metering ceases as soon as the interface form is closed.
Figure 23 - Stereo Link
Controls
Figure 25 - Save/Load
Buttons
Figure 26 - Meters
Enabled Checkbox
Figure 24 – Store as
Default Button