Vlm for vmware vcloud air, 4 creating virtual services – KEMP vCloud Air User Manual
Page 12
Copyright © 2002 - 2014 KEMP Technologies, Inc. All Rights Reserved. Page 12 / 24
VLM for VMware vCloud Air
Installation Guide
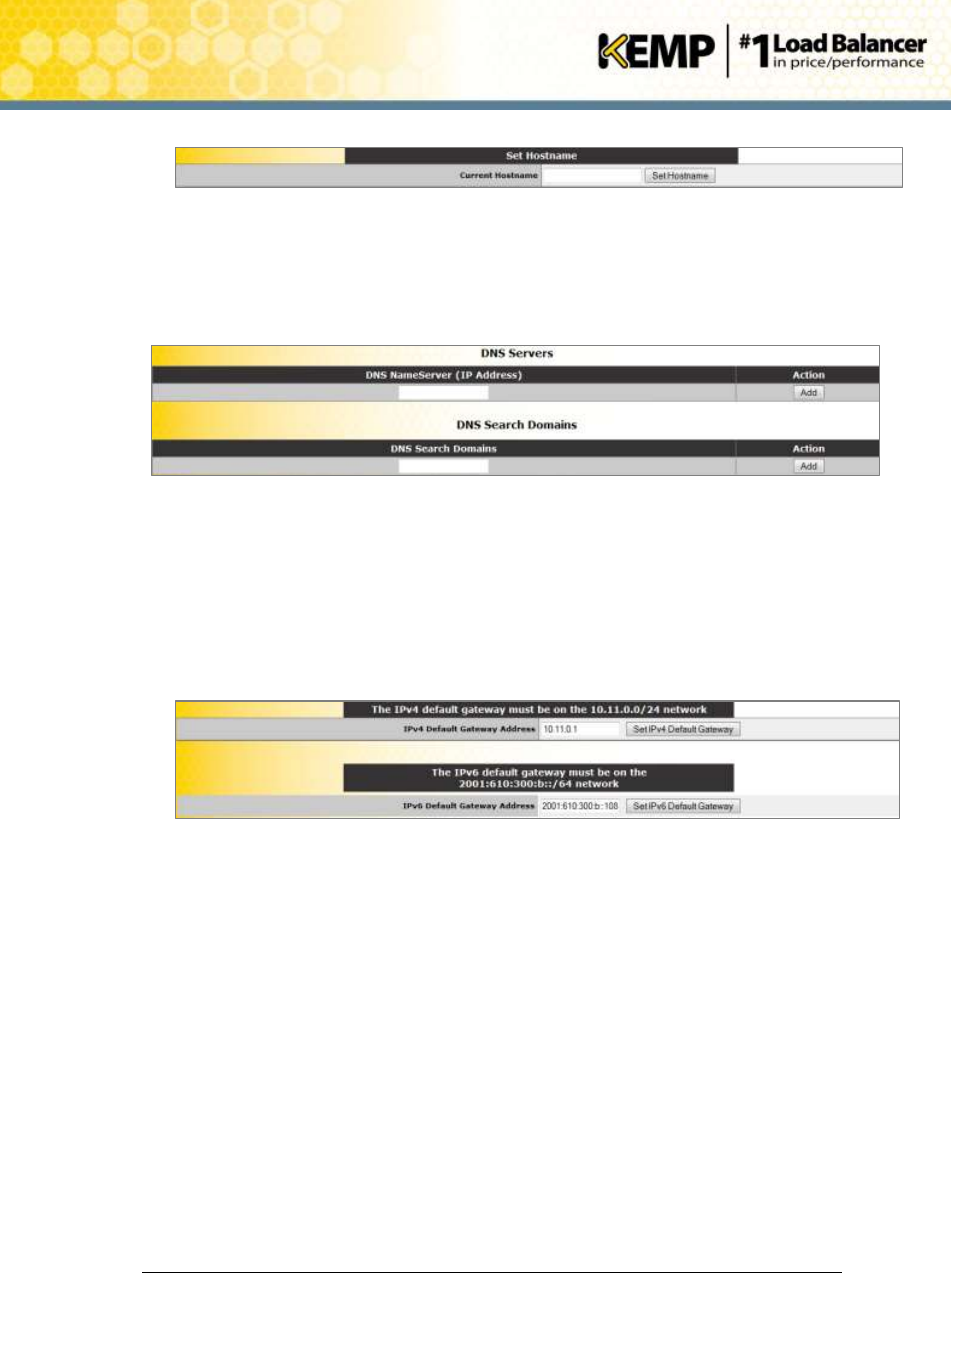
Figure 3-4: Set Hostname
15. Enter the hostname in the Current Hostname text box.
16. Click the Set Hostname button.
17. In the main menu, go to System Configuration > Local DNS Configuration > DNS
Configuration.
18. In the DNS NameServer text box, enter the IP address(es) of the DNS Server(s) which
will be used to resolve names locally on the VLM.
19. Click the Add button.
20. Enter the domain name that is to be prepended to requests to the DNS name server in
the DNS Search Domains text box.
21. Click the Add button.
22. In the main menu, go to System Configuration > Route Management > Default
Gateway.
23. Verify that the IP address of the default gateway in the IPv4 Default Gateway Address
text box is correct.
24. If you have an IPv6 Default Gateway, please enter the value in the IPv6 Default Gateway
Address text box and click Set IPv6 Default Gateway.
4 Creating Virtual Services
The following steps describe how to create a Virtual Service on the VLM for vCloud Air:
1. Using a supported web browser, navigate to https://<Virtual LoadMasterIP/>.
2. Acknowledge the notification about the self-signed certificate to proceed further.
3. Login using the username bal and password that you created earlier in Section 3.4.
4. From the main menu, select Virtual Services > Add New.
In the Virtual Service parameters section, enter the following details: