Selecting the recording scene (scene select) – Panasonic RRXS350E User Manual
Page 15
15
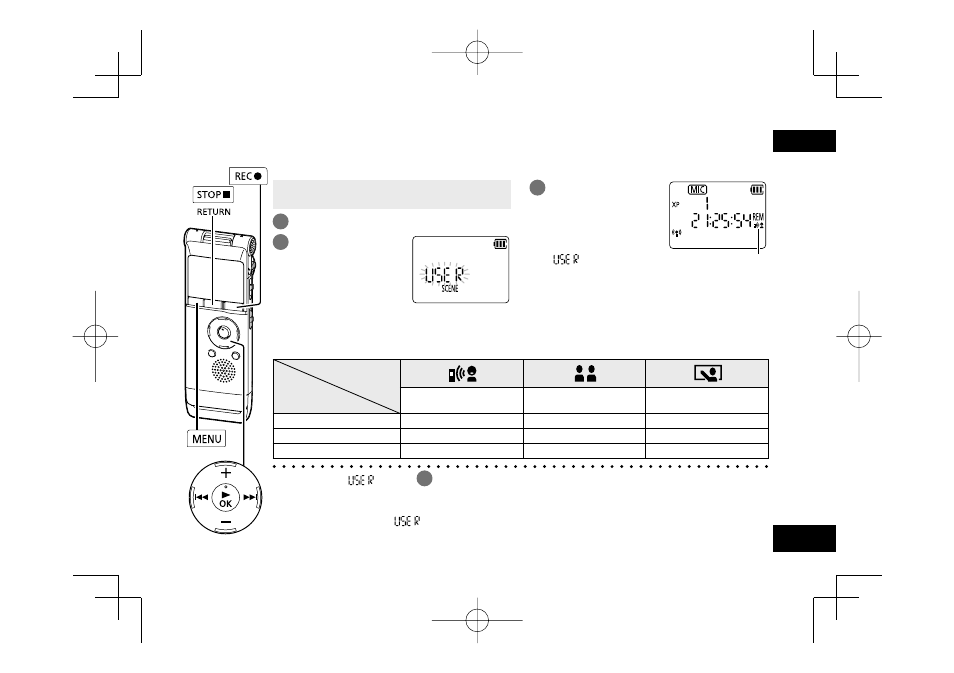
Selecting the recording scene (SCENE SELECT)
This unit offers recommended recording settings for each recording scene. Selecting the recording
scene enables easy recording with the most appropriate settings.
g The factory setting of recording scenes
Recording Scene
Application
Setting Item
(page)
Recording your own voice for
pronunciation practice etc.
Recording other people’s voices
for interviews or meetings etc.
Records sounds such as
in classroom lectures etc.
Sound quality (16)
XP: 192 kbps
LP: 64 kbps
XP: 192 kbps
Microphone sensitivity (17) HI (high)
LO (low)
HI (high)
Low cut filter (17)
OFF
ON
ON
●
If you select “
” in step
3
, the unit returns to the state immediately before starting setting of
the recording scene, and the recording scene is not displayed.
●
If you change settings such as the sound quality after the recording scene is set, the selected
settings overwrite the “
”, and the recording scene indication disappears.
●
The recording scene operates when microphone recording is used. Recording scene does not
operate when another device is connected and the LINE/MIC switch is set to [LINE] (➜ page 30).
• When the unit is not in the stop state, press
[STOP g/RETURN].
1
Press [MENU].
2
Press u, i to
select “SCENE”
and press [q OK]
to enter.
3
Press +, – to select
the recording
scene and press
[q OK] to enter.
(The factory setting is
“
”.)
The selected recording
scene is displayed.
To exit the setting screen, press [STOP g/RETURN].
When [REC *] is pressed, recording is performed
with the selected recording scene setting.
VQT4J69
15
ENGLISH
VQT4J69_RR-XS350_E_En.indd 15
VQT4J69_RR-XS350_E_En.indd 15
2012/05/25 11:47:58
2012/05/25 11:47:58