Changing image size, Changing image size – resize – Sony DSC-F88 User Manual
Page 70
70
h
Select [OK] with
B
, then press
z
.
The - mark turns white and the
selected image is protected.
To cancel the protection
In Step 4, select [Cancel], or in Step 8,
select [Exit].
To release protection
In Step 5, select an image for which you
want to release protection with v/V/b/B
and press z. The - mark turns gray and
repeat this operation for all the images for
which you want to release protection. Then,
press MENU, select [OK], and press z.
To protect all the images in the
folder
In Step 4, select [All In This Folder], then
press z. Next, select [On], then press z.
To release protection of all the
images in the folder
In Step 4, select [All In This Folder], and
press z. Then select [Off], and press z.
Changing image size
– Resize
You can change the image size of a
recorded image, and save it as a new file.
You can resize to the following sizes.
5M, 3M, 1M, VGA
The original image is retained even after
resizing.
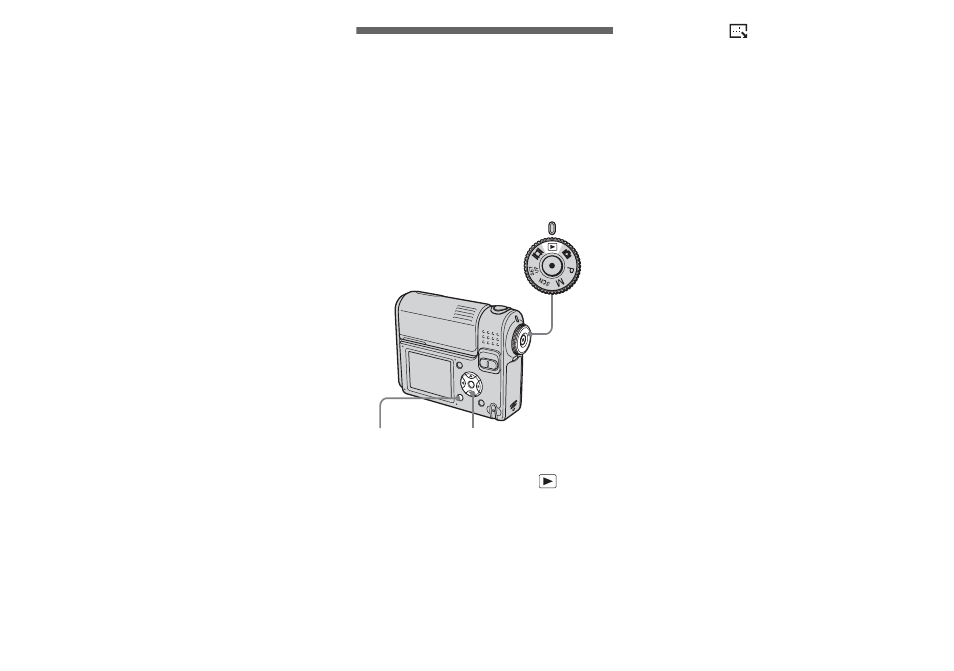
a
Set the mode dial to
.
b
Display the image you want to
resize with
b
/
B
.
c
Press MENU.
The menu appears.
d
Select
(Resize) with
b
/
B
,
then press
z
.
e
Select the new size with
v
/
V
,
then press
z
.
The resized image is recorded in the
recording folder as the newest file.
To cancel the resizing
In Step 5, select [Cancel].
•
Movies or images recorded in Multi Burst
mode cannot be resized.
•
When images are resized from a smaller to a
larger size, the image quality will deteriorate.
•
You cannot resize to 3:2-sized image.
•
If you try to resize a 3:2-sized image, black
bands will appear at the top and bottom of the
image.
Mode dial
Control button
MENU