Nikon P80 User Manual
Page 46
32
Using the Flash
B
as
ic
Ph
ot
og
raph
y an
d
Pl
ay
back
: A
u
to
Mode
B
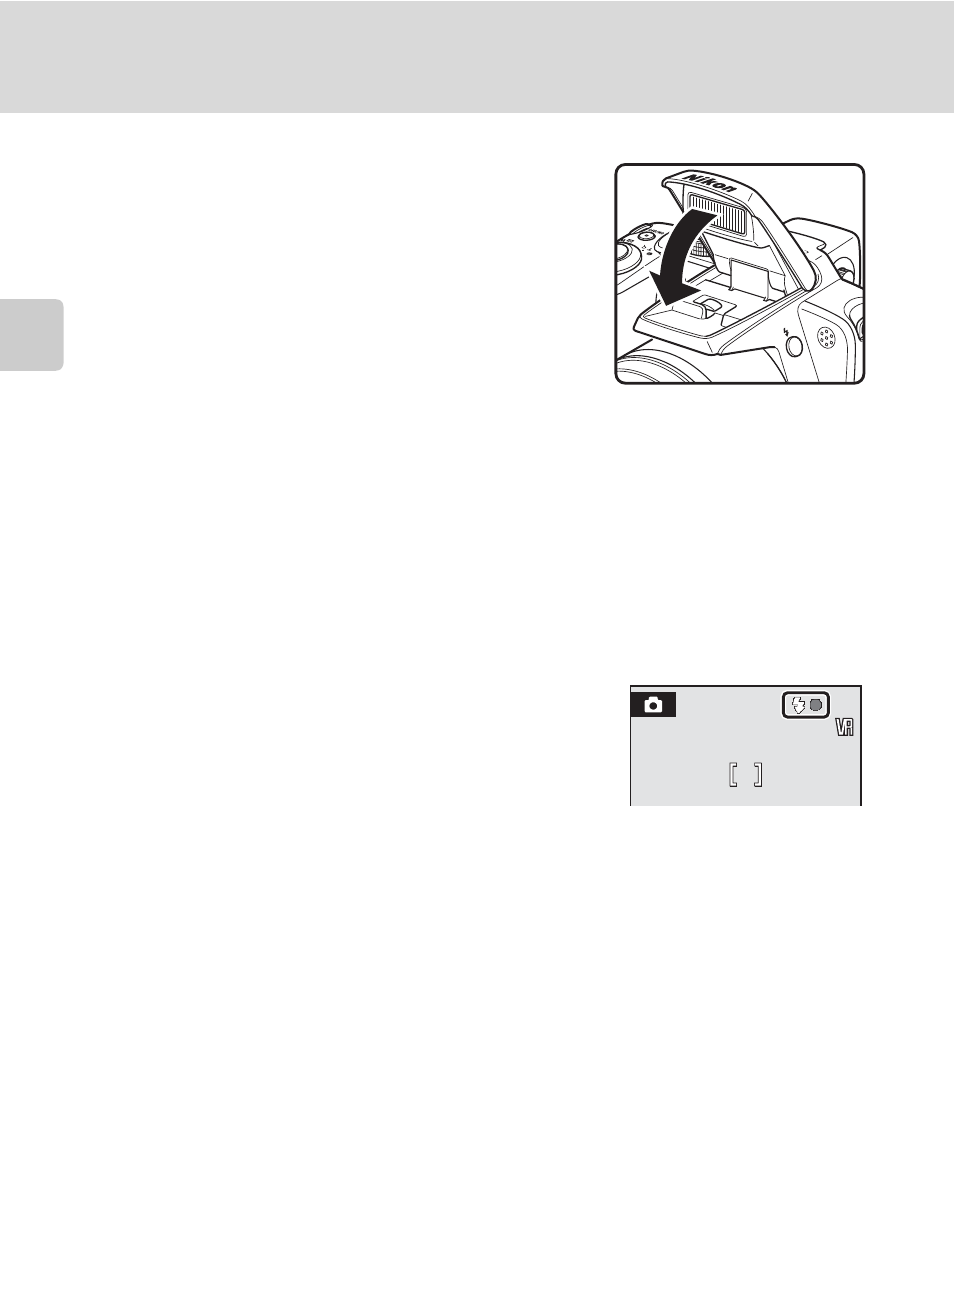
Lowering the Built-in Flash
When not using the built-in flash, gently push to lower the
flash until it clicks shut.
B
Shooting When Lighting is Poor and the Flash is Disabled (W)
• Use of a tripod is recommended to stabilize the camera during shooting and avoid the effects of
camera shake. Turn vibration reduction (
A 122) off when using a tripod.
• The E symbol is displayed when the camera automatically increases sensitivity to minimize blur
caused by slow shutter speed. Pictures shot when E is displayed may be slightly mottled.
B
Note on Using the Flash
When using the flash at a wide-angle zoom position, reflections from dust particles in the air may
appear as bright spots in pictures. To reduce these reflections, set the flash to W (Off), lower the
built-in flash, or zoom in on the subject.
C
The Flash Indicator
The flash indicator shows flash status when the shutter-release
button is pressed halfway.
•
On: Flash will fire when picture is taken.
•
Blinks: Flash charging. Wait a few seconds and try again.
•
Off: Flash will not fire when picture is taken.
C
The Flash Mode Setting
When the built-in flash is raised in the A (auto),
P, S, A, and M modes, the default setting is U (auto).
When any flash mode other than V (auto with red-eye reduction) is applied in A (auto) mode,
the setting is only enabled until the camera is turned off. Turning the camera off returns flash mode
to U (auto). When the flash mode is changed in the
P, S, A, and M exposure modes, the setting is
remembered even after the camera is turned off. When flash mode is applied in a scene mode, the
setting is only enabled until another shooting mode is selected or the camera is turned off.
C
Red-eye Reduction
This camera uses advanced red-eye reduction (“In-Camera Red-Eye Fix”). The flash fires repeatedly at
low intensity before the main flash, reducing red-eye. The camera then analyzes the picture; if red-
eye is detected, the affected area will be processed to further reduce red-eye before the picture is
saved. Note that because there is a slight lag between the shutter-release button being pressed and
the picture being shot, this mode is not recommended when a quick shutter response is required.
The time before the next picture can be shot also increases slightly. Advanced red-eye reduction
may not produce the desired results in all situations. In extremely rare instances, areas not subject to
red-eye may be affected by advanced red-eye reduction processing; in these cases, choose another
mode and try again.