Final scan – Nikon LS-3500 - LS-3510 User Manual
Page 31
Getting Started On The IBM
4-3
Software Reference for Scanners
The quickest way to capture this image is to click the Preview button.
Fig. 17
Previewing an Image
In order to scan the slide under optimal conditions the LS-3510AF will first
perform an autoexposure and autofocus sequence to set up information about the
nature of the image in the holder.
You should see the green Busy LED light up on the scanner and a message
appear in a small dialog. The message should read
Performing an
autoexposure...
This status line will keep you informed about the scanner’s
progress.
When the green Busy LED on the LS-3510AF goes out, you have completed
the
Autoexposure
cycle and the scanner will automatically focus on the slide
displaying the message,
Performing Autofocus
. After this, the Busy LED will
immediately light up again and the scanner will begin the preview cycle as it reads
the picture directly to your monitor display, field by field. We can now see the
image appearing on the video screen in the scan window in the sequence red,
green, then blue screens.
>Note
You will not be able to see the high-quality color available from the scanner
unless you have a 24-bit display card installed in your system.
Final Scan
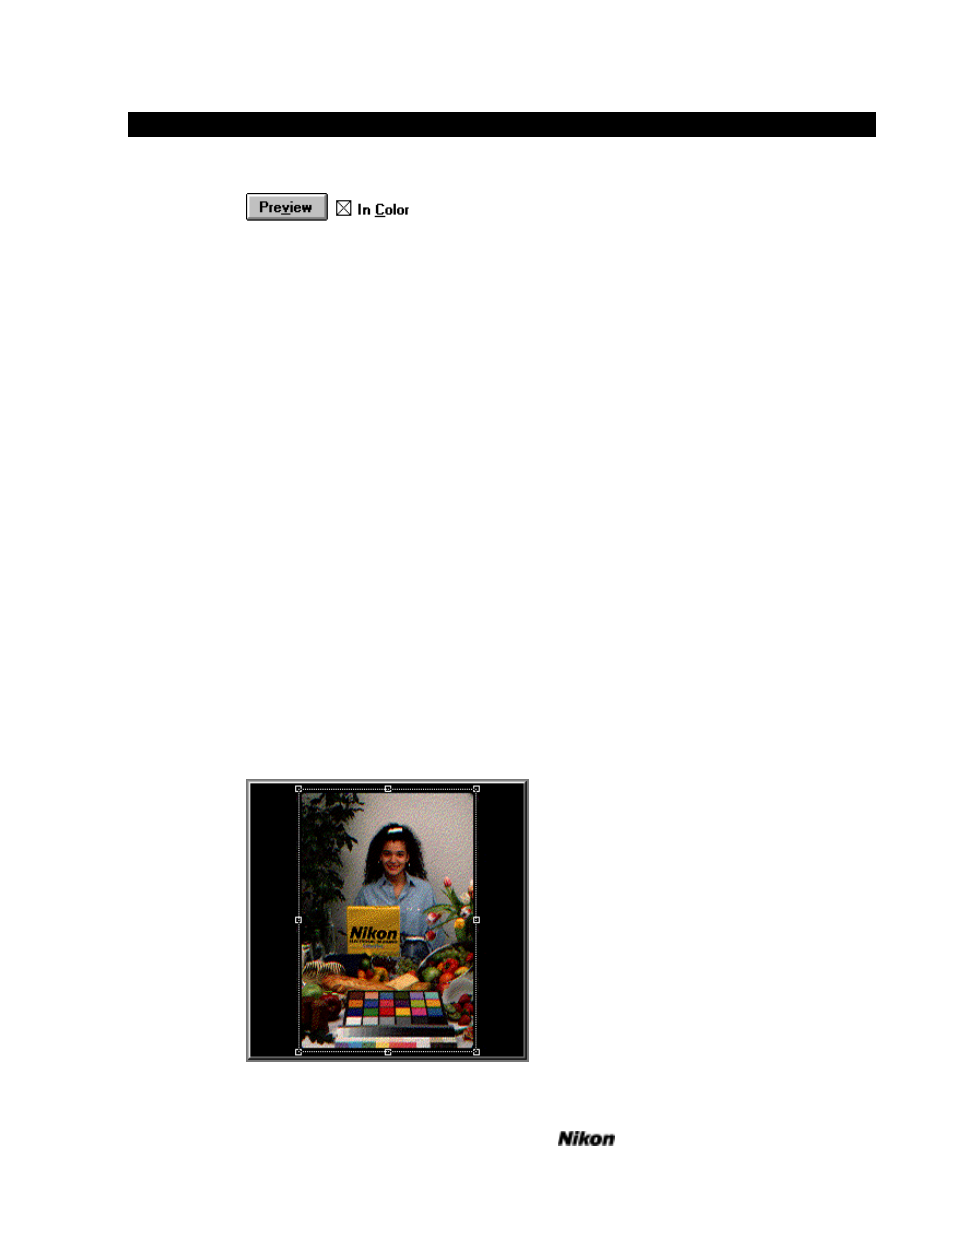
The next step will be to perform the main scan at a higher resolution. Crop
the preview image by placing the cursor at any corner of the preview, and drag to
enclose the area of interest in a rectangle as in Fig. 18 below.
Fig. 18
Cropping the Preview Image