PerTronix Dougs Headers D6681 User Manual
Header installation instructions, Disassembly
Part No. 0110-003111
Page 1 of 4
rev.1 11-19-13DSL
HEADER INSTALLATION INSTRUCTIONS
PART NUMBER: D6681
1996-04 Mustang 4.6 4 Valve
NOTE:
Doug’s recommends that these headers be used in conjunction with part #D923
Aluminized Y Pipe to complete the installation.
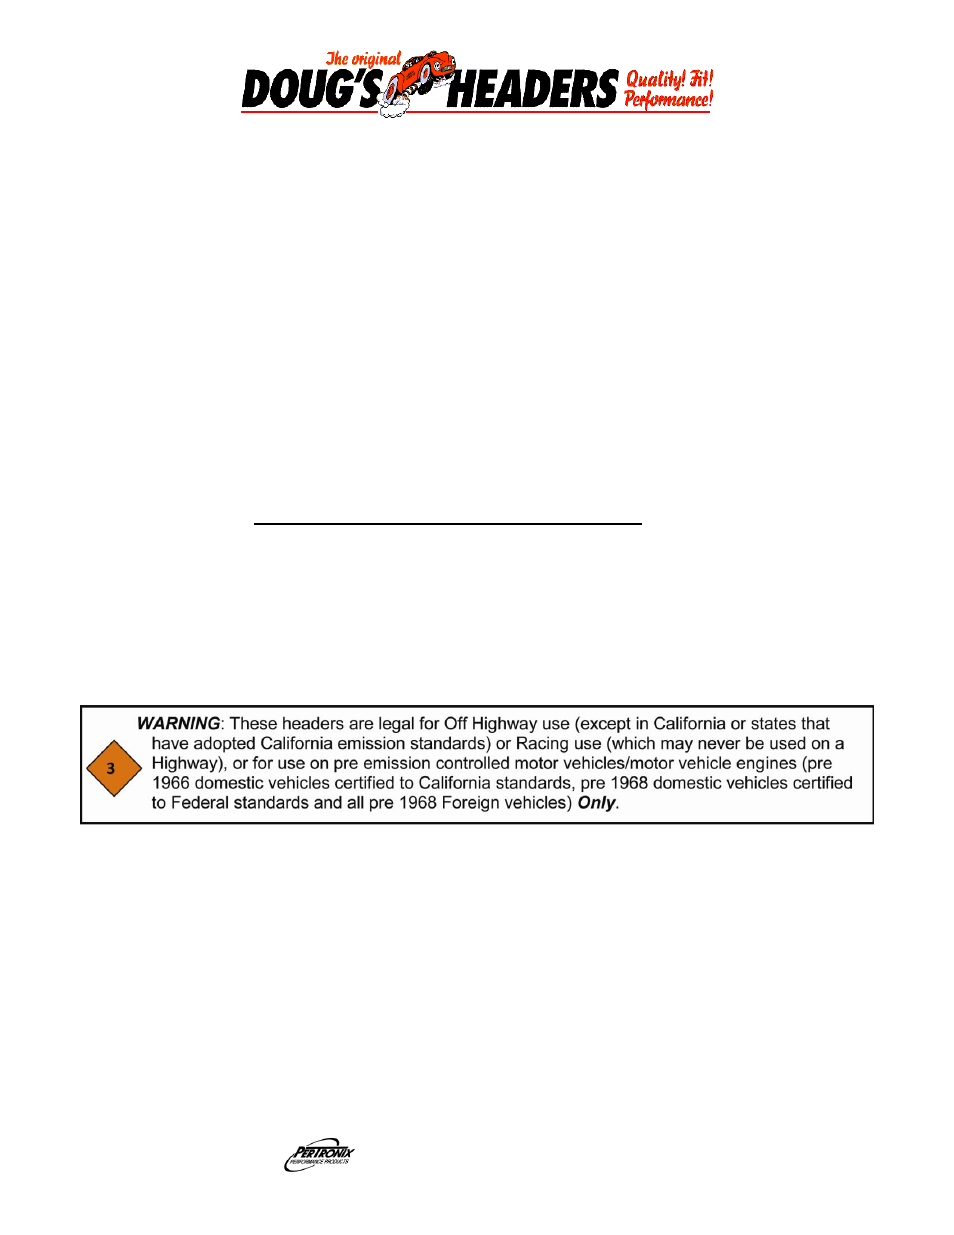
NOTE: Oxygen Sensor simulators are required with this header due to removal of front catalytic
converters. Available from, RPM Outlet.com, 713 858-8059 part #RPM003020
PerTronix
©
thanks you for choosing
DOUG’S HEADERS, the best fitting, highest quality header on the market. In order
to realize the full potential of our good fit, please read and understand these instructions completely prior to starting work.
Check to make sure you received the proper parts for your application. The header number will be stamped on the engine
flange. If you are unsure you have received the proper parts call before you start work.
Be sure to work safe! Whenever you work under the vehicle be sure that it is located on level, solid ground and is supported
by adequate safety stands! Remember: Hot asphalt will not support most jack stands!
Many factors affect the installation of headers, some of which are broken or aftermarket motor mounts, accidents that impact the
configuration of the frame, and/or the installation of different engines or aftermarket cylinder heads.
Attention Customers breaking in new engines: Due to the extreme heat generated during the break-in process, the
appearance of the ceramic coating may be altered in certain areas. The protection characteristics and thermal barrier properties
of the coating is never compromised. It is recommended that a cast iron manifold or old set of headers be used for this process.
Notice: The coating of these headers can be marred or scratched during installation. If the header needs to be returned and is
damaged, you will be charged for recoat.
DISASSEMBLY
1. Disconnect the negative cable from the battery.
2. If a hoist is not available, raise the car 3 feet or higher and support with adequate jack
stands. Make sure the car is on a flat solid surface and is stable.
3. Remove the cold air inlet tube from both the air cleaner and the throttle body.
4. Disconnect the EGR tube from the throttle body.
5. If equipped, remove the upper shock tower brace. (mainly on Cobras or aftermarket)
6. Remove the bolt that holds the Oil Dipstick to the motor.
7. Remove the oil filter.
8. If equipped, remove the lower A Arm Brace. (Mainly on hard Top models).
9. Disconnect all 4 O
2
sensor wire plugs. Remove the right side O
2
sensor located next to
the starter motor.
Corporate Office: PerTronix Inc. 440 E. Arrow Highway, San Dimas, California 91773 * Phone 909.599.5955 * FAX 909.599.6424 * www.dougsheaders.com