PerTronix Flame-Thrower Coils 60103 User Manual
Installation instructions
Installation Instructions
MOUNTING THE COIL
1. Turn the ignition switch off and disconnect the battery negative cable.
2. Remove the coil high tension wire from the coil tower.
3. Label and remove all wires from the positive and negative coil terminals.
4. Remove the existing coil.
5. The Flame-Thrower HC coil can be mounted in a variety of positions and
locations. Choose a flat location that is away from direct heat and mechani-
cal linkage yet is relatively close to the distributor. Common locations
would include a fenderwell or firewall.
6. Verify that the coil high tension and primary ignition wires reach the chosen
mounting location.
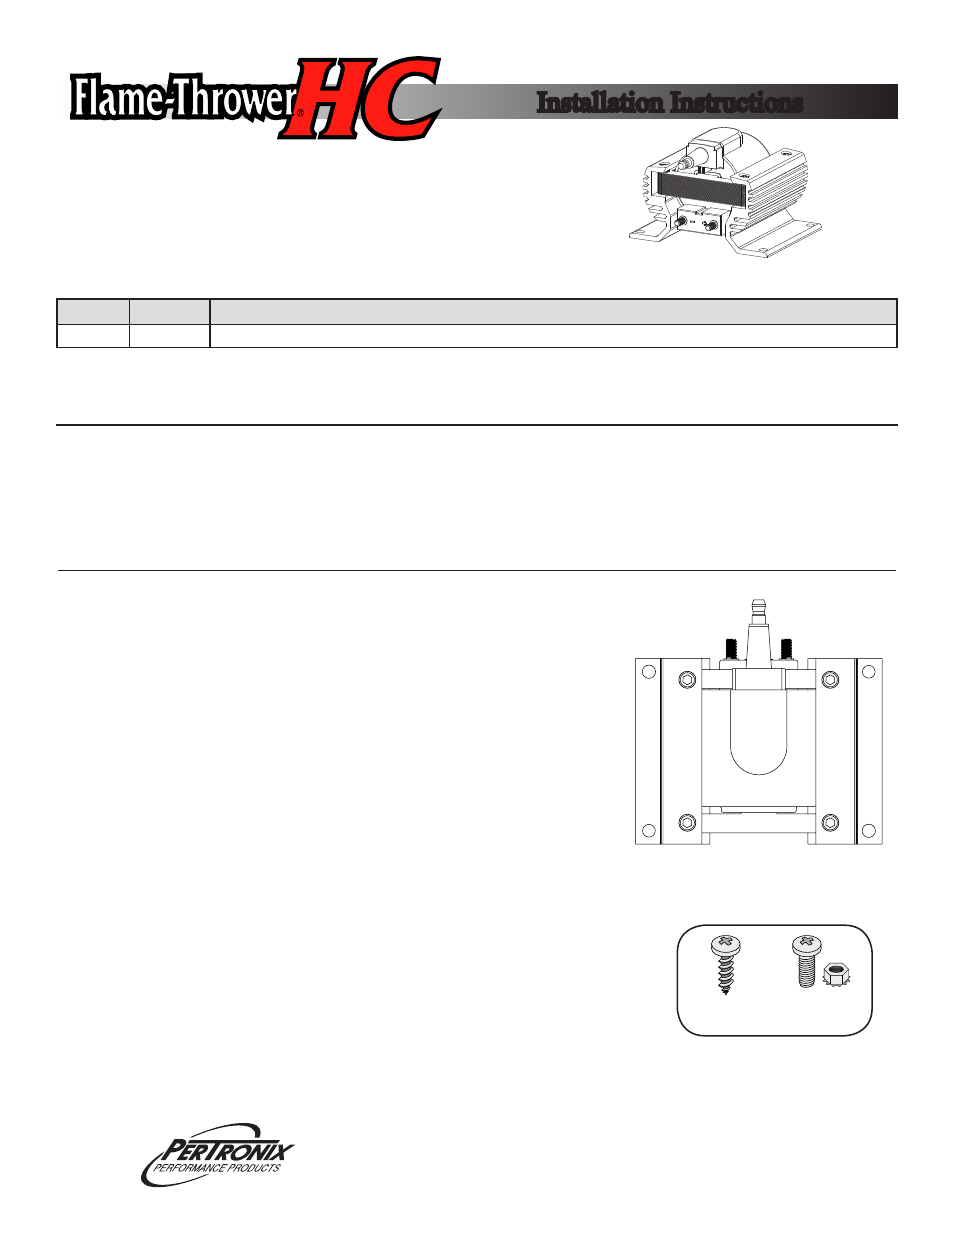
7. Hold the coil in position and mark the four mounting hole points with a pen
or transfer punch.
8. The Flame-Thrower HC coil comes with all the necessary hardware to
securely mount it. Machine screws and kep nuts should be used when the
back side of the mounting location is accessible. Use the sheet metal screws
for blind mounting locations.
9. Before you begin drilling holes, check to be sure where you are drilling will
not result in damage.
10. Blind mounting Flame-Thrower HC coil with sheet metal screws is simple. Each
screw has a self taping point. Using a power driver, position the screw onto each of
the marked points and tighten the coil into place.
11. When mounting the coil with the machine screws, use a 1/4” bit to drill a hole in
each of the mounting points. Apply a drop of thread lock to each the screw threads
and install the provided kep nuts. Tighten the coil into place.
Part #
Ohms Applications
60103
0.32
Ignitor III, Ignitor II, HEI, TFI, CD (with current limiting circuity)
# 10 Sheet
Metal Screw
10-32 Machine
Screw
1 coil
4 #10 sheet metal screws
4 10-32 machine screws and nuts
2 10-32 coil terminal nuts
2 ring terminals
1 coil wire boot
1 coil wire terminal
PARTS INCLUDED IN THIS PACKAGE:
440 East Arrow Highway • San Dimas, CA 91773 • 909-599-5955 • www.pertronix.com
0015-008704