Getting started – Spektrum SPMAR6335 AS3X_Programmer User Manual
Page 2
2
EN
™
• Set all transmitter settings to
default.
Important: The Aileron, Elevator
and Rudder settings in the
transmitter must remain at their
factory default values. Settings for
reverse, sub trim, travel adjustment,
expo and dual rate must be done in
the App only.
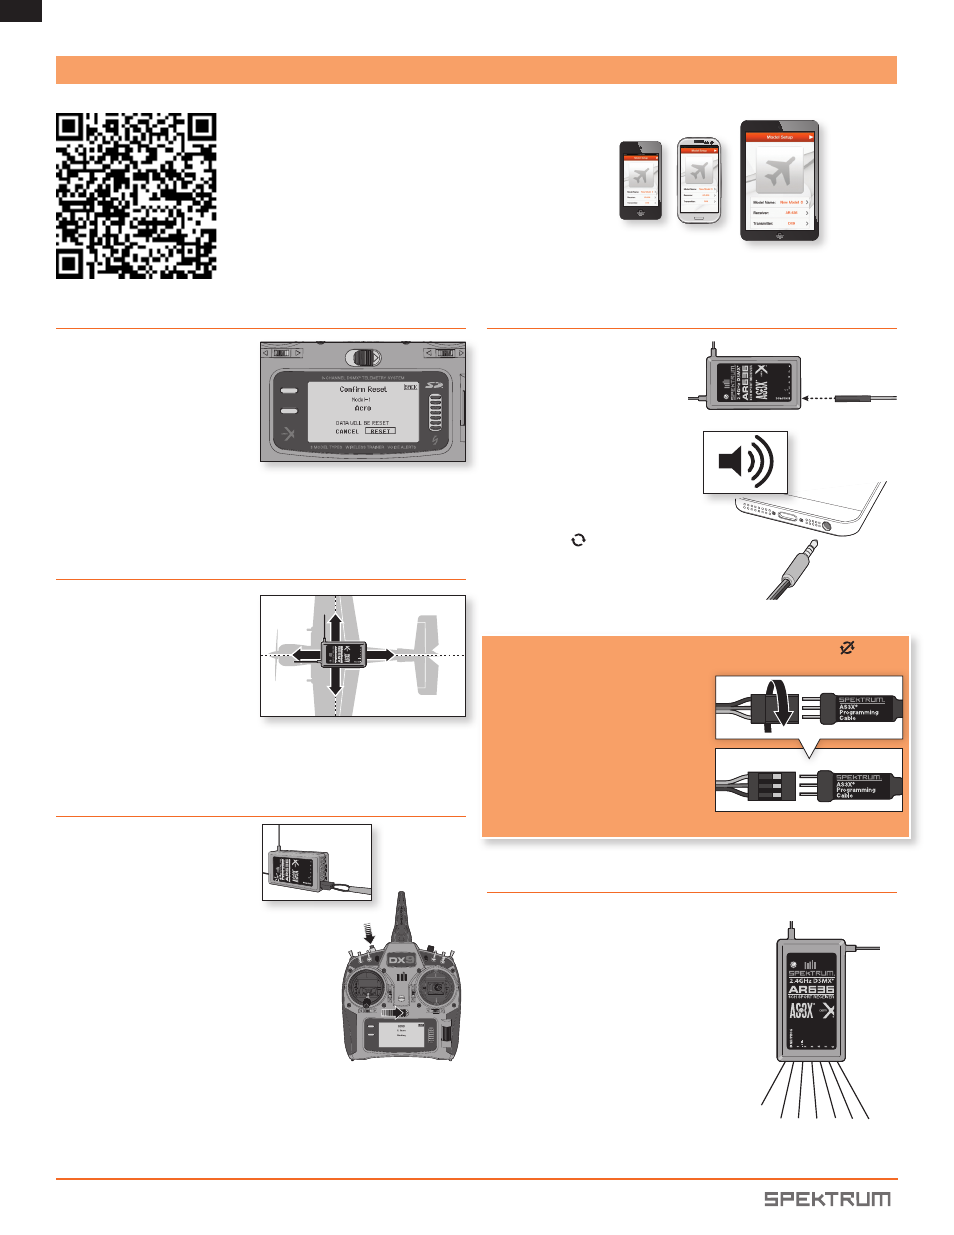
1. Install the receiver in one of 8
possible orientations using double
sided tape.
2. The servo ports must be facing the
front or rear of the aircraft.
3. The receiver must be mounted
parallel to the roll, pitch and yaw
axis (NOT ANGLED).
1. Insert the bind plug into in the
receiver bind port and power on
the receiver. The LED should blink
to indicate the receiver is in bind
mode.
2. Bind the transmitter to the receiver
at low throttle. Refer to your
transmitter’s manual for details
on how to bind to your specific
transmitter.
To get more information, including details on downloading
the Spektrum™ AS3X
®
Mobile Programming Application,
visit
www.SpektrumRC.com/AS3X
or scan this QR code.
Transmitter Setup
Connecting to the Receiver
Plug servo leads into assigned ports
Installing the Receiver
Binding
Getting Started
CLEAR
BACK
™
®
AR636 shown
AR636 shown
1. Connect the servo plug on the
audio interface cable to the BIND/
PROG port on your receiver.
2. Power the receiver through any
open channel.
3. Connect the audio plug on the
interface cable to the audio jack
on your mobile device. The volume
MUST be turned up to full.
4. Ensure you have secure receiver
data port and audio data port
connections.
If the receiver is being connected
for the first time, the App will
automatically open in Model Wizard
in the Model Setup screen.
*Minimum system requirements:
iOS 6.0, iPhone 4, iPod 4th gen and Android 4.0
*Does not apply to iOS Devices.
If your Android device does not recognize the receiver*
1. Ensure you have secure receiver data
port and audio data port connections.
2. Disconnect the audio plug from the
device.
3. Separate the servo plugs in the middle
of the interface cable.
4. Flip the device servo plug 180 degrees
and re-connect the servo plugs.
5. Re-connect the audio plug to the
device.
Normal Model Type
• Port 1: Throttle
• Port 2: Aileron
• Port 3: Elevator
• Port 4: Rudder
• Port 5: Gear/ Flap
• Port 6: Left
Aileron
(if equipped with
dual servos)
Delta /
Elevon Model Type
• Port 1: Throttle
• Port 2: Right
Aileron
• Port 3: Left
Aileron
• Port 4: Rudder
• Port 5: Gear
• Port 6: Aux 1
Typical Servo Port Assignments
*
:
Port
1
Bind/Prog
Port
2
Port
3
Port
4
Port
5
Port
6
*AR636 shown for reference. Port assignments
will be similar for all AS3X receivers. Refer to your
receivers manual for more information.