Installing the receiver – Spektrum SPMMSJR720 User Manual
Page 8
Spektrum Air Module
14
Spektrum Air Module
15
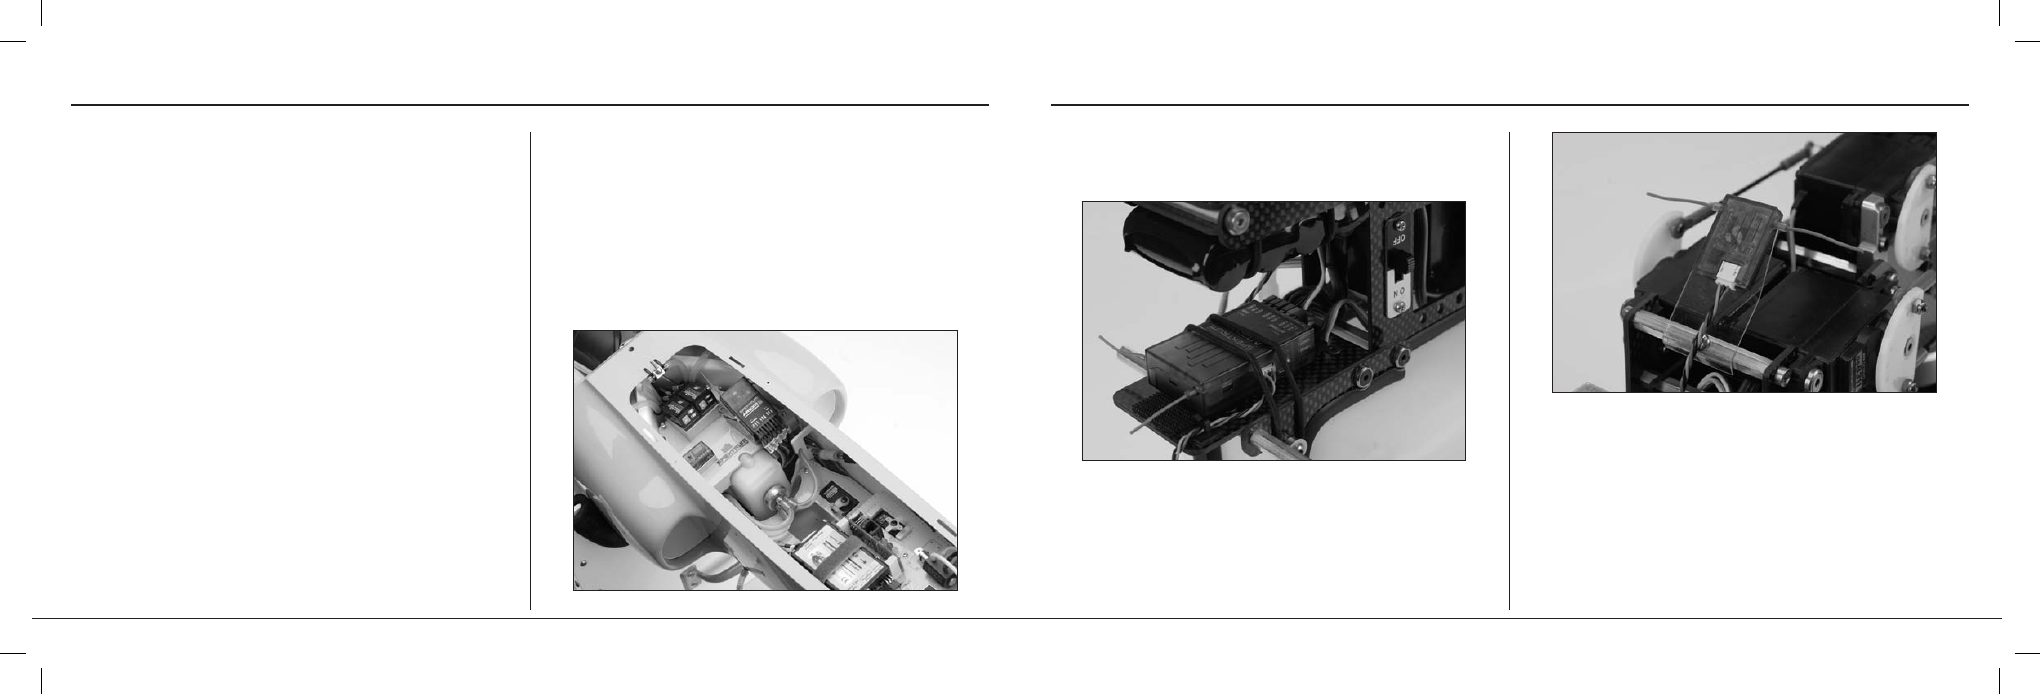
In helicopters, there is generally enough room on the servo tray to achieve the
necessary separation. If necessary, a mount can be made using clear plastic to
mount the remote antenna as shown.
Note: The AR9000 requires that at least one remote receiver be used.
Install the main receiver using the same method you would use to install a
conventional receiver in your aircraft. Typically wrap the main receiver in protective
foam and fasten it in place using rubber bands or hook and loop straps. Alternately
in electric or turbine-powered models, it’s acceptable to use thick double-sided
foam tape to fasten the main receiver in place.
Mounting the remote receiver(s) in a different location(s), from the primary receiver,
gives tremendous improvements in path diversity. Essentially each receiver sees a
different RF environment and this is the key to maintaining a solid RF link, even in
aircraft that have substantial conductive materials, (e.g., turbine engines with metal
tail pipes, carbon fiber, tuned pipes, etc.) which can weaken the signal.
Using double-sided foam tape (servo tape), mount the remote receiver(s) keeping
the remote antenna(s) at least 2 inches (51mm) away from the primary antenna.
Ideally the antennas will be oriented perpendicular to each other. 6-inch (152mm),
9-inch (228mm), 12-inch (305mm), 24-inch (610mm) and 36-inch (914mm) leads
are available, and in sophisticated aircraft we’ve found it best to mount the remote
receivers in different parts of the aircraft, keeping the remote antennas as far away
as practical from any conductive materials. A typical installation would include the
main receiver mounted in the conventional location in the fuselage and the remote
antennas in the nose (jets) in the top turtle deck and even in the tail. The optimum
location is as far away from any conductive materials as practical.
Installing the Receiver
Installing the Receiver