Spektrum SPMMSJR720 User Manual
Page 11
Spektrum Air Module
20
Spektrum Air Module
21
Preset failsafe is ideal for sailplanes and is preferred by some modelers for their
glow- and gas-powered aircraft.
Receiver Power Only
When the receiver only is turned on (no transmitter signal is present) all servos
except for the throttle are driven to their preset failsafe positions, normally control
surfaces at neutral and the landing gear down. These failsafe positions are stored in
the receiver during binding. At this time the throttle channel has no output, to avoid
operating or arming the electronic speed control. In glow-powered models, the
throttle servo has no input so it remains in its current position.
After Connection
When the transmitter is turned on and after the receiver connects to the transmitter,
normal control of all channels occurs. After the system makes a connection, if
loss of signal occurs preset failsafe drives all servos to their preset failsafe
positions. For sailplanes it’s recommended that the spoilers/flaps deploy to
dethermalize the aircraft, preventing a flyaway. Some powered modelers prefer to
use this failsafe system to program a slight turn and low throttle to prevent their
aircraft from flying away. When the signal is regained, the system immediately (less
than 4 ms) regains control.
Programming SmartSafe
During the binding process (see page 16), the bind plug is left in throughout the
process and is removed only after the receiver connects to the transmitter. After
the connection is made, confirmed by operating the servos, the bind plug can be
removed. The receiver is now programmed for SmartSafe.
Programming Preset Failsafe
(AR9000 Receiver)
During the binding process the bind plug is inserted in the bind port or in the
charge jack (as shown on page 16), then the receiver is powered up. The LEDs
in each receiver should blink, indicating that the receiver is in bind mode.
Now
before binding the receiver to the transmitter and with the receiver in
bind mode, remove the bind plug. The LEDs will still be blinking. With the
control sticks and switches in the desired failsafe positions, bind the transmitter
to the receiver by pressing and holding the bind buttons on the back of the
transmitter/module and turning on the transmitter. The system should connect in
less than 15 seconds. The receiver is now programmed for preset failsafe.
Note: failsafe positions are stored via the stick and switch positions on
the transmitter during binding.
Futaba’s 12MZ and 14MZ transmitters utilize a unique module design. While
most 72MHz modules contain the complete RF electronics section that embeds
the encoded PPM signal from the transmitter into the carrier signal, Futaba MZ
modules operate using a different method. With the 12 and 14MZ transmitters, the
PPM signal is actually applied to the carrier signal within the transmitter, not in
the module. Note that the MZ 2.4GHz Spektrum module has an external connector
attached that must be plugged into the DSC port in the back of the transmitter. The
Spektrum module then captures the PPM stream through this DSC port.
Note: During operation the Futaba logo at the top of the transmitter will
flash. This is normal and occurs because the transmitter recognizes the
module in use is not a Futaba brand module.
Note: Futaba’s MZ transmitter outputs eight PPM channels. Consequently
the MZ module is an eight-channel system.
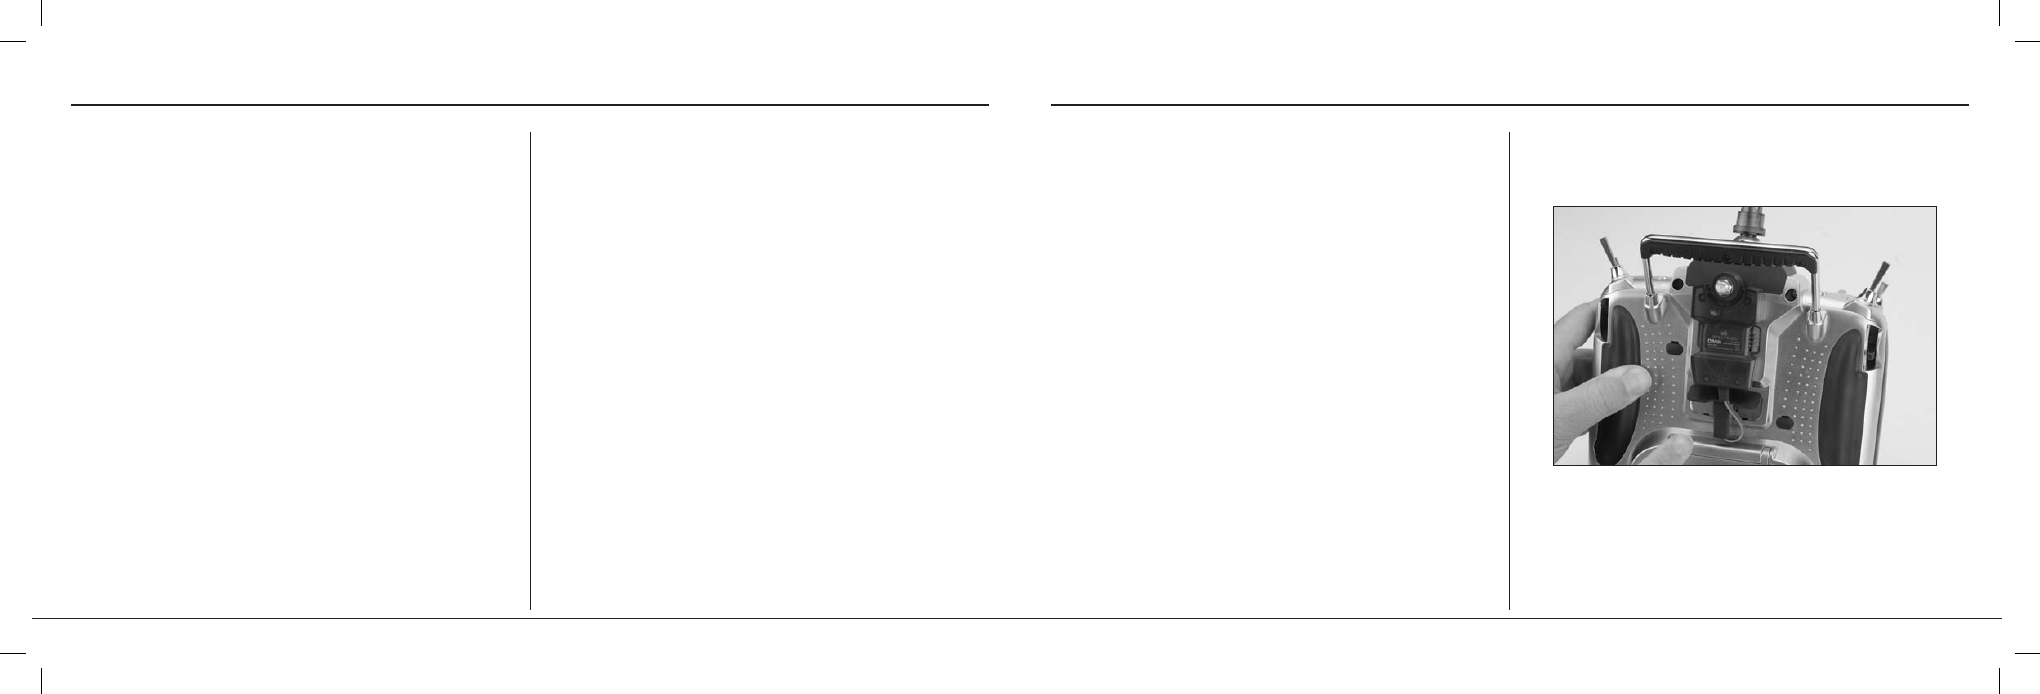
FZ Spektrum Module Instructions
Install the Spektrum module in the back of the transmitter and plug the connector
in the DSC port.
Preset Failsafe
Futaba FZ Module Special Instructions