Head1 - installing the switch on a desktop, Installing the switch on a desktop – Allied Telesis AT-FS705L User Manual
Page 22
Installation
12
Installing the Switch on a Desktop
The AT-FS705L switch can be used on a desktop or mounted on a wall. To
wall-mount the switch, refer to “Wall-Mounting the Switch” on page 13.
To install an AT-FS705L switch on a desktop, perform the following
procedure:
1.
Remove all equipment from the package and store the packaging material
in a safe location.
2.
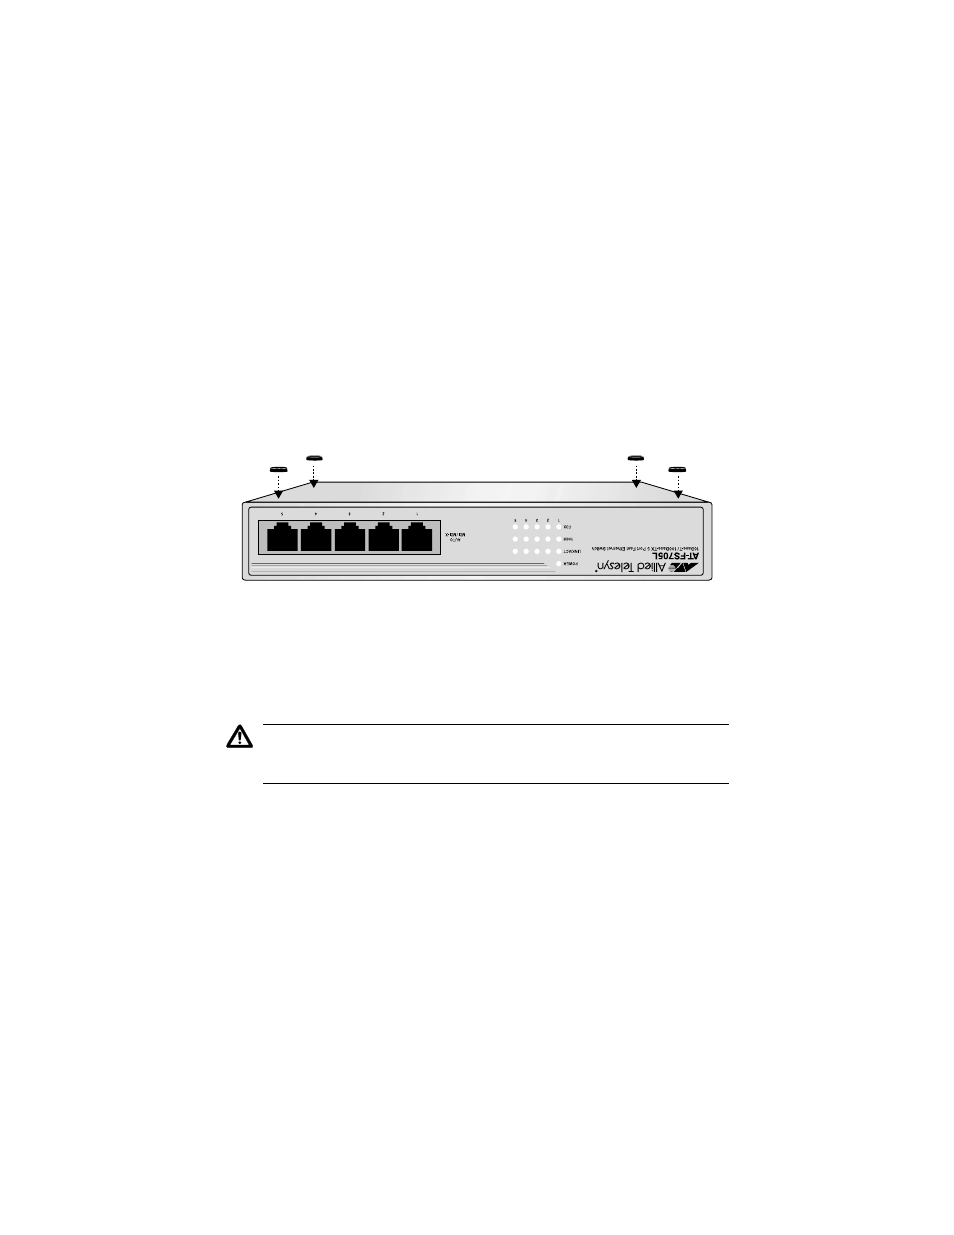
If you are installing the switch on a desktop, attach the four protective
feet to the bottom on the unit. See Figure 5. Do not attach the
protective feet if you are wall-mounting the switch.
Figure 5 Attaching the Protective Feet
3.
Place the switch on a flat, secure surface (such as a desk or table) leaving
ample space around the unit for ventilation.
4.
Connect the twisted pair cables to the twisted pair ports.
Caution
Power cord is used as a disconnection device: To de-energize equipment,
disconnect the power cord.
! 7
5.
Power ON the switch by plugging one end of the power cord to the back of
the switch and the other end of the power cord to a power outlet.
6.
Verify that the POWER LED is green. If the LED is OFF, refer to
“Troubleshooting” on page 15 for instructions.
7.
Power ON the end-nodes connected to the switch.
8.
Check the LINK/ACT LEDs for each port is green. If a LED is OFF, refer
to “Troubleshooting” on page 15 for instructions.
The switch is now ready for use.