Powering on and cabling the media converter – Allied Telesis AT-MC104LH User Manual
Page 33
AT-MC10x Series Media Converters Installation Guide
23
Powering On and Cabling the Media Converter
To apply power to an AT-MC10x Series media converter and connect the
network cables, perform the following steps:
Note
The power adapter is not used if you install the bridging converter
in an AT-MCR12 chassis.
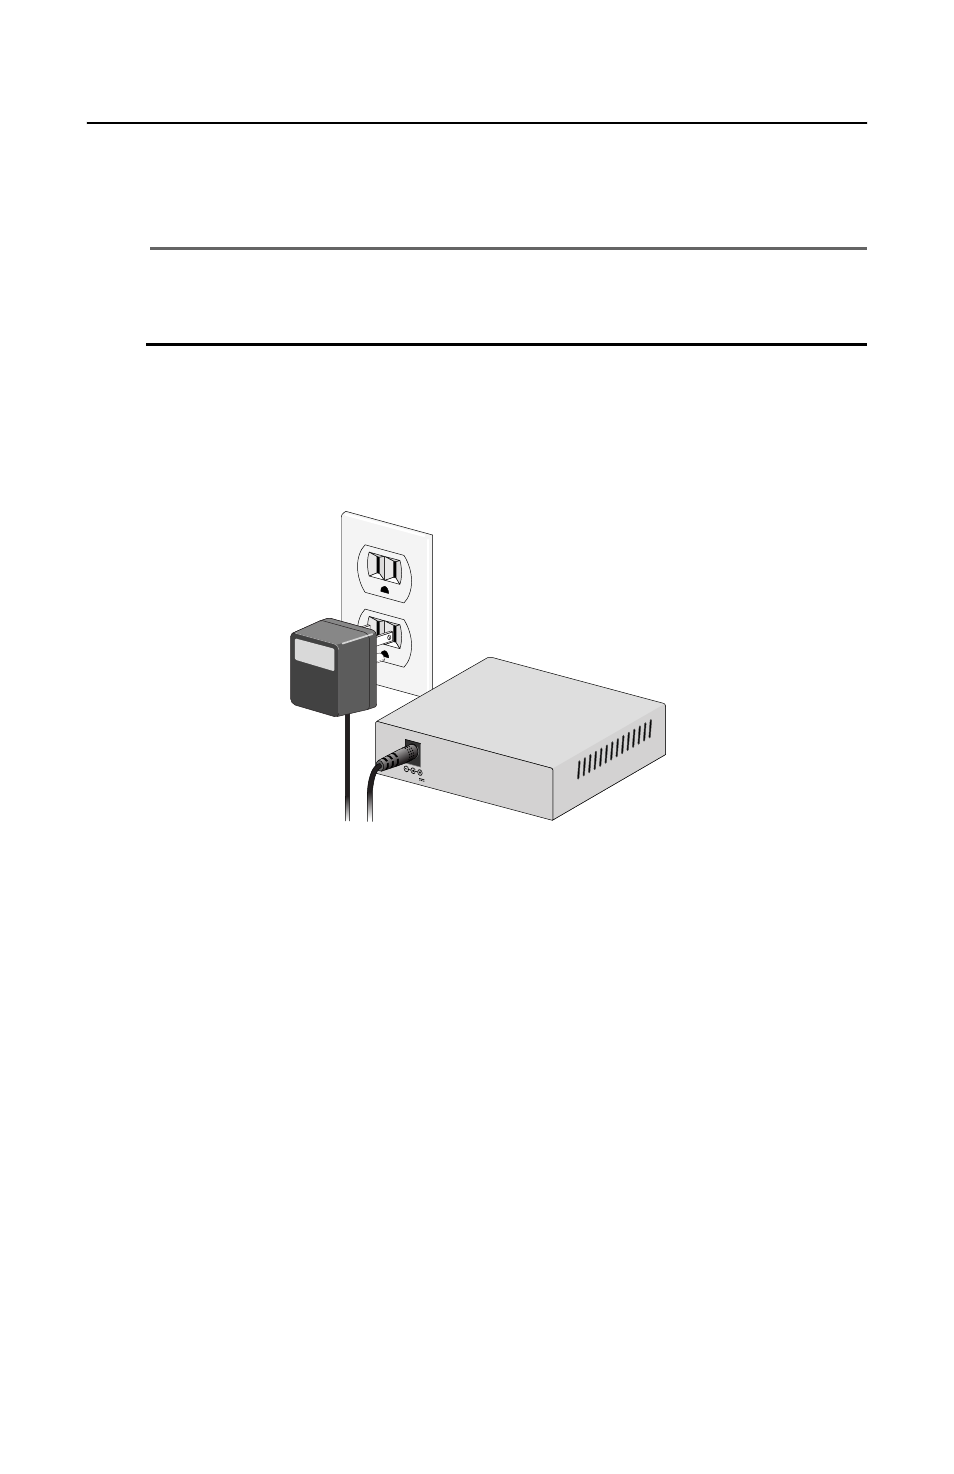
1. Plug one end of the DC power cord to the power receptacle
connector labelled 12VDC on the back panel of the media converter,
as shown in Figure 15.
Figure 15. Connecting 12VDC Powered Unit
2. Plug the AC/DC adapter to a power outlet. Refer to “Technical
Specifications” on page 31 for power requirements.
3. Verify that the PWR LED on the front of the unit is green. If the PWR
LED is OFF, refer to “Troubleshooting” on page 27.
4. Remove the dust cover from the fiber optic connector and connect the
cable to the fiber optic port. Verify that the media converter’s
transmitter port (TX) is connected to the end-node’s receiver port
(RX) and that the media converter’s receiver port (RX) is connected
to the end-node’s transmitter port (TX).
5. If you are installing an AT-MC101XL, AT-MC102XL, AT-MC103XL, or
AT-MC103LH, connect the twisted pair cable to the twisted pair port.
12 VDC