User settings – Alto-Shaam Processing Freezer/Chiller/Refrigeration System QC-3/QC-20/QC-40/QC-50/QC-50 Remote/QC-100/Qc-100 Remote User Manual
Page 23
QUICKCHILLER • INSTALLATION/OPERATION/SERVICE MANUAL • 21.
S U B T I T L E
T I T L E
USER SETTINGS
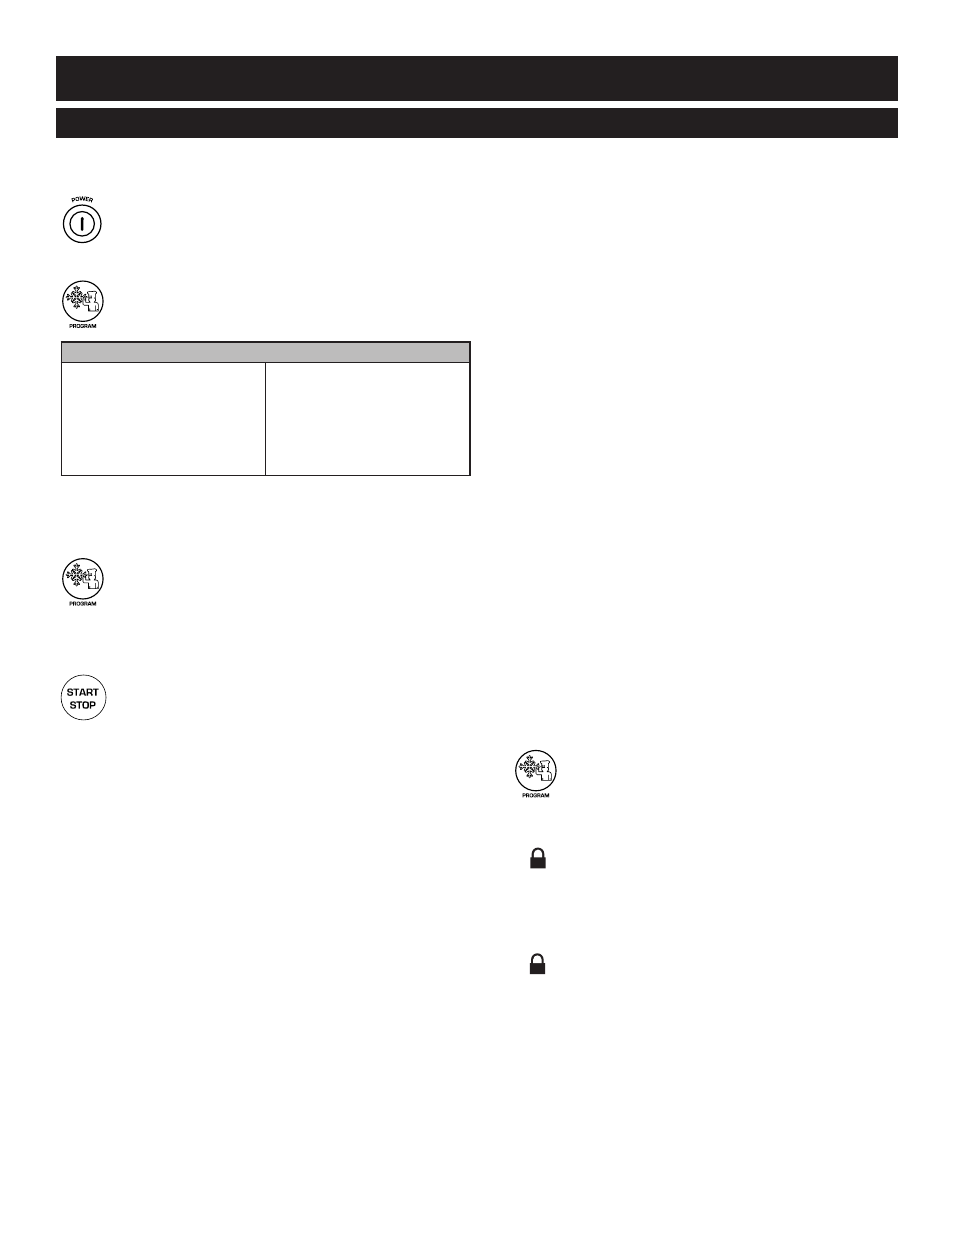
changing user settings
Starting from the
off
position, press the power key
on
. The Alto-Shaam name will illuminate and the
SELECTION SCREEN
will appear on the display.
The compressor will become energized and will
begin to operate if required by the sensors.
Press the PROGRAM key. The display will
indicate the User Settings each time the Program
key is pressed.
Press the up
5
or down
6
arrow keys to select the desired
User Setting.
Press the right
4
or left
3
arrow keys to change the value.
Press the PROGRAM key to save settings and
return to the SELECTION SCREEN.
programming user settings
1. START MANUAL DEFROST
Select Start Manual Defrost and press the
START/STOP
key to initiate a manual defrost
cycle. The defrost cycle will complete operation
when the temperature of the coil or coils reach set-
point values or after a period of 20 minutes,
whichever occurs first.
2. DEFROST FREQUENCY
The display will indicate the length of time necessary
to accrue before the Fan Timer triggers an automatic
defrost cycle. This period of time can be adjusted by
pressing the right
4
or left
3
arrow keys to to increase
or decrease automatic defrost cycle time (4-10 hours).
3. LANGUAGE
The display will indicate the currently selected
language. Press the right
4
or left
3
arrow key to select
English, Spanish, or French as the language of choice.
4. DATE
The display will indicate YEAR, MONTH, and DAY
OF MONTH (YYYY/MM/DD). Press the up
5
or
down
6
arrow key to select the date, time, and day,
and the right
4
or left
3
arrow key to increase or
decrease the numbers as required.
5. TIME
The display will indicate the current TIME of day
(HH:MM). Press the up
5
or down
6
arrow key to select
the hours or minutes and the right
4
or left
3
arrow key
to increase or decrease the numbers as required.
6. °F/°C - Fahrenheit/Celsius
The display will indicate a choice between Celsius
and Fahrenheit for Quickchiller temperature display
readings. Press the right
4
or left
3
arrow key to
toggle the setting.
7. HOLD DEFAULT
The display will indicate the default HOLD
temperature. Press the right
4
or left
3
arrow key to
increase or decrease the default holding temperature
between a range of -5°F to +40°F (-21°C to +4°C).
8. HACCP ADDRESS
The display will indicate the HACCP Address
Number. This item allows the operator to assign a
specific identifying number (1 to 247) to the individual
Quickchiller as part of a serial communication interface
for the web-based, HACCP with Kitchen Management
software package option. Press the right
4
or
left
3
arrow key to increase or decrease the number.
9. PROBE VERIFICATION
With the probe verification selected, press the Start key
to enter the probe verification mode.
The display will show the offset and the temperature of:
Top Probe (
where
applicable
)
Middle Probe (
where
applicable
)
Bottom Probe (
where
applicable
)
If probe calibration is needed, place the probe
in a glass of ice-water and let the probe settle in
temperature. The temperature in the glass should be
32°F (0°C).
To calibrate, Press up
5
or down
6
arrow key to adjust
between the probes, and the right
4
or left
3
arrow
keys to adjust the calibration value.
Press the PROGRAM key to exit probe
calibration mode.
10. PRESETS
(0=
UNLOCKEd
, 1=
LOCKEd
)
I
o
If the presets are locked, pressing
start
on
the desired preset will skip the mode overview
and will start immediately. Factory default
is
locked
.
11. CHILL MODES
(0=
UNLOCKEd
, 1=
LOCKEd
)
I
o
If the chill modes are locked, pressing the
chill mode button will skip the mode overview
and will start immediately. Factory default
is
unlocked
.
12. FACTORY RESET
Resets all presets and user-defined settings to factory
default settings. Warning: Pressing Factory Reset will
erase all User Settings and Presets programmed by
the user. All custom User Settings and Presets will
need to be reprogrammed.
A D V A N C E D O P E R A T I O N
O P E R A T I O N
USER SETTINGS
1.
Start Manual Defrost
7.
Default Hold Temperature
2.
Defrost Frequency
8.
HACCP Address
3.
Language
9.
Probe Verification
4.
Date - YYYY/MM/DD
10.
Presets
5.
Time - HH:MM
11.
Chill Modes
6.
°F/°C - Fahrenheit/Celsius 12. Factory Reset
A D V A N C E D O P E R A T I O N
O P E R A T I O N