Quickstart, 1 siting considerations, 2 mounting – Campbell Scientific LP02 Hukseflux Pyranometer User Manual
Page 8: Siting considerations, Mounting, 1. cm225 bracket attached to a crossarm
LP02 Pyranometer
4. Quickstart
Please review Section 7, Operation, for wiring, CRBasic programming, and
Edlog programming.
4.1 Siting Considerations
The LP02 is usually installed horizontally, but can also be installed at any
angle including an inverted position. In all cases, it will measure the flux that
is incident on the surface that is parallel to the sensor surface.
Site the LP02 to allow easy access for maintenance while ideally avoiding any
obstructions above the plane of the sensing element. It is important to mount
the LP02 such that a shadow will not be cast on it at any time. If this is not
possible, try to choose a site where any obstruction over the azimuth range
between earliest sunrise and latest sunset has an elevation not exceeding 5°.
Diffuse solar radiation is less influenced by obstructions near the horizon. For
instance, an obstruction with an elevation of 5° over the whole azimuth range
of 360° decreases the downward diffuse solar radiation by only 0.8%.
4.2 Mounting
Below shows the steps for using the CM225 mounting bracket kit to mount the
LP02 to a vertical pipe (1.0 to 2.1 in. OD), or to a CM202, CM203, CM204, or
CM206 crossarm. If the sensor needs to be mounted at an angle, the CM245
Adjustable Angle Mounting Stand can be used instead (see Appendix A,
CM245 Adjustable Angle Mounting Stand).
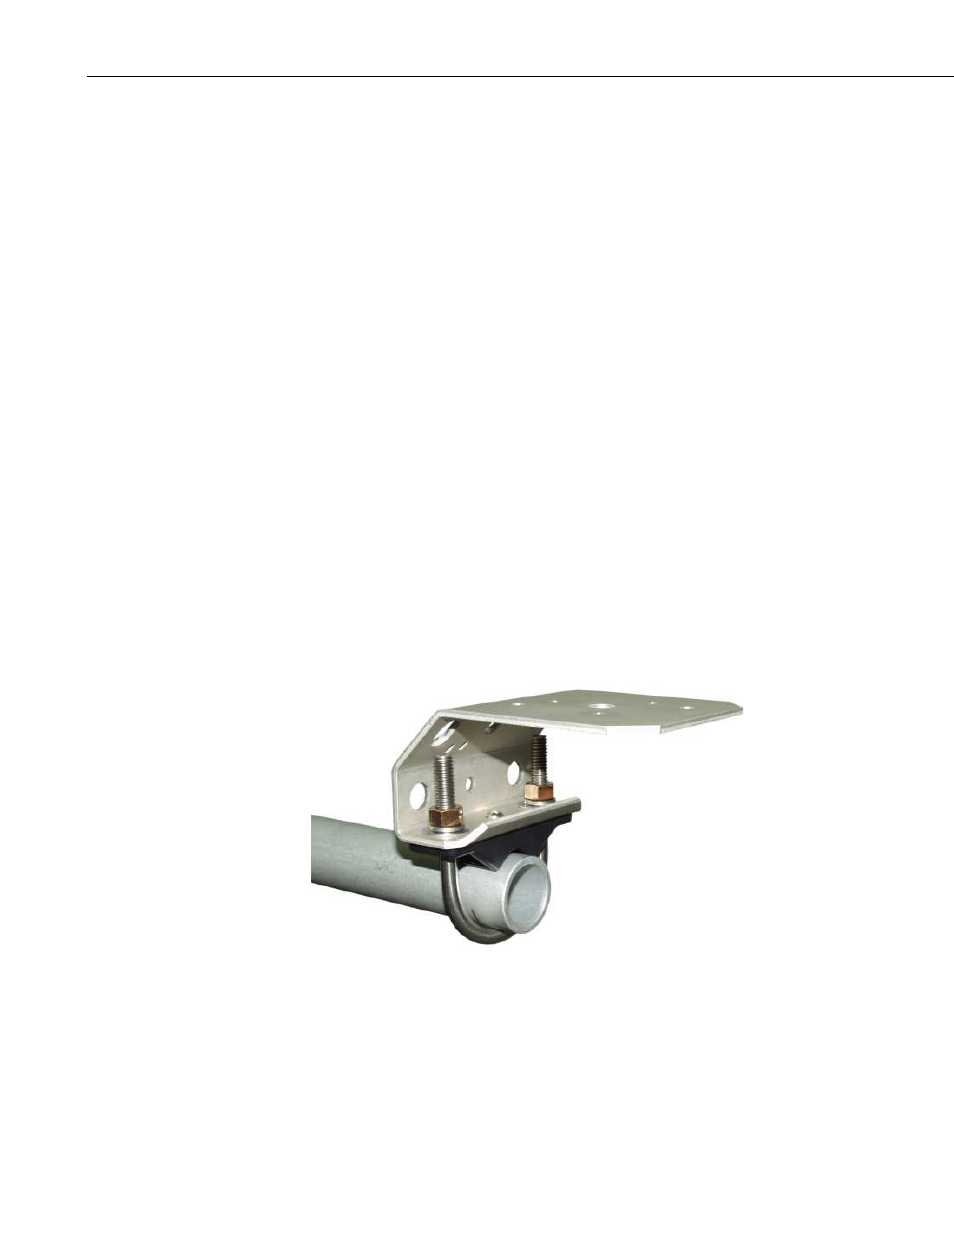
1. Attach the CM225 to a mast or crossarm (see FIGURE 4-1 and FIGURE
FIGURE 4-1. CM225 Bracket Attached to a Crossarm
2