3 tools list (for tripod, mast and crossarm), Overview, Tools list (for tripod, mast and crossarm) – Campbell Scientific CM110, CM115, CM120 Tripod Installation User Manual
Page 11: Cm115 and cm120)
Tripod Installation Manual Models CM110, CM115, CM120
3.3 Tools List (for tripod, mast and crossarm)
1/2-in and 7/16-in open end wrenches
adjustable wrench
socket wrench with 1/2-in and 7/16-in deep sockets (optional)
Phillips head screwdriver (medium)
Straight bit screwdriver (large)
12-in torpedo level
side-cut pliers
pencil
tape measure
compass and site declination angle
shovel
sledgehammer (for driving ground rod and stakes)
step ladder
4. Overview
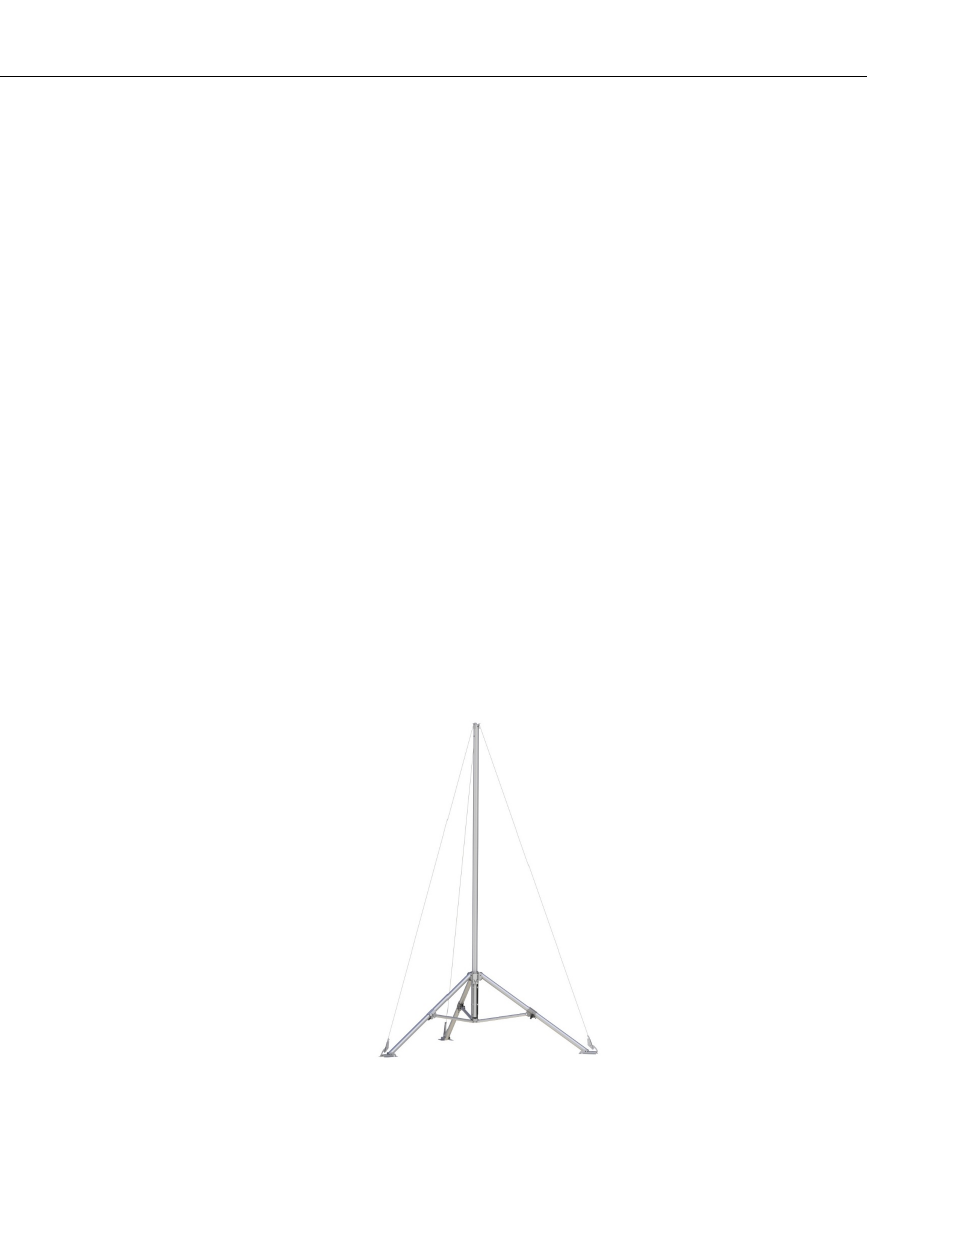
The tripod (FIGURE 4-1) is constructed from galvanized steel, with
individually adjustable legs that allow installation over uneven terrain.
The tripod includes lightning and ground rods, ground cables, UV resistant
cable ties, and stakes for securing the tripod feet to the ground. A guy kit is
included (optional for the CM110) for sites that experience high wind speeds
(see Section 5, Specifications). Instrument enclosures can be purchased with
mounting brackets that attach to either the mast or leg section as shown in
Section 6.1.7, Enclosure Attachment.
The tripod can be used for a variety of applications. For meteorological
stations, sensors are mounted to the tripod using mounting brackets appropriate
for the model of sensor. For non-meteorological applications, the tripod can be
used to mount instrument enclosures, solar panels, junction boxes, or antennas.
FIGURE 4-1. CM110 tripod with optional guy wires (guy wires included
with CM115 and CM120)
3