Flaming River Galaxie Rack & Pinion Cradle Kit 1962-64 User Manual
Page 4
Page 3 of 8
01262010
rd/jj
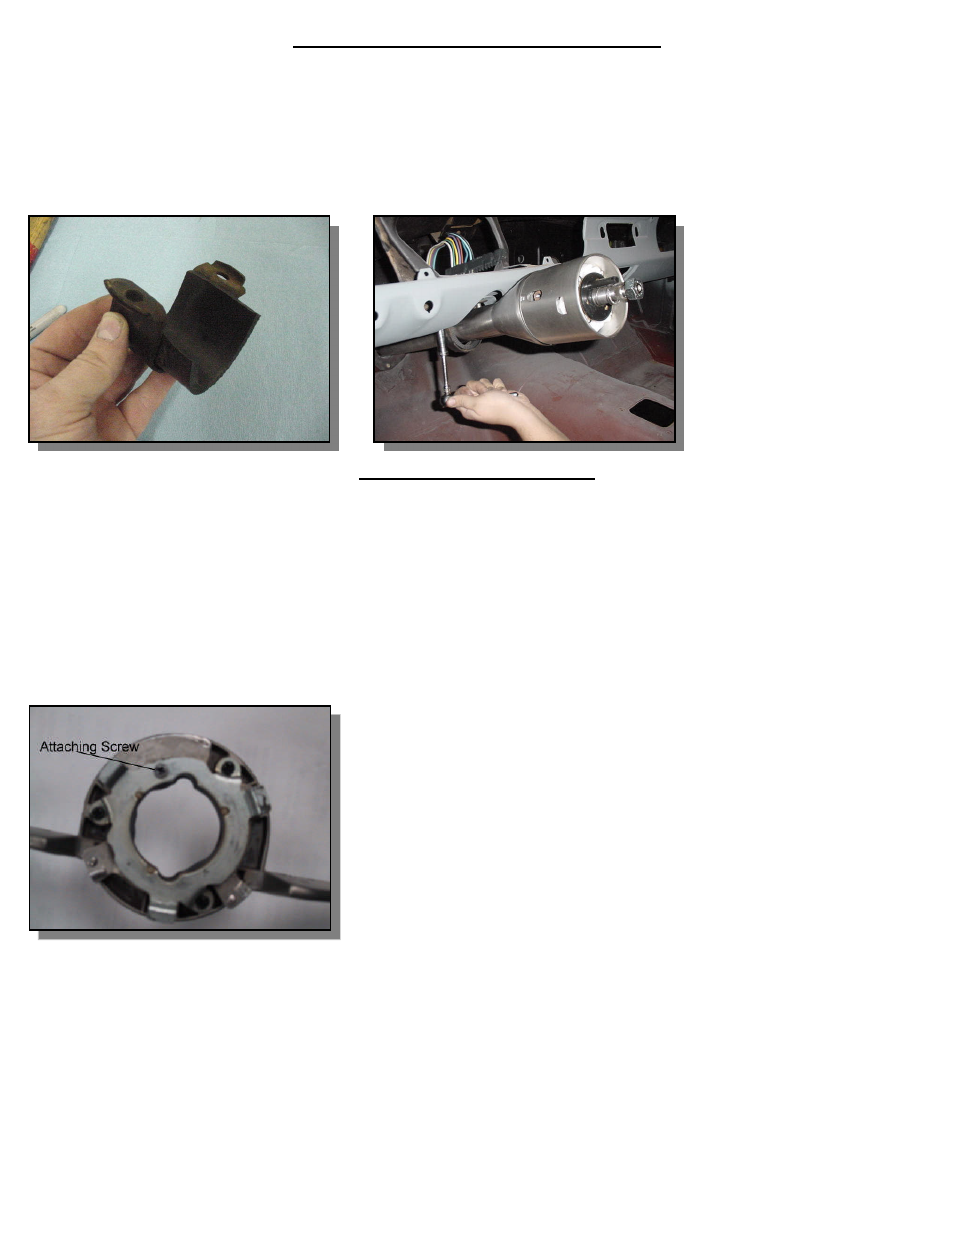
Installation of New Flaming River Tilt Column
1)
Bend tabs inward on new floor bracket and slide over column tube.
2)
Using your original dash support (note: you must first place a shim that is included between the support and the
column to ensure a tight fit this is included in your installation kit), hold the column under the dash and tighten the two
support nuts.
3)
Make sure that the column is straight before securing column.
Installation of Original Wheel
Note: Some modification to your original wheel is necessary for the horn to work correctly.
1)
Install steering wheel spacer ensuring that canceling cam hole is at the 10 o’clock position. For 65-66 cars, align the spring
clip on the backside of the wheel so that the prongs are at the 3 o’clock and 5 o’clock positions.
2)
Install horn contact into canceling cam and run wire through slot in steering wheel
3)
Install steering wheel and tighten the steering wheel retaining nut.
4)
The horn plates on the bottom of your horn button must be permanently attached to each other. Drilling a small hole and
inserting a small sheet metal screw accomplish this. (1/4”) (See picture below)
5)
Connect the horn contact wire to the horn contact on top of the horn button.
6)
Install the horn button by pushing down and turning clockwise, this will lock the button in position.