Aussie VANTAGE 6122S8X641 User Manual
Page 12
12
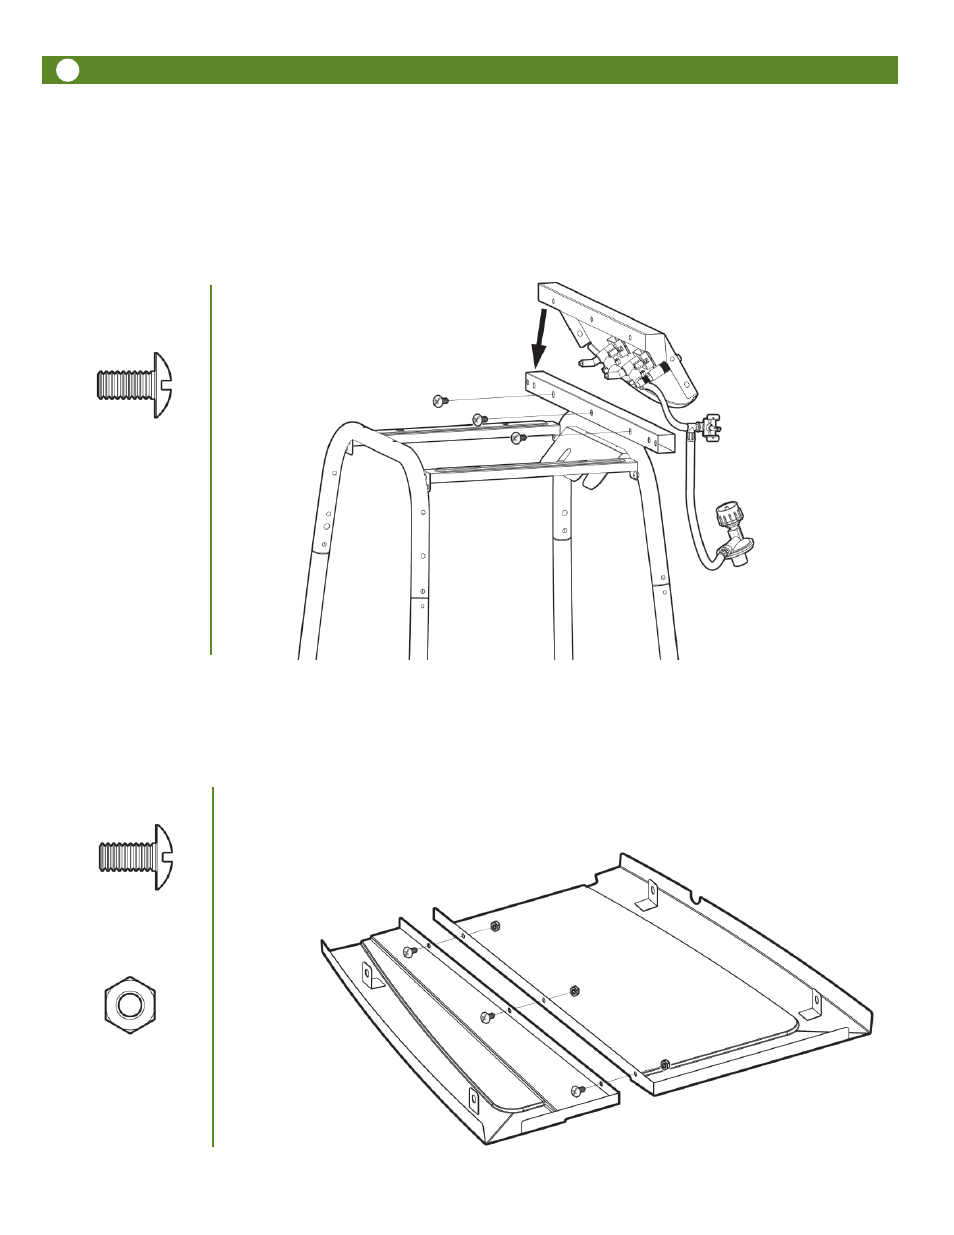
Step 9
Control Panel to Cart Frame Assembly
Place the Control Panel assembly over the Front Side Table Support tube, that is attached to the front of the Cart
Frame, as shown with 3) 1/4-20 x .39” Bolts.
1/4-20 x .39” Bolt
3 pcs
Step 10
Shroud Assembly
Place the Left and Right Shroud Halves face down on the floor. Join together with 3) 1/4-20 x .39” Bolts and Nuts.
1/4-20 x .39” Bolt
3 pcs
1/4-20 Nut
3 pcs
Model 6122 with side
burner valve is shown
here. Be sure to route
hoses in FRONT of legs.
This configuration is for
6122 ONLY .
This manual is related to the following products: