JELD-WEN JII004 Aluminum Windows with Nail Fin User Manual
Page 6
INSTALLATION INSTRUCTIONS
for Aluminum Windows with Nailing Fin (JII004)
6
Please visit jeld-wen.com for warranty
and care and maintenance information.
Thank you for choosing
©2014 JELD-WEN, inc.; This publication and its contents are owned by JELD-WEN, inc. and are protected under the U.S. Copyright Act and other intellectual
property laws. All trademarks, service marks, logos and the like (whether registered or unregistered) are owned or controlled by JELD-WEN, inc. or others.
Unauthorized use or duplication of JELD-WEN intellectual property is prohibited.
JELD-WEN reserves the right to change product specifications without notice. Please check our website, jeld-wen.com, for current information.
(07/14)
AFTER INSTALLATION
• Ensure weep holes/channels are clear of debris for proper water
drainage. Do not seal weep holes/channels.
• Install exterior wall surface per manufactures’ guidelines.
• Leave an expansion/contraction gap of approximately 3/8" between
door frame and final exterior wall surface (siding, stucco, etc.). For a
finished look and additional protection, seal this gap on the sides with
backer rod and sealant. If sealant is applied above the drip cap ensure
the sealant bead is discontinuous to allow for drainage.
• Protect recently installed units from damage from plaster, paint, etc.
by covering the unit with plastic.
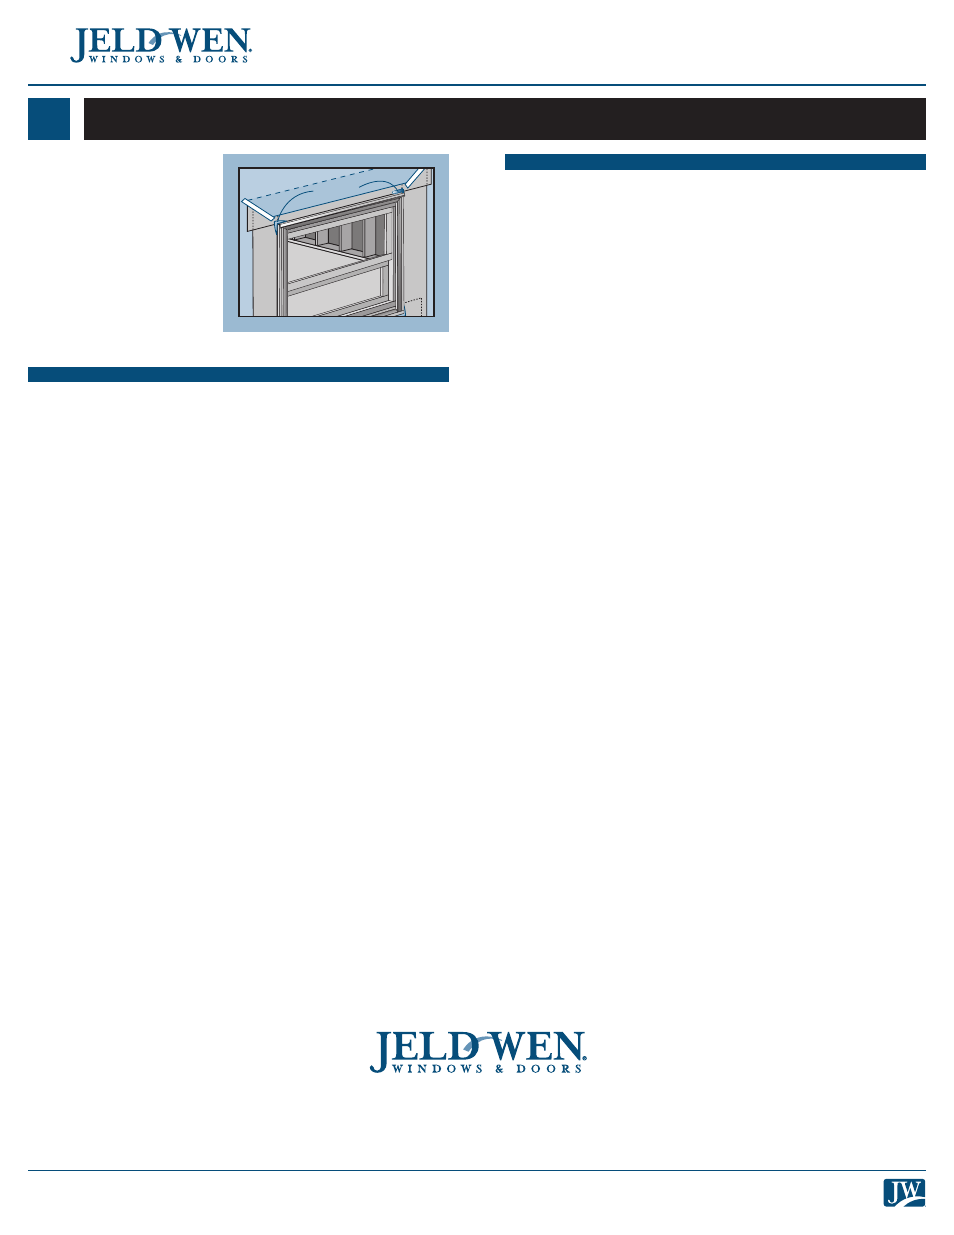
COMPLETE INSTALLATION
7
Sealant
1. Release the building wrap
from above the header
(previously taped up)
and overlap the header
flashing. Seal the ends with
self-adhesive flashing or
building wrap tape.
2. Adjust window for
best operation.
3. Seal the top corners of
the window with a 1/4"
bead of sealant. Tool into a
fillet shape.
CONTINUOUS AIR SEAL
Create a continuous air seal on the interior by integrating the rough
opening and the window frame with low expansion polyurethane foam
or backer rod and sealant.