Clinton Electronics CE-M24S User Manual
Page 8
8
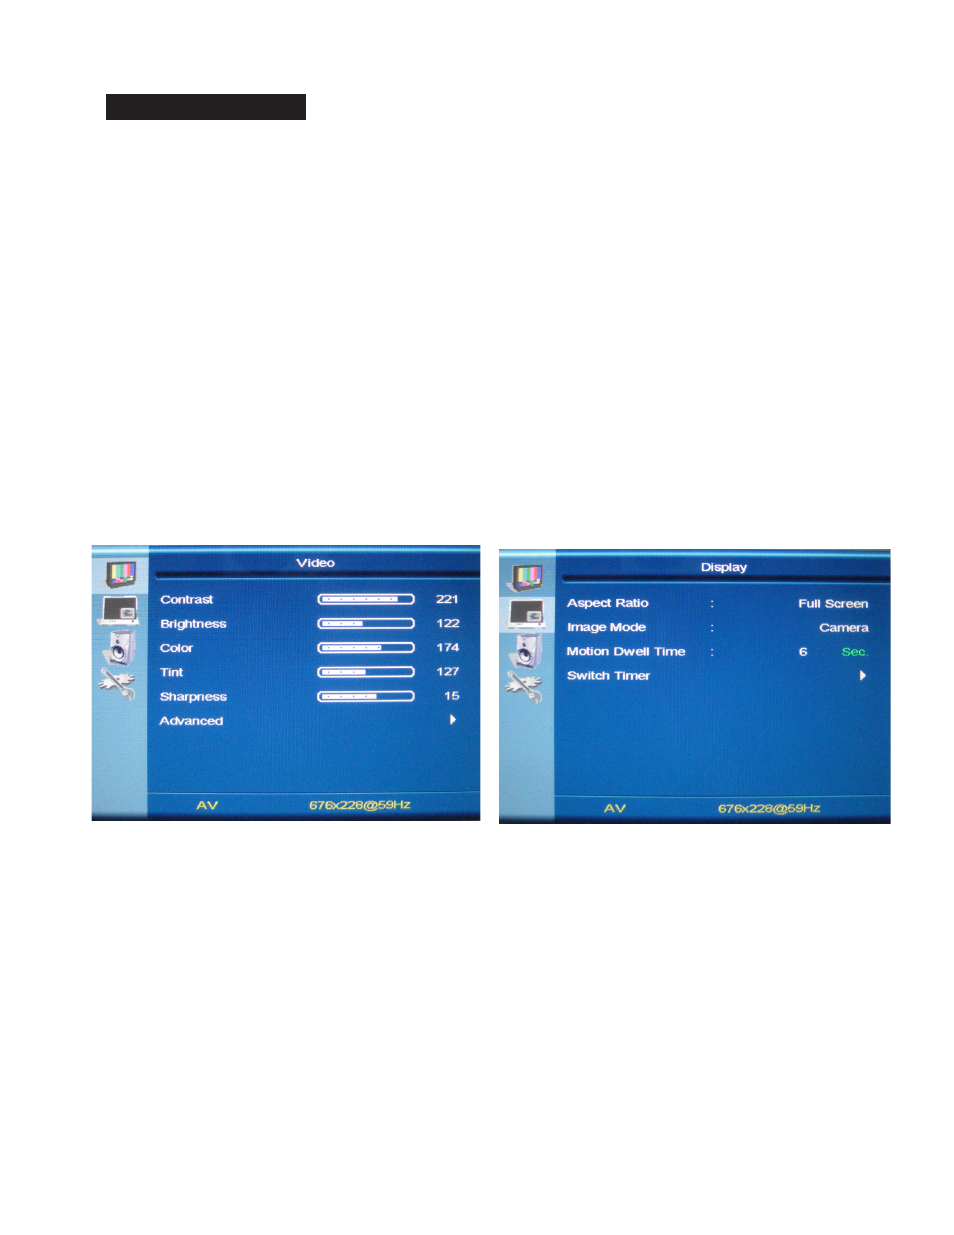
Video Menu: The display should be pre-set for most installations, however if some adjustment
is necessary, we suggest you follow these recommendations by pressing the MENU button on
the remote control:
1. First adjust the BRIGHTNESS control to set the black level so that the images are at their
brightest while the black images are still black. Do not adjust too high where the black
portions of the image become gray or the image will have a “washed out” appearance.
2. Set the CONTRAST control to set the white level so that the images are at their brightest
without losing definition in the white portions of the image.
3. Adjust the COLOR control to achieve a realistic image of the items within the viewing area.
4. Adjust the TINT control if the image has bluish or reddish tint to the white portions of the
image.
5. Decrease the SHARPNESS if the image appears too grainy or pixelated. Increase the
SHARPNESS if the image appears too soft.
6. In the ADVANCED menu, more adjustments can be made as necessary.
Display Set-Up
Display Menu
1. In the IMAGE MODE setting, you can select from one of the following:
• Motion: Displays SD-Card content, switching to camera image upon motion sensing.
• SD-Video: Displays SD-Card content only.
• Camera: Displays camera image only.
• BNC2: Displays BNC2 source image only.
• Switch: Use in conjunction with the Switch Timer setting to cycle between multiple sources:
Camera, BNC2, and/or SD-Card content.
*NOTE: If an SD-Card is not inserted, the display will show an SD-Card settings menu when SD-Card option is selected.
2. With MOTION DWELL TIME you can select the duration that the camera image will stay on screen
when motion is occurring.
3. With SWITCH TIMER you can select the duration that each selected source will stay on screen.