Checking leds, Set the switch ethernet ip address, Using ebipa – HP Brocade 16Gb SAN Switch for HP BladeSystem c-Class User Manual
Page 14: Using external dhcp, Setting the ip address manually
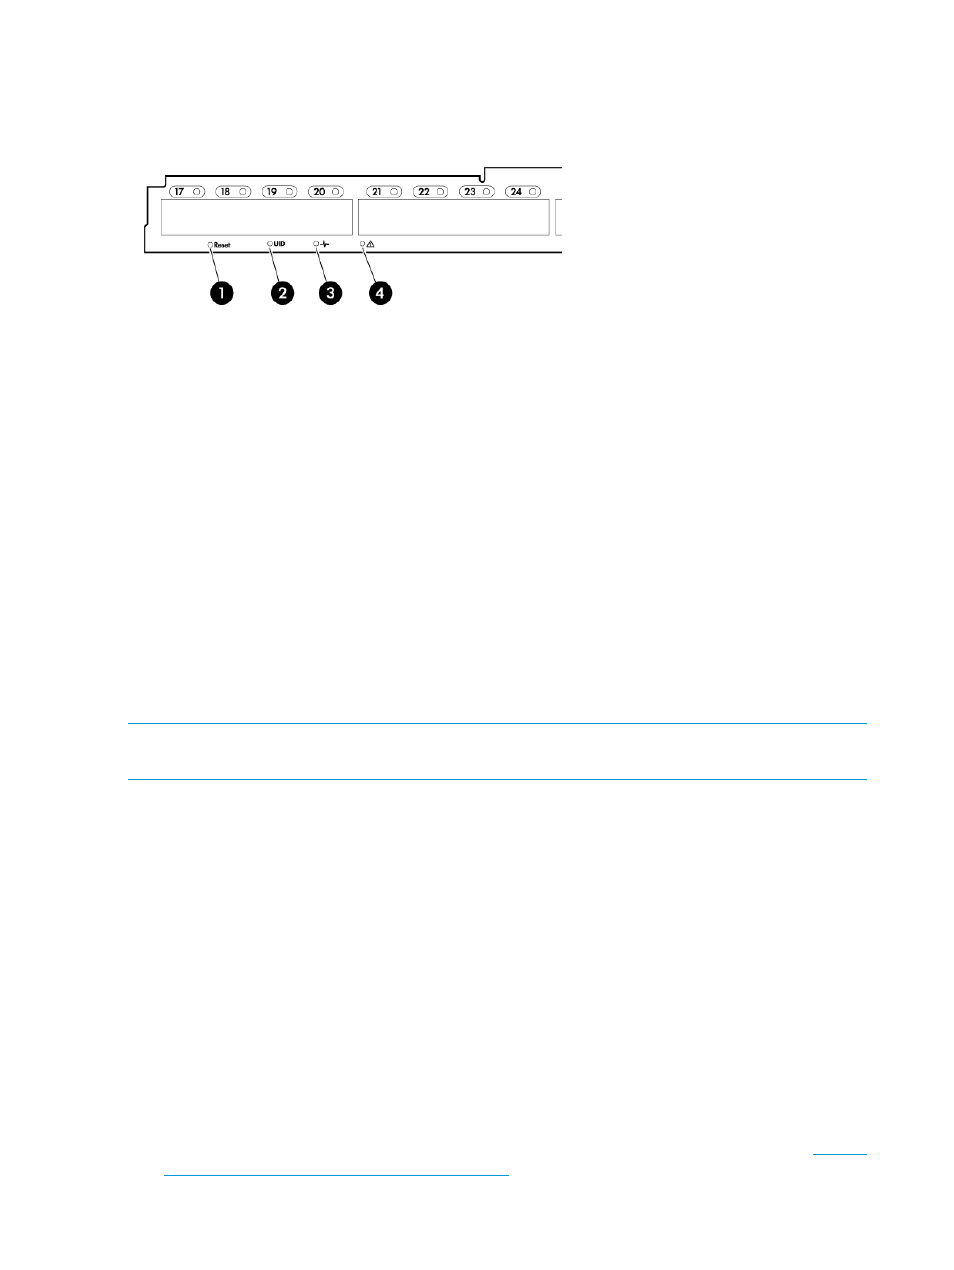
Checking LEDs
Locate LEDs. Check the LED indicators in
Figure 5 Identifying LEDs
2. UID LED
1. Reset button
4. System Status LED
3. Health LED
Set the switch Ethernet IP address
1.
Verify that the enclosure is powered on.
2.
Verify that the switch is installed.
3.
Choose one of the following methods to set the Ethernet IP address:
•
Using EBIPA
•
Using External DHCP
•
Setting the IP address manually
Using EBIPA
1.
Open a web browser and connect to the active OA.
2.
Enable EBIPA for the corresponding interconnect bay.
3.
Click Apply to restart the switch.
NOTE:
See the HP BladeSystem Onboard Administrator User Guide for additional information
on EBIPA.
Using external DHCP
1.
Connect to the active OA using a web browser.
2.
Document the DHCP-assigned address by selecting the switch from the GUI Rack Overview
window.
3.
Verify the IP address using a Telnet or ssh login to the switch, or select the switch in the OA
GUI Rack Overview window.
Setting the IP address manually
1.
If the switch IP address is known, log in to the switch with Telnet or ssh or log in to the active
OA via Telnet, ssh, or serial null modem cable.
Use the connect interconnect command (documented in the HP BladeSystem Onboard
Administrator User Guide) to connect to the switch bay and log in to the switch.
2.
Apply a static IP address to the switch using the ipaddrset command.
For detailed procedures, see the Brocade 16Gb SAN Switch for HP BladeSystem c-Class User
Guide on the Brocade 16Gb SAN Switch for HP BladeSystem c-Class product website:
3.
Verify the IP address as described in section
“Using external DHCP ” (page 14)
.
14
Setup