2 getting started, Deployment console basics, Connecting server blades – HP Insight Control User Manual
Page 9: Deployment console basics connecting server blades
2 Getting started
To get started, double-click the Deployment Console icon on the desktop. The Deployment Console, from
which you can manage computers and execute jobs, appears.
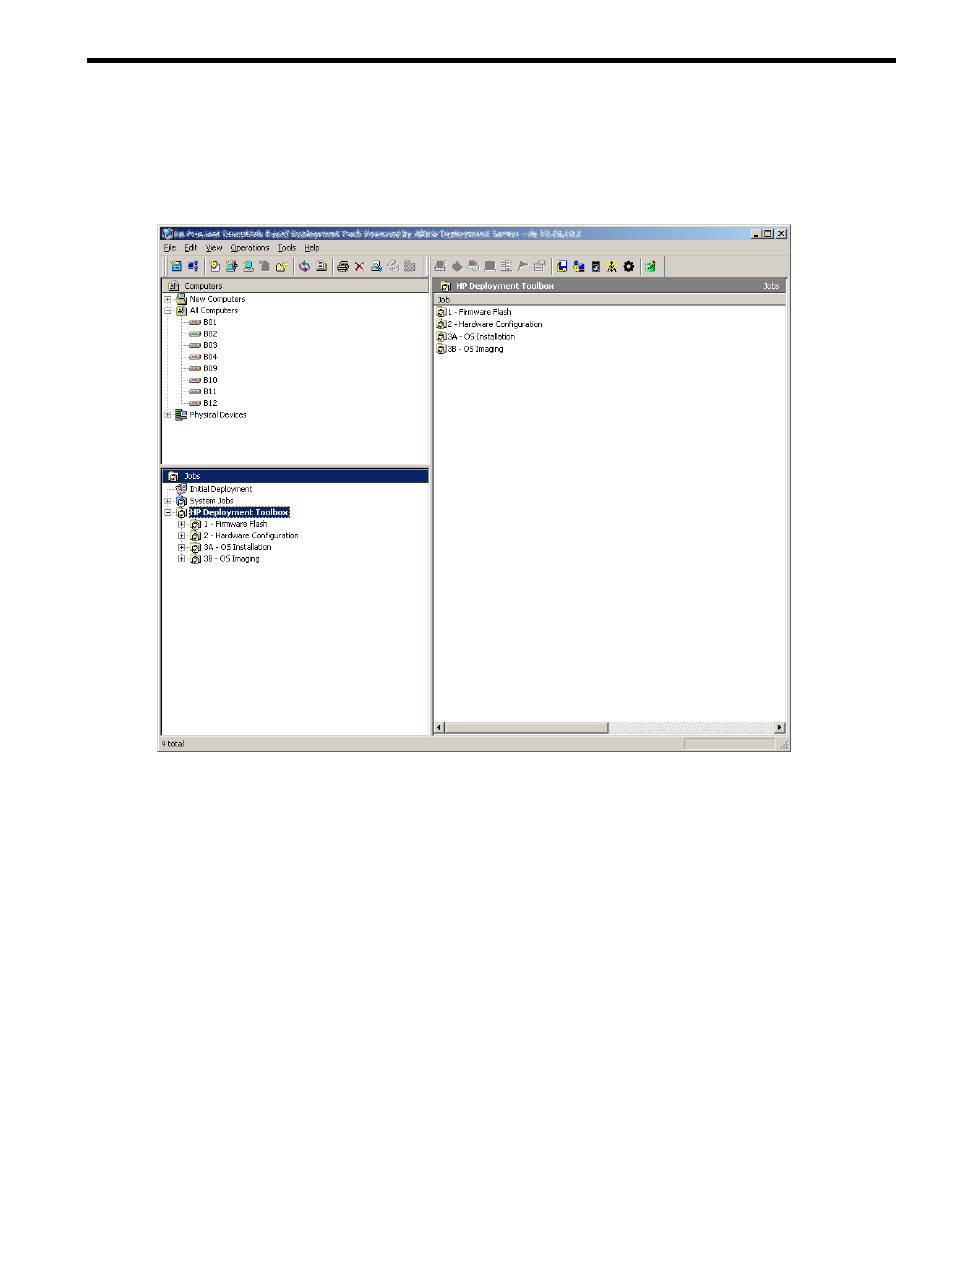
Deployment Console basics
•
Computers pane
This pane shows managed computers. The New Computers group shows computers
that have connected to the Deployment Server for the first time. Click View
→Show Physical Devices
to show the Physical Devices group.
•
Jobs pane
This pane shows the provided jobs.
•
Details pane
The right-hand side of the console displays information about the selected computer or
job. For each computer, basic properties and job history appear. For each job, tasks and computer
history appear. The Job Schedule Information dialog box displays the status of each task in the
schedule. To view this dialog box, double-click an item in the job history or computer history. The
Schedule Status Detail
dialog box displays return codes and status messages. To view this dialog
box, click Status Details.
To execute a job, drag and drop one or more computers onto a job, or vice-versa.
Connecting server blades
1.
Connect the enclosure to the network that contains your Deployment Server, and power up the enclosure.
2.
Change the default rack and enclosure names.
3.
Insert the server blades into the enclosure and wait for the blades to power up.
4.
From the Computer pane, right-click on a server blade and select Power Control
→iLO – Interface.
The iLO homepage appears.
Deployment Console basics
9